

Fall is the best time to start cooking and gathering! If you are looking for some fun party ideas to serve to your party guests, make these delicious Apple Cider Slushies for the kids and Hot Spiked Apple Cider for the adults. And no one can resist Pumpkin Fluff Dip, made with real whipped cream and pumpkin pie spice.
Gruesome Halloween Cookies
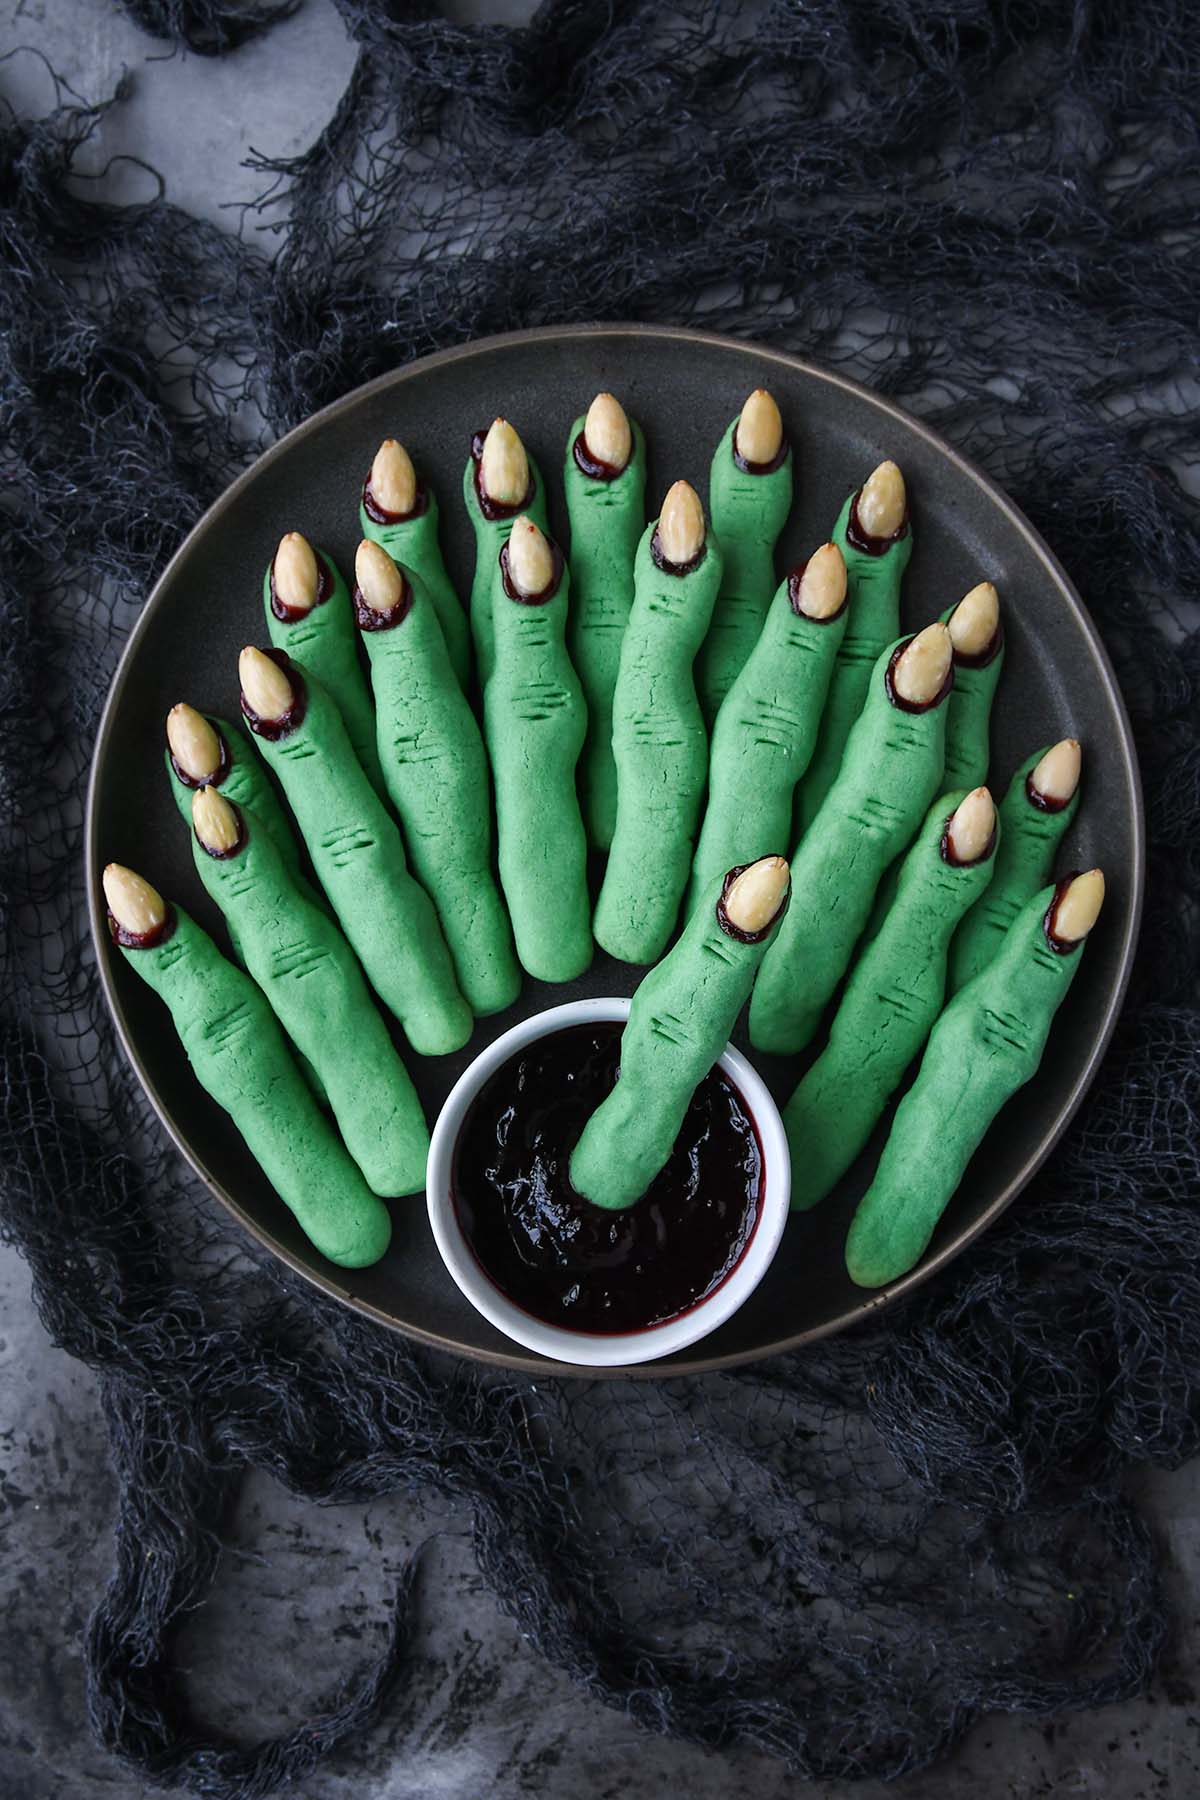
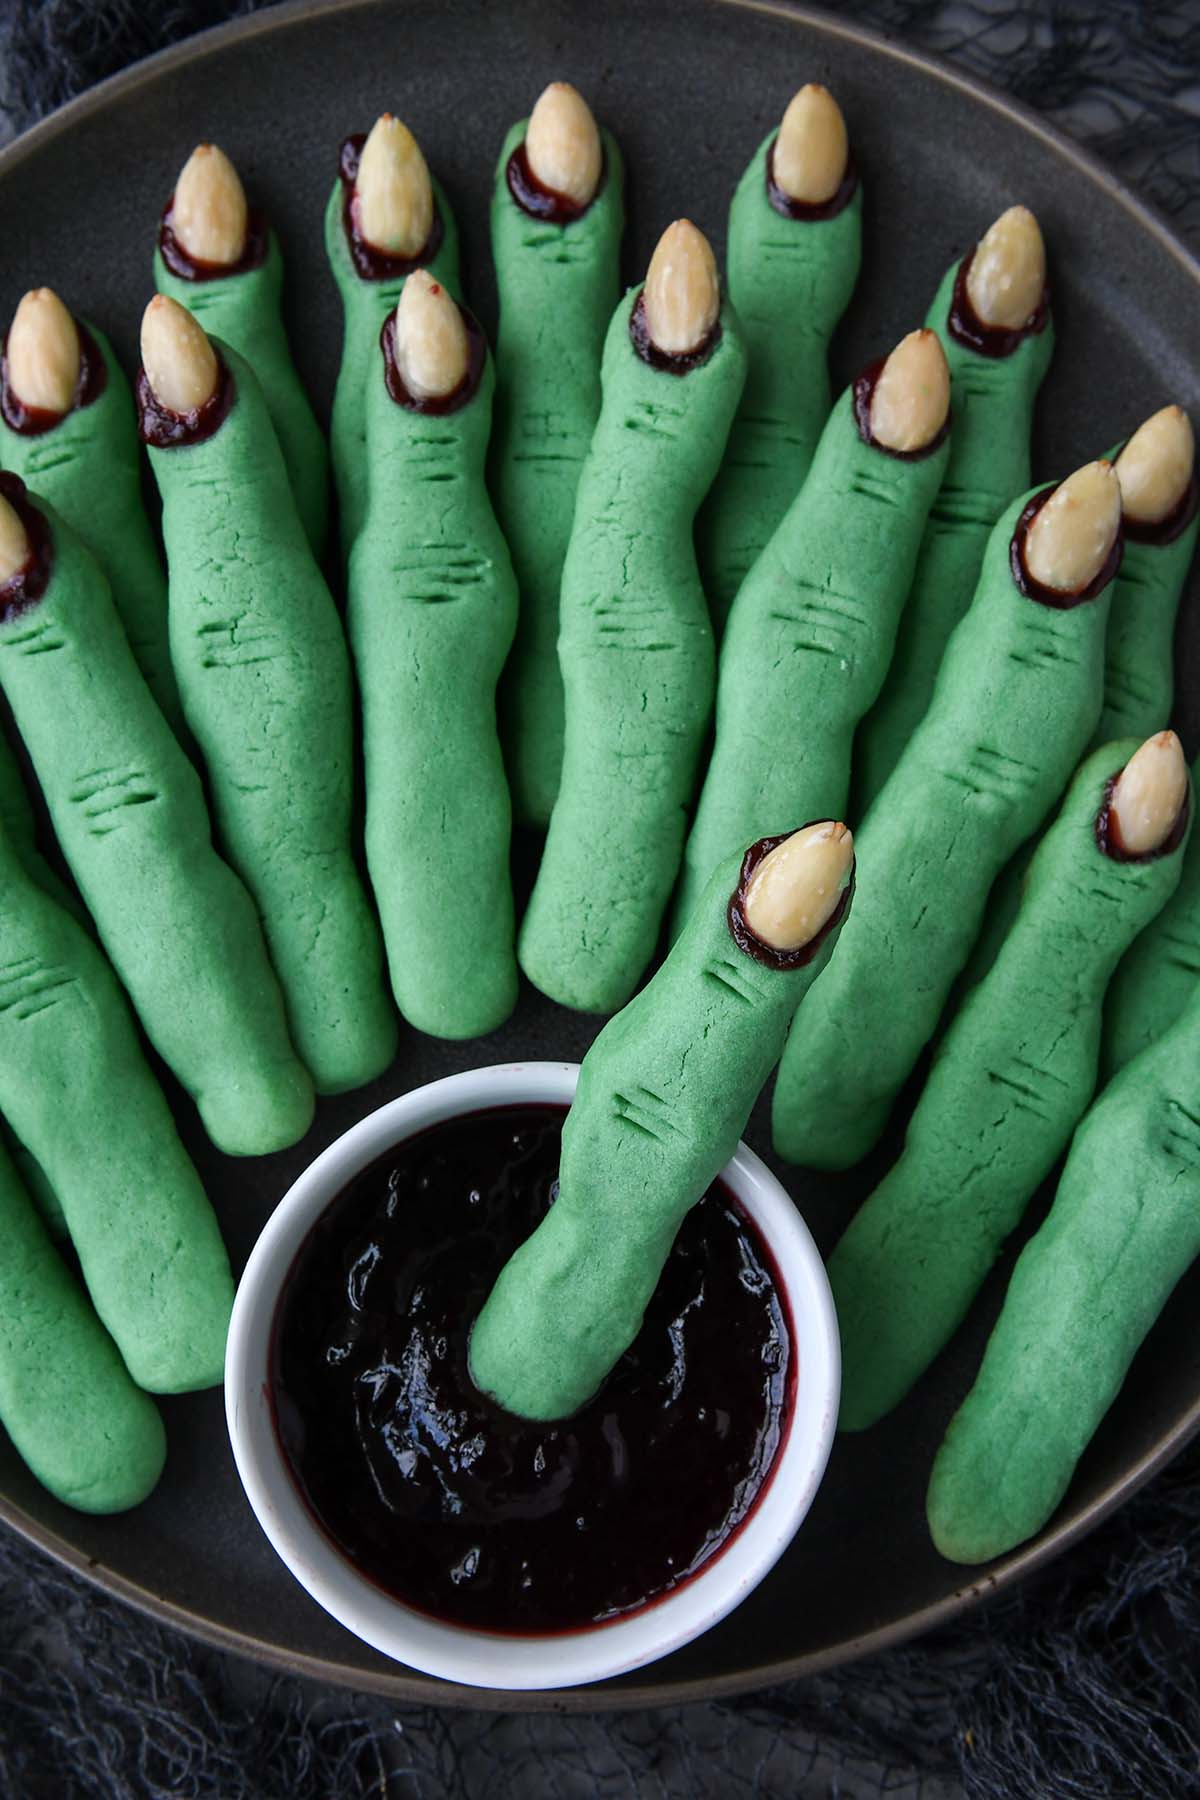
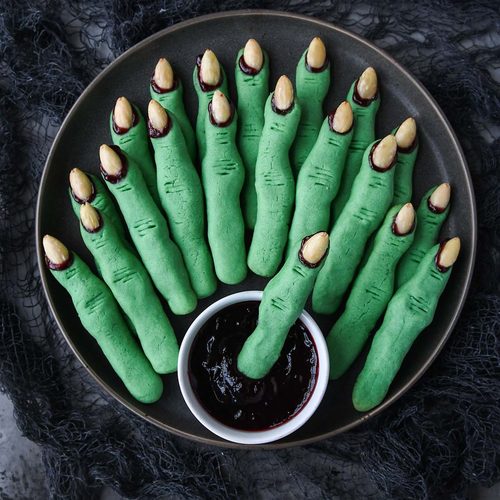
With their wrinkly knuckles, pale green skin, and bloody fingernails, these Halloween cookies look like they were plucked right off a witch’s hand. But, despite their gruesome appearance they are just as delicious as they are creepy.
Made with a butter cookie dough flavored with almond extract, dyed green and shaped to look just like fingers complete with lines on the knuckles to resemble wrinkles and a blanched almond fingernail. Once the cookies get baked and cooled, pop off the “fingernail” and apply a little dripping raspberry “blood” (aka raspberry jam) to the nail bed to give them an even grosser look.
Have fun with this cookie dough, you can make the fingers look as gnarled and crooked as you like. This is an entertaining Halloween activity to get kids involved in.
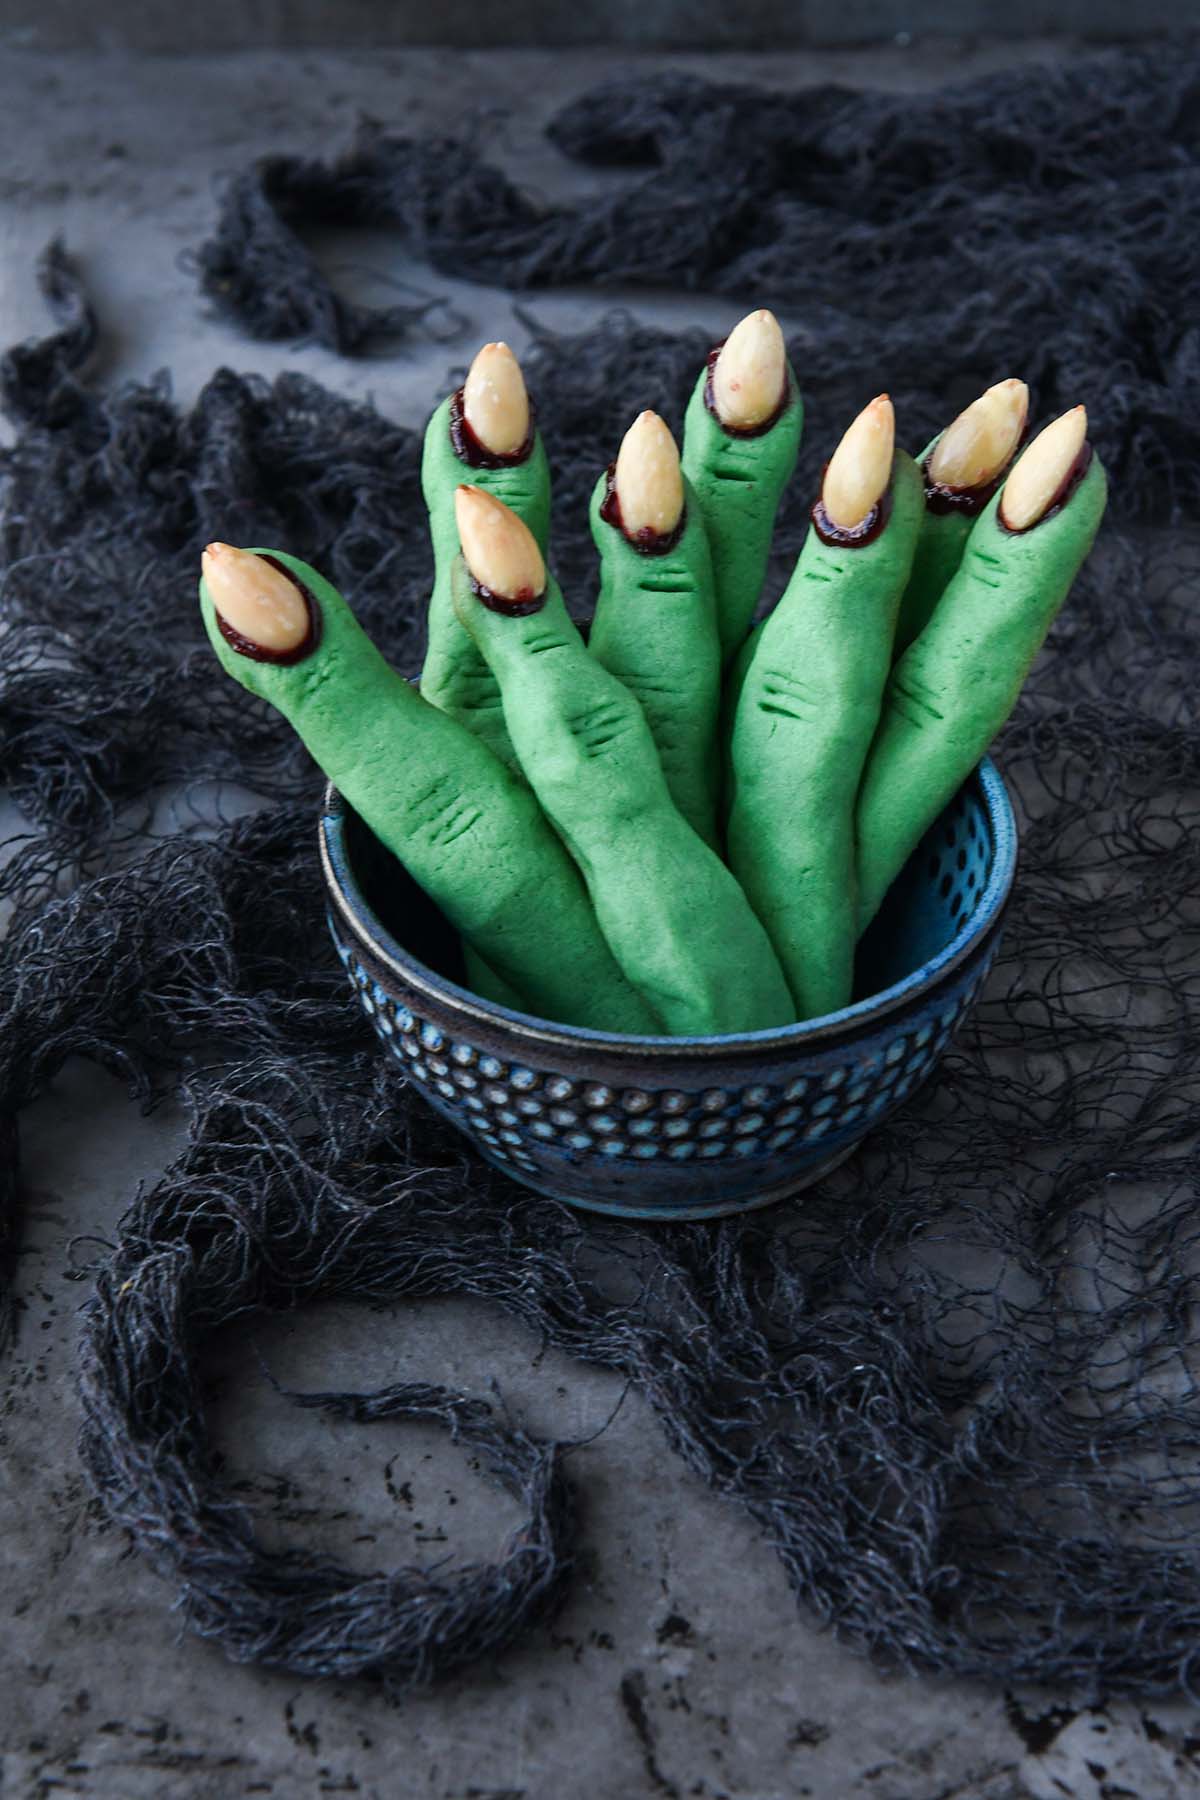
Since these Halloween cookies look just like severed witch fingers, they are going they’re perfect for Halloween parties, haunted house gatherings, and spooky movie nights. Serve with a small bowl of warm raspberry jam for dipping!
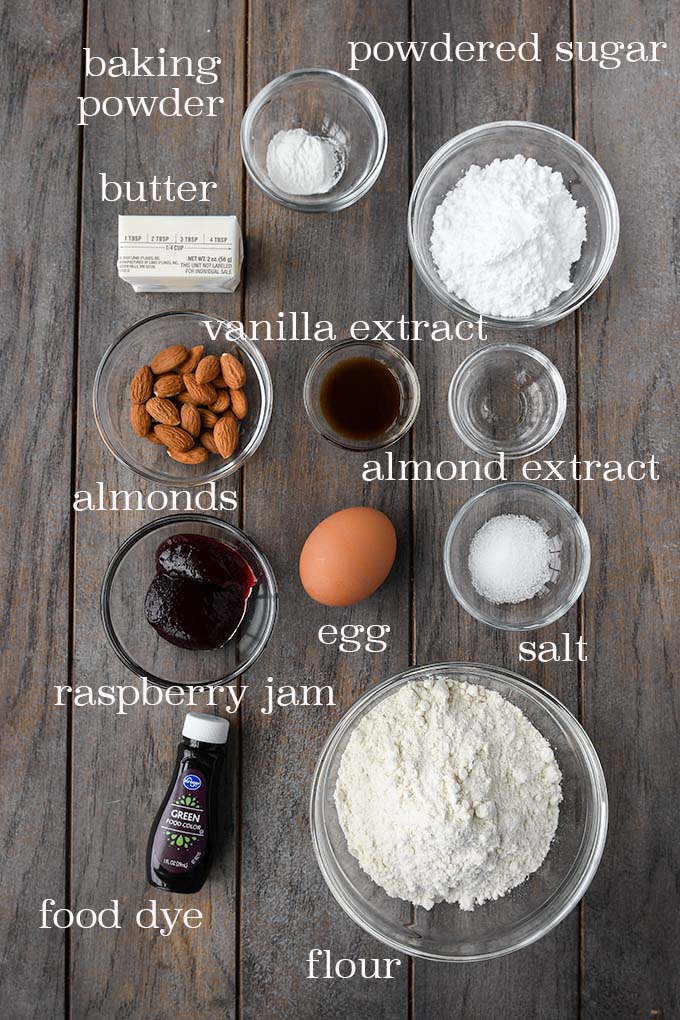
Witch Fingers Recipe Ingredients
- Almonds: Whole raw almonds get blanched and are used as the witch’s fingernails.
- Flour: All-purpose flour works perfectly.
- Baking Powder: Baking soda provides some lift. Make sure it is still active.
- Salt
- Butter: Use unsalted butter.
- Sugar: Powdered sugar gives these cookies their delicate texture.
- Egg: One large egg.
- Extracts: Vanilla extract and almond extract
- Dye: Green food dye gives these their great color. You can leave the dye out to keep these as skin tone.
- Jam: A little raspberry jam is used under the almond “fingernails” and as dip. Make sure to get seedless jam.
How to Make Witch Finger Cookies
Here are the basic instructions to make witch cookies. Check out the recipe card at the bottom of this blog post with full ingredients and instructions to make it.

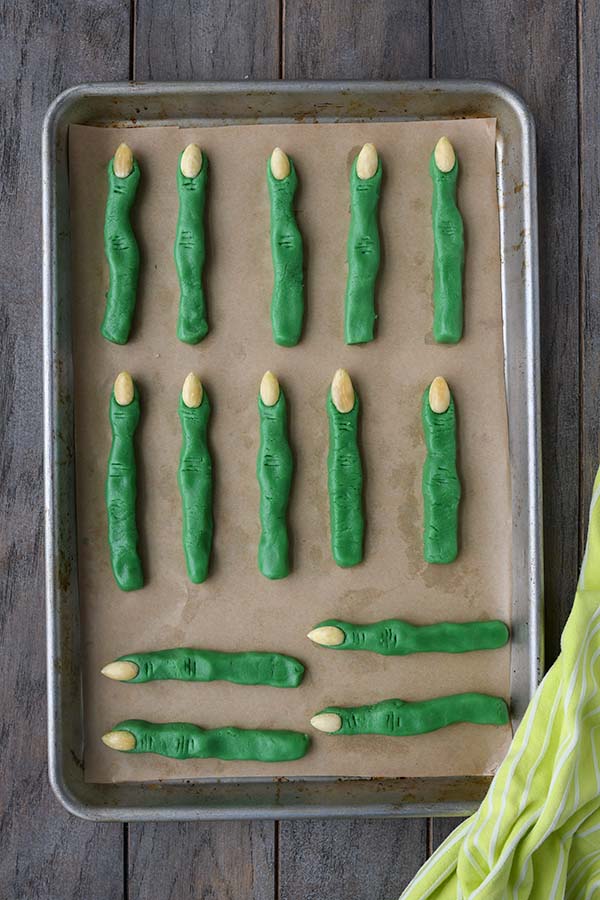
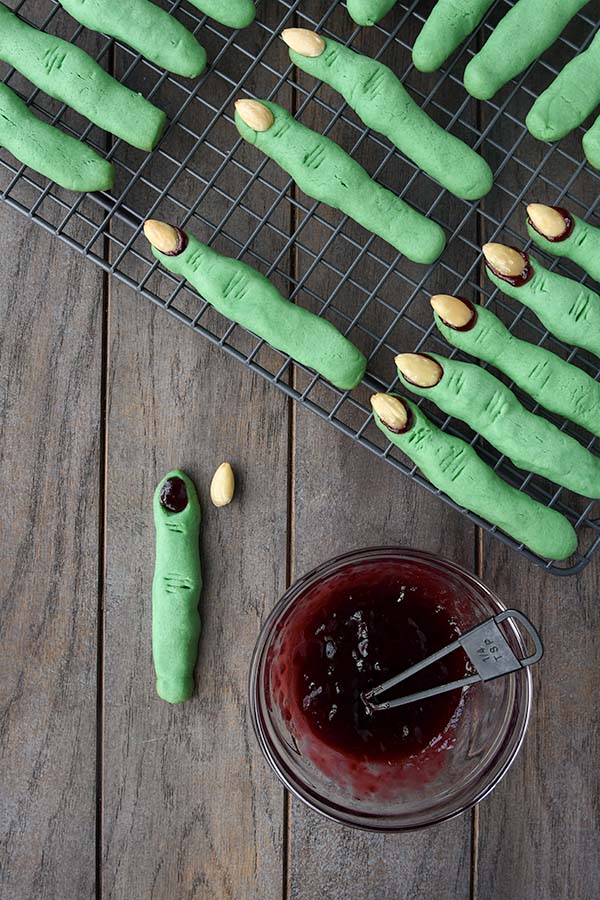
Cooking Tips and Tricks
- It’s very important to chill the dough before and after shaping the cookies.
- Use softened butter but not warm butter. You only want to let the butter come to room temperature for about 1 1/2 hours.
- Press the almonds in securely into the dough to make them stay in place.
- Warm the jam just until it is loose enough to stir.
Recipe Variations
- Change the color of the fingers by using different colors of food dye.
- Dip the cookies in chocolate.
- Add 1/4 teaspoon of cinnamon to give these cookies a different flavor.
Frequently Asked Questions
Can I use gel food coloring instead of liquid? Yes, you can use gel coloring instead. Start with a little at a time until desired color is achieved.
Can I use a different flavor of jam? Yes, you can use strawberry, cherry jam, or seedless blackberry.
How to Store & Reheat
How to store it? Once the cookies are finished put in an airtight container. It should last about 3-5 days at room temperature. If you stack the cookies in the storage container, use parchment between layers.
How to freeze? Let the baked cookies with the almonds (without jam added) cool completely before putting into an air tight, freezer safe container. can be frozen for 2 months, just be sure to label with the recipe and date. Thaw frozen cookies on a plate at room temperature for 1-2 hoursuntil defrosted.
Try these other recipes!
- Feetloaf {Halloween Meatloaf}
- Mini Mummy Dogs
- Cookie Witch Hats
- Mummy Pizza Braid
- Spiked Hot Apple Cider
- Pumpkin Chocolate Chip Cookies
If you’ve tried this witch fingers cookies recipe, don’t forget to give me a star rating and leave me a comment below in the comment section. I love to hear from people who have made my recipes.
NEVER MISS A RECIPE
Follow me on social media for more recipe ideas & inspiration!
PINTEREST / FACEBOOK / INSTAGRAM
Witch Finger Cookies
Ingredients
- ¾ cup whole raw almonds
- 3 cups all-purpose flour
- 1 teaspoon baking powder
- 1/2 teaspoon salt
- 1 cup unsalted butter, softened but not warm
- 1 cup powdered sugar
- 1 large egg
- 2 teaspoons almond extract
- 1 teaspoon vanilla extract
- 3-4 drops green food dye
- 3 tablespoons seedless raspberry jam, plus more for serving if desired
Instructions
-
To make blanched almonds, bring a small pot of water to a boil. Add in the raw almonds and cook for 45 seconds. Drain in a colander and immediately rinse with cold water. Once nuts have cooled a little, squeeze the skins off.
-
Prepare two 13×9-inch baking sheets with parchment paper, set aside.
-
In a medium mixing bowl, whisk together the flour, baking powder, and salt. Set aside.
-
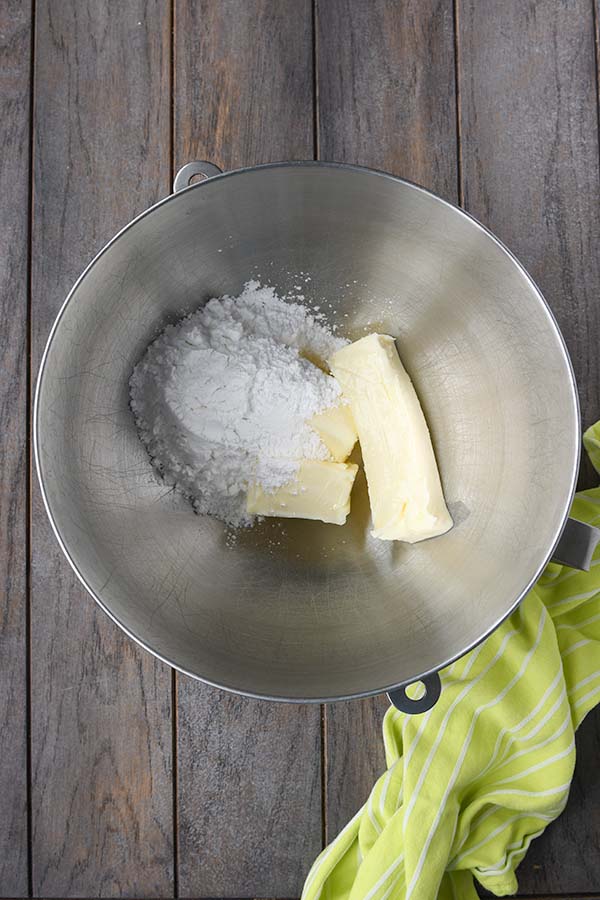
In the bowl of a stand mixer or with a hand mixer, beat the softened butter and powdered sugar together until smooth and creamy, about 1-2 minutes.
-
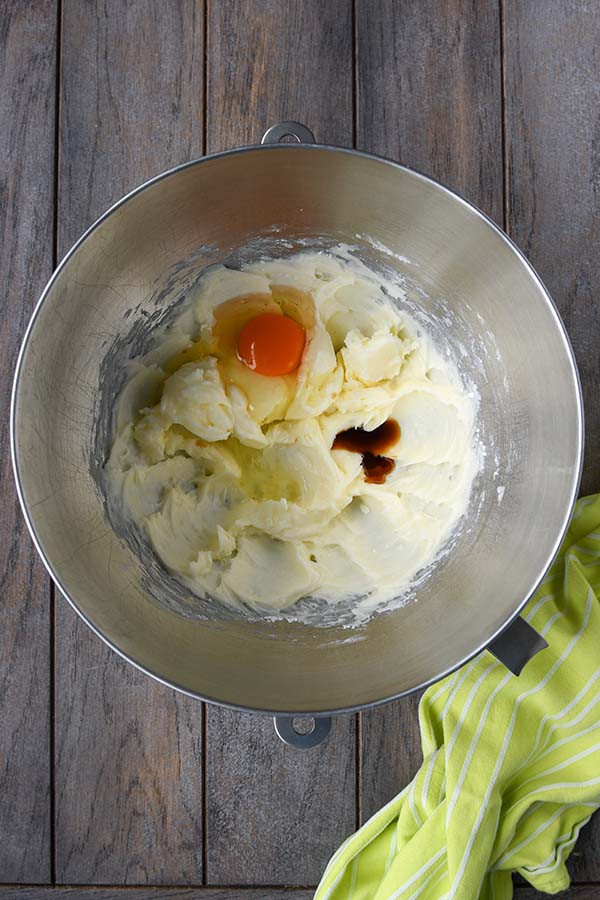
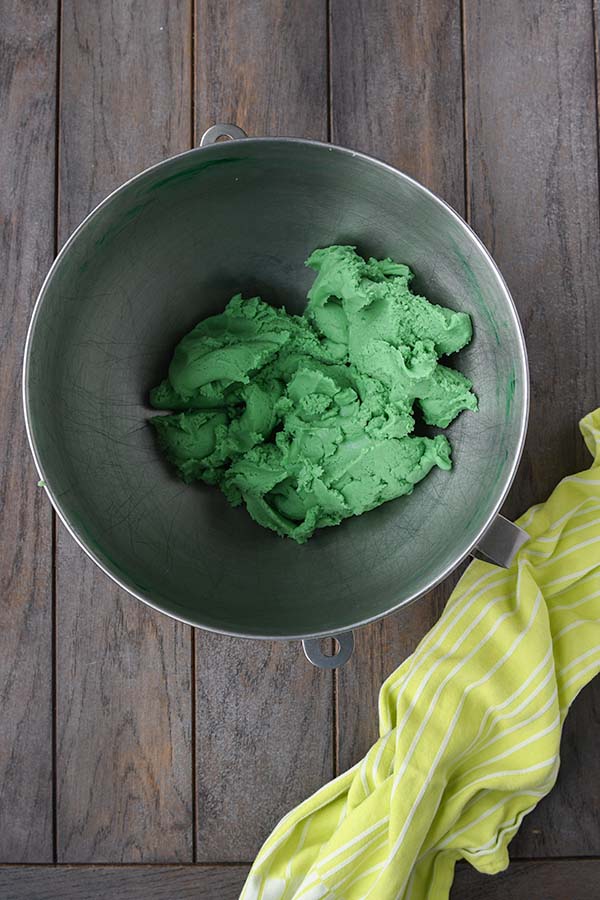
Beat in the egg, almond extract, vanilla extract, and food coloring until well combined.
-
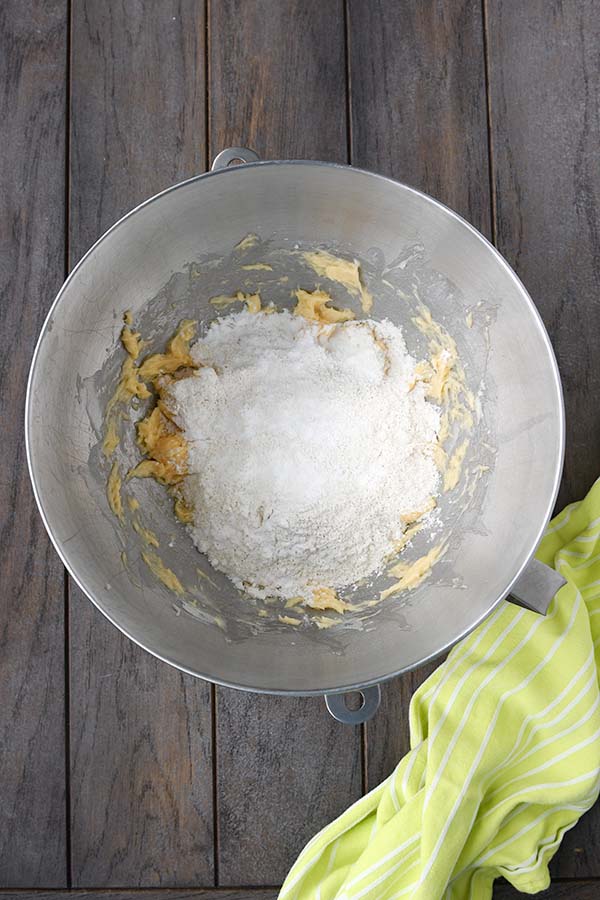
Add the dry ingredients to the butter mixture, mixing just until a soft dough forms. Do not overmix.
-
Cover the bowl of dough and put in the refrigerator for 30-45 minutes.
-
Work with a small portion of the dough at a time while keeping the rest of the dough in the fridge to prevent it from getting warm.
-
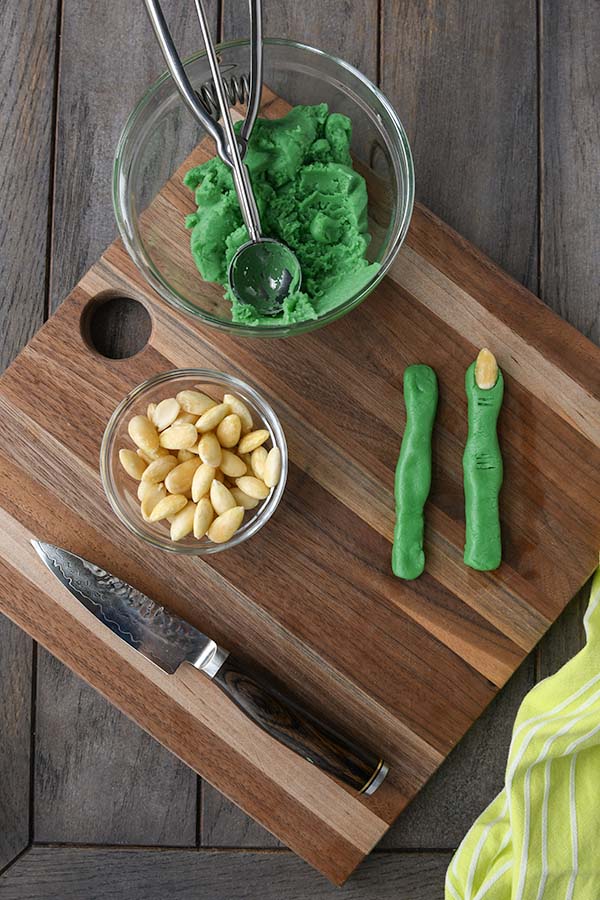
Scoop a tablespoon-sized amount of dough and roll it between two hands into a finger shape. Continue to shape it into looking like a finger, you can make them lumpy and uneven if you like. Use a paring knife to make lines on the knuckles and press an almond into the finger tip for the nail. Set completed fingers on the baking sheets.
-
Place shaped cookies in the refrigerator for 30 minutes or the freezer for 15 minutes.
-
Preheat the oven to 325°F. Bake the cookies for 18-22 minutes until the bottoms are slightly browning. Allow the cookies to cool on the baking sheets for 5 minutes then move to a wire cookie rack.
-
To make bloody nails, put the raspberry jam in a small microwave safe bowl. Cover the bowl and heat for 20-30 seconds in the microwave, stir. Remove the almond from the fingers, and spoon 1/4 teaspoon of jam into the indentation. Press the almond back in place. Let cool completely.
-
Serve the cookies with a bowl of warmed up raspberry jam if desired.
Recipe Notes
- It’s very important to chill the dough before and after shaping the cookies.
- Use softened butter but not warm butter. You only want to let the butter come to room temperature for about 1 1/2 hours.
- Press the almonds in securely into the dough to make them stay in place.
- Warm the jam just until it is loose enough to stir.
- Leftovers can be stored at room temperature in an airtight container for 3-5 days.
* Please note that all nutrition information are just estimates. Values will vary among brands, so we encourage you to calculate these on your own for most accurate results.
Nutrition Information
Did you make this recipe?
Please let me know how it turned out
I love hearing from you! Share a picture of the recipe on Instagram and hashtag it #homecookedharvest.
¾ cup whole raw almonds
3 cups all-purpose flour (360 g
1 teaspoon baking powder
1/2 teaspoon salt
1 cup unsalted butter, softened but not warm
1 cup powdered sugar
1 large egg
2 teaspoons almond extract
1 teaspoon vanilla extract
3-4 drops green food dye
3 tablespoons seedless raspberry jam, plus more for serving if desired
- To make blanched almonds, bring a small pot of water to a boil. Add in the raw almonds and cook for 45 seconds. Drain in a colander and immediately rinse with cold water. Once nuts have cooled a little, squeeze the skins off.
- Prepare two 13×9-inch baking sheets with parchment paper, set aside.
- In a medium mixing bowl, whisk together the flour, baking powder, and salt. Set aside.
- In the bowl of a stand mixer or with a hand mixer, beat the softened butter and powdered sugar together until smooth and creamy, about 1-2 minutes.
- Beat in the egg, almond extract, vanilla extract, and food coloring until well combined.
- Add the dry ingredients to the butter mixture, mixing just until a soft dough forms. Do not overmix.
- Cover the bowl of dough and put in the refrigerator for 30-45 minutes.
- Work with a small portion of the dough at a time while keeping the rest of the dough in the fridge to prevent it from getting warm.
- Scoop a tablespoon-sized amount of dough and roll it between two hands into a finger shape. Continue to shape it into looking like a finger, you can make them lumpy and uneven if you like. Use a paring knife to make lines on the knuckles and press an almond into the finger tip for the nail. Set completed fingers on the baking sheets.
- Place shaped cookies in the refrigerator for 30 minutes or the freezer for 15 minutes.






Leave a Reply