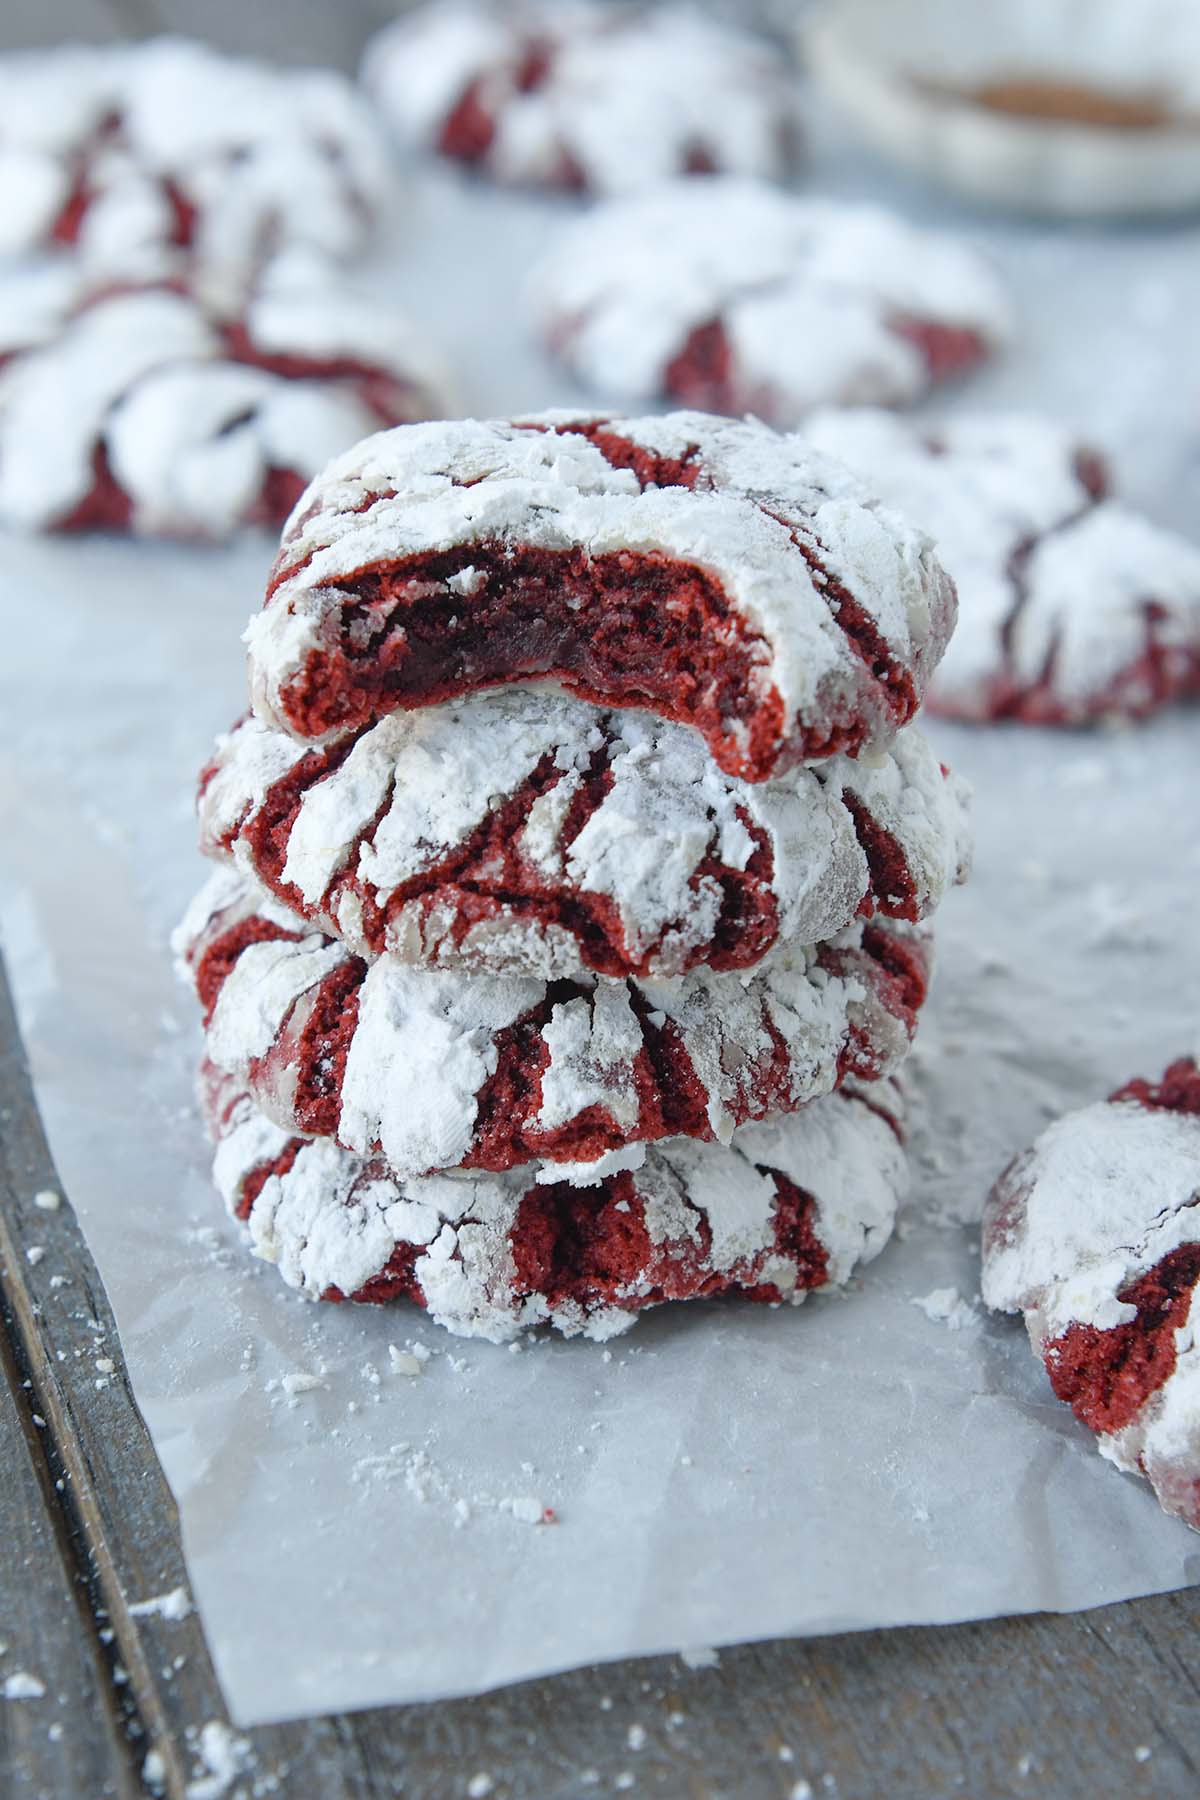
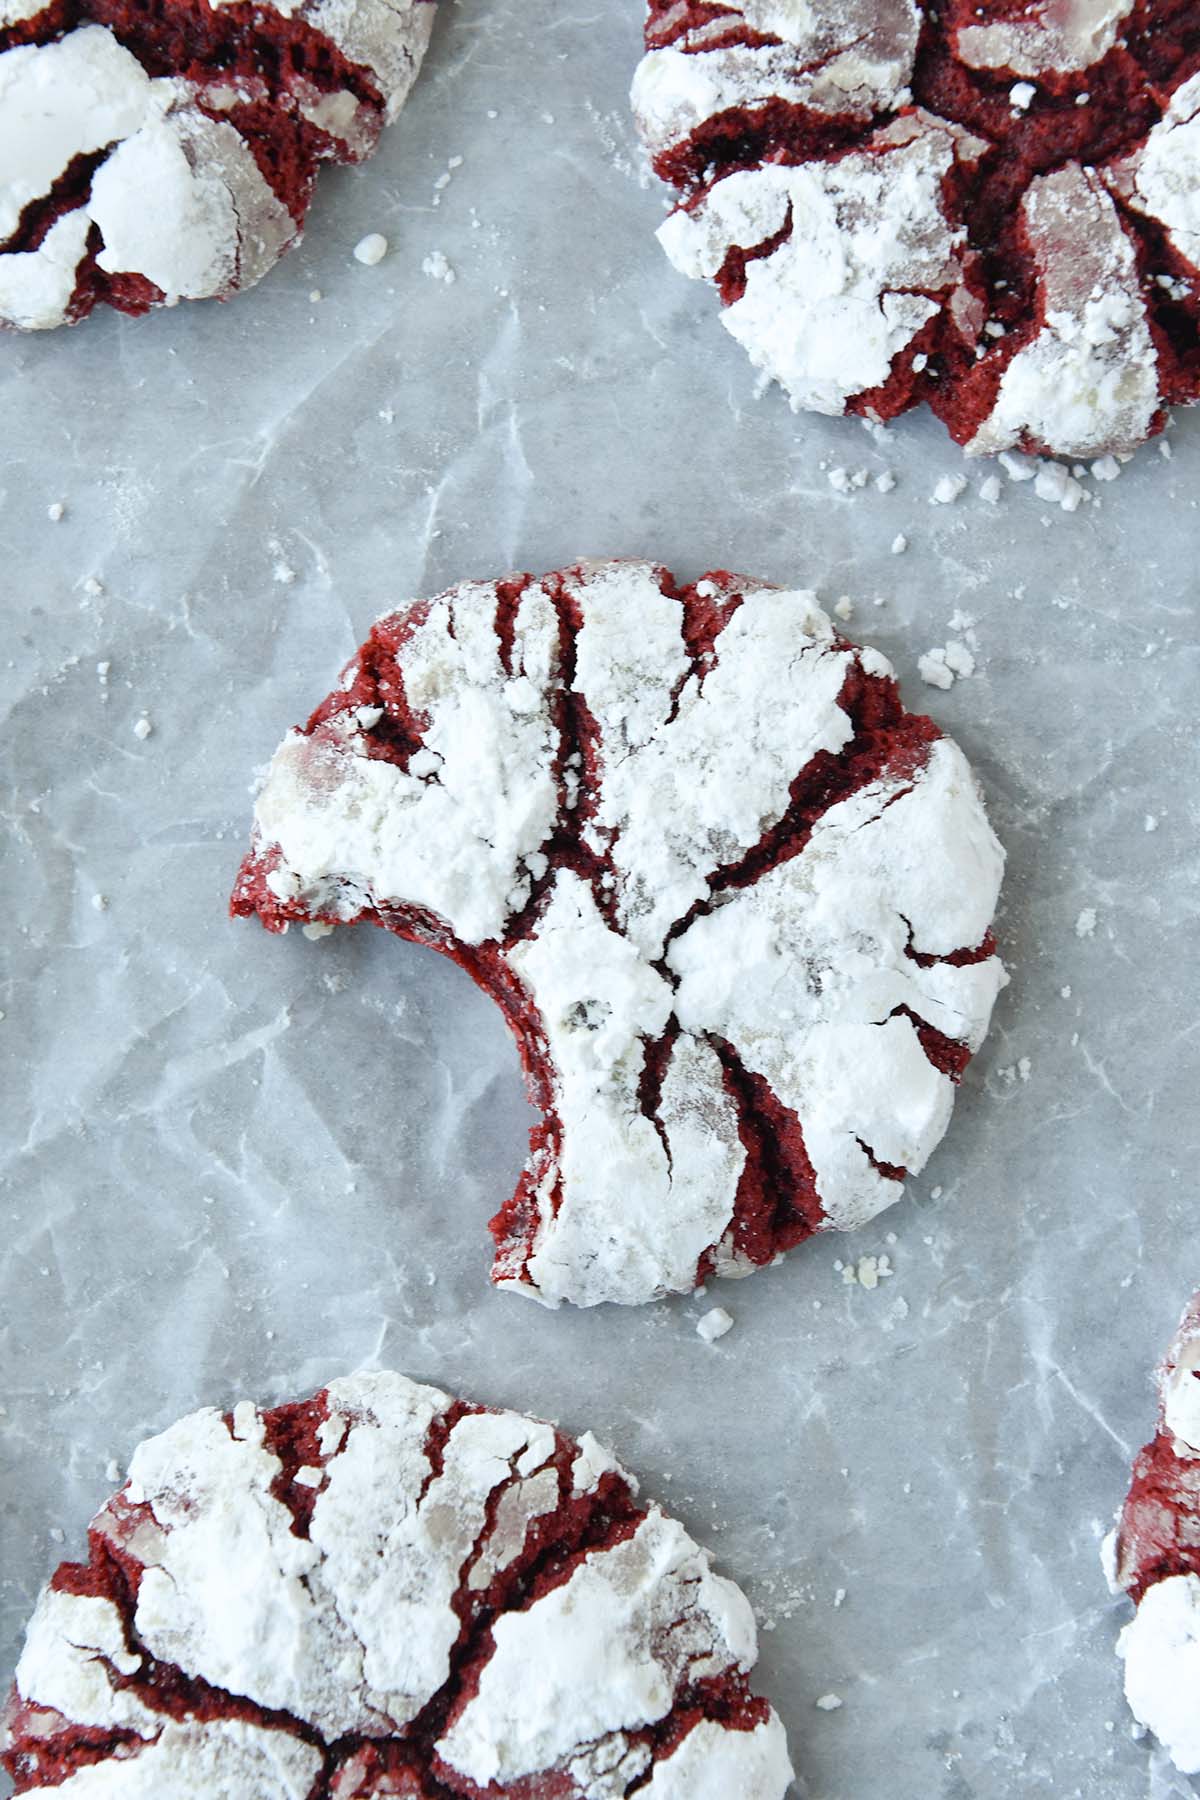
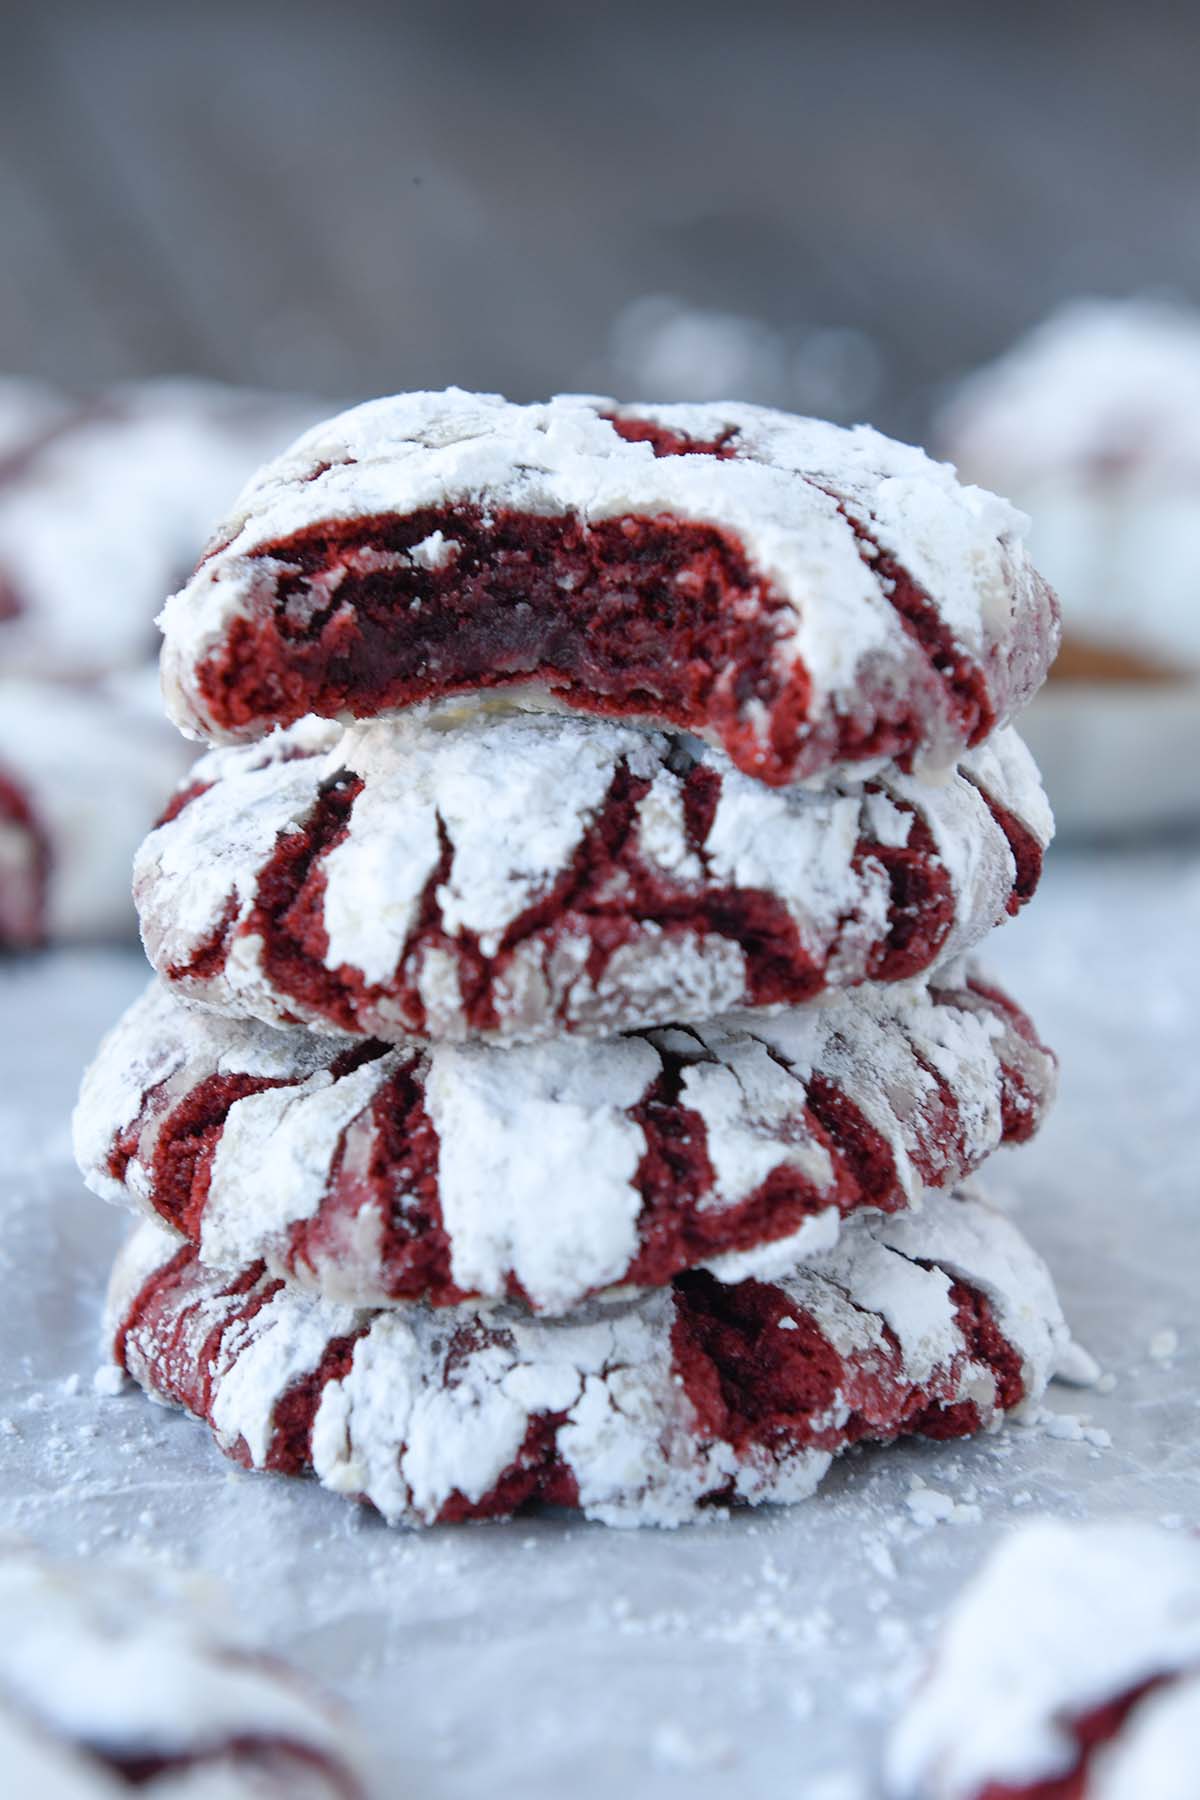
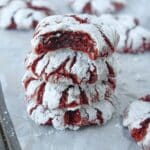
These from scratch Red Velvet Crinkle Cookies are the gorgeous cookies with rich red coloring that shows through snowy white cracks. Their color makes them the perfect cookie for any occasion, but they are especially beautiful for Christmas or Valentine’s.
Cookies should be a part of every day life and that’s why we have more cookie recipes for you. Check out these Heart Jam Cookies, they are thumbprint cookies but in a cute heart shape. Or Mexican Pink Cookies, pretty pink color and the perfect chewy texture.
Homemade Red Velvet Cookies
Made with just a hint of cocoa powder and real vanilla extract, these red velvet cookies are chewy, decadent, but above all else, they have a fudgy texture that will make you swoon.
Homemade red velvet crinkle cookies are perfect for the holiday season with their deep red color and subtle flavor. It’s hard to pin point exactly what red velvet tastes like. There is just enough cocoa powder to give it a slight chocolate flavor but it is not overpowering. It also is not overly vanilla-y. That is why it is difficult to know exactly what the flavor is, it’s a delicate balance between chocolate and vanilla.
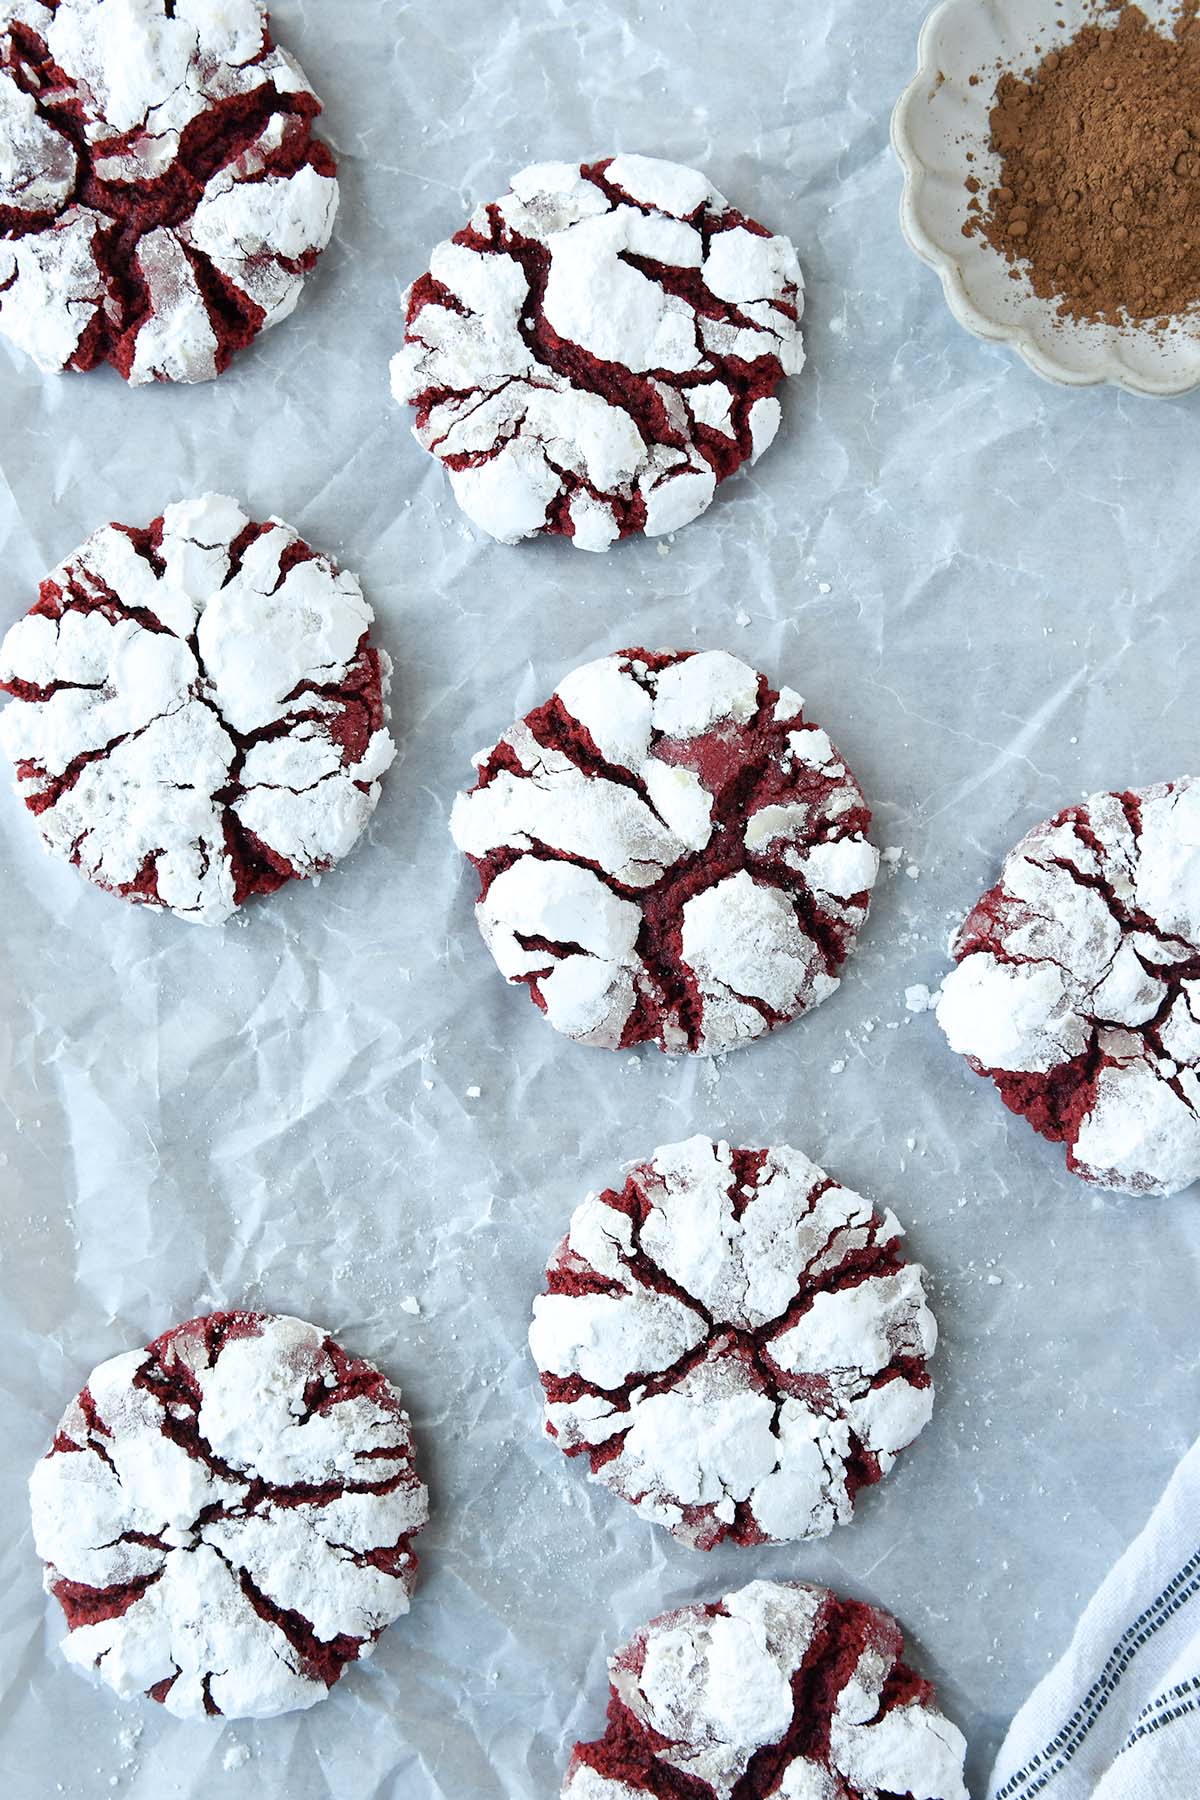
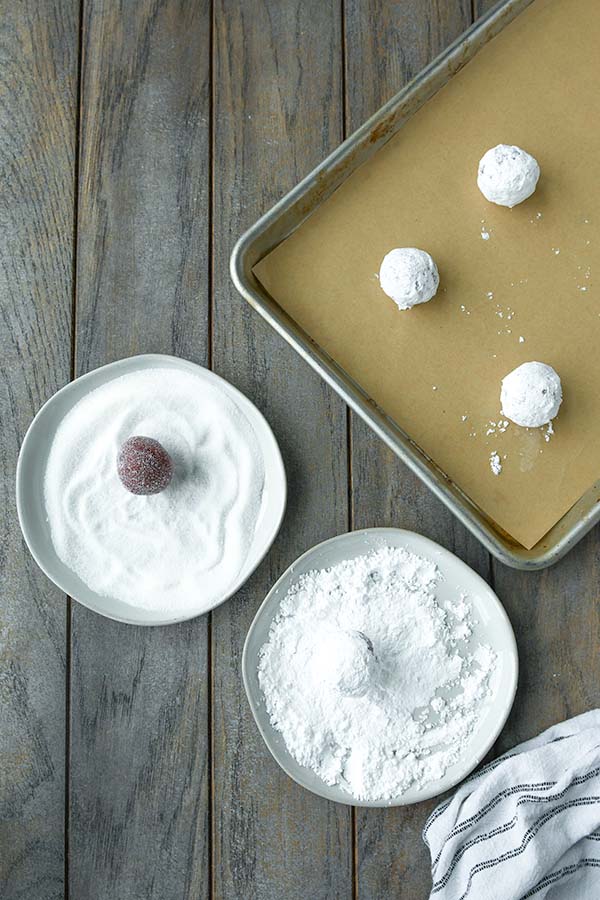
Each chilled cookie dough ball gets rolled in a thick layer of powdered sugar and then rolled again in a second coating. As the dough bakes up in the oven it expands due to chemical leavening and creates those beautiful cracks on the outside of the cookies.
Since these cookies are made from scratch, you won’t find a red velvet cake mix here. But, if you like cake mix cookies, these strawberry gooey butter cake cookies are seriously good and are like the cake but in cookie form.
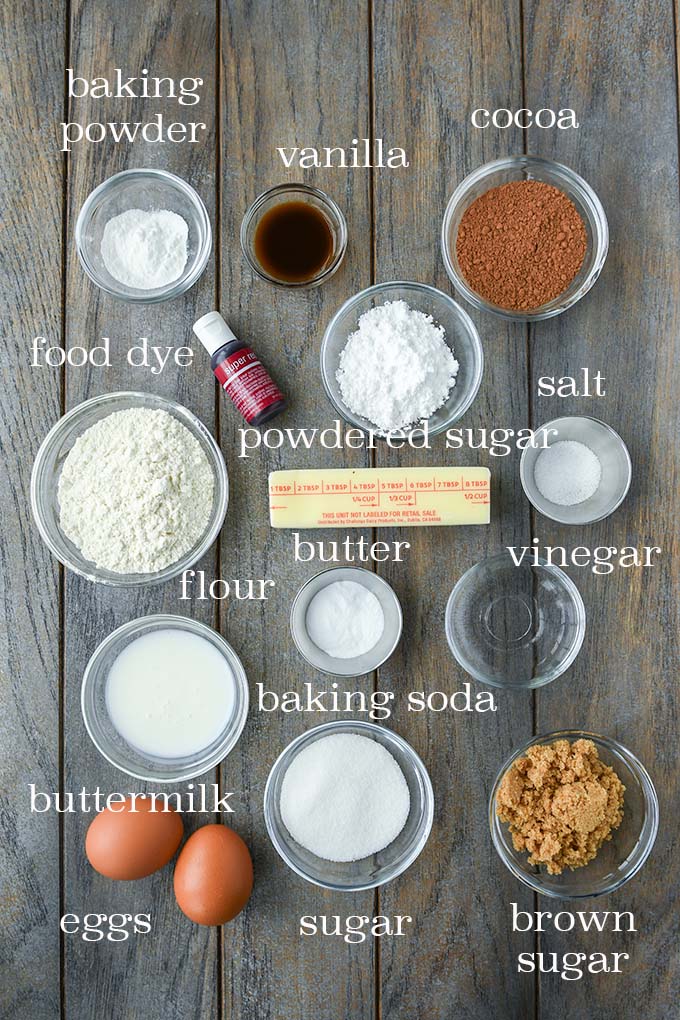
Red Velvet Crinkle Cookies Ingredients
- Flour: Use all purpose flour and make sure to properly measure it by spooning it into a measuring cup and leveling it off with a butter knife.
- Unsweetened Cocoa Powder: You want to use natural cocoa powder in these cookies because it will give you a little more lift when it reacts with the baking soda since it has more acid in it. You don’t want dutch process cocoa powder here. How to tell if your cocoa is dutch processed- usually the package will say “dutch processed” but, if it doesn’t the ingredient list should say something like “cocoa processed with alkaline.”
- Baking Soda and Powder: Be sure that baking powder and soda are not expired.
- Salt: I like to bake with sea salt or kosher salt. If using table salt, cut the amount down by half.
- Butter: You want the butter at room temperature, so be sure to pull that out of the refrigerator an hour or two in advance.
- Sugars: You will be creaming together both brown sugar and white sugar.
- Vanilla: Using vanilla extract and not vanilla flavoring is going to give the best flavor.
- Egg: Egg needs to be at room temperature so ensure it gets pulled out when you pull out the butter.
- Buttermilk: The little bit of buttermilk here reacts with the baking soda which will help the cookies expand.
- Food Coloring: If using gel food coloring then less is needed. If you only have liquid food dye then use 1-2 teaspoons.
- Vinegar:
- Powdered Sugar: Powdered sugar (confectioners’ sugar) is used to roll cookie dough balls in a sugar coating.
How to Make Red Velvet Crinkle Cookies
Here are the basic instructions to make red velvet crinkle cookies. Check out the recipe card at the bottom of this blog post with full ingredients and instructions to make it.
Baking Tips and Tricks
- A double dip in powdered sugar: You want to make sure the dough balls are really coated well in powdered sugar that is why we roll them twice. Otherwise, the powdered sugar may melt in the oven.
- Chill the dough: Chilling the dough is imperative! It ensures that the cookies don’t turn into puddles quickly when they are in the oven. You want them expanding slowly so you get that cool crackling effect.
- Work quickly: You want that dough cold. So, if at any point the dough starts to get warm or is coming up to room temperature, just pop it back in the fridge to cool it off again.
- Measuring ingredients: It can be very easy to add too much flour and then your cookies will be heavy and dense. I like to spoon fluffed flour into a measuring cup, have it slightly over filled, and then level the excess off with a knife.
Recipe Variations
- Add chocolate chips: Add 1/2 cup of white chocolate chips or semi-sweet morsels to the batter. If adding chocolate chips, drop the fridge chilling time down to 1 hour.
- Liquid dye vs gel dye: Using gel food coloring means you can use less and get very bright coloring. Liquid dye needs more to get the same color as gel.
- The color is up to you: If you prefer more vibrant red cookies, use more dye. If you like a hint of red use less dye or use none at all for brown cookies. The flavor won’t change if you choose to leave it out, but keep in mind if too much liquid food coloring is used it can start to alter the flavor of the cookies.
- Dye alternative: Add in 2 teaspoons of beet powder and omit the dye if you prefer. May change the cookie texture.
Frequently Asked Questions
How to serve red velvet cookies? These make perfect Christmas cookies because they really stand out on the holiday dessert table. Serve them with hot chocolate or this special strawberry hot chocolate.
How to Store
How to store it? The cookies can be left at room temperature for up to 5 days in an airtight container
More sweet recipes!
- Cream Cheese Bars
- Strawberry Gooey Butter Cookies
- Church Window Cookies
- Red Velvet Cheesecake Brownies
- Cream Cheese Melts
- Red Velvet Trifle
If you’ve tried this red velvet crinkle cookie recipe, don’t forget to give me a star rating and leave me a comment below in the comment section. I love to hear from people who have made my recipes.
NEVER MISS A RECIPE
Follow me on social media for more recipe ideas & inspiration!
PINTEREST / FACEBOOK / INSTAGRAM
Red Velvet Crinkle Cookies
Ingredients
- 3 cups all-purpose flour
- 1/3 cup unsweetened natural cocoa powder
- 1 teaspoon baking powder
- 1/2 teaspoon baking soda
- 1/4 teaspoon salt
- 1 1/2 sticks unsalted butter 3/4 cup, softened
- 1 cup light brown sugar
- 1/2 cup granulated sugar
- 1 large whole egg room temperature
- 1 large egg yolk room temperature
- 2 teaspoons vanilla extract
- 2 tablespoons buttermilk
- 1/2 teaspoon red gel food coloring
- 1/2 teaspoon white vinegar
For the Sugar Coating
- 1/4 cup granulated sugar
- 1/2 cup powdered sugar
Instructions
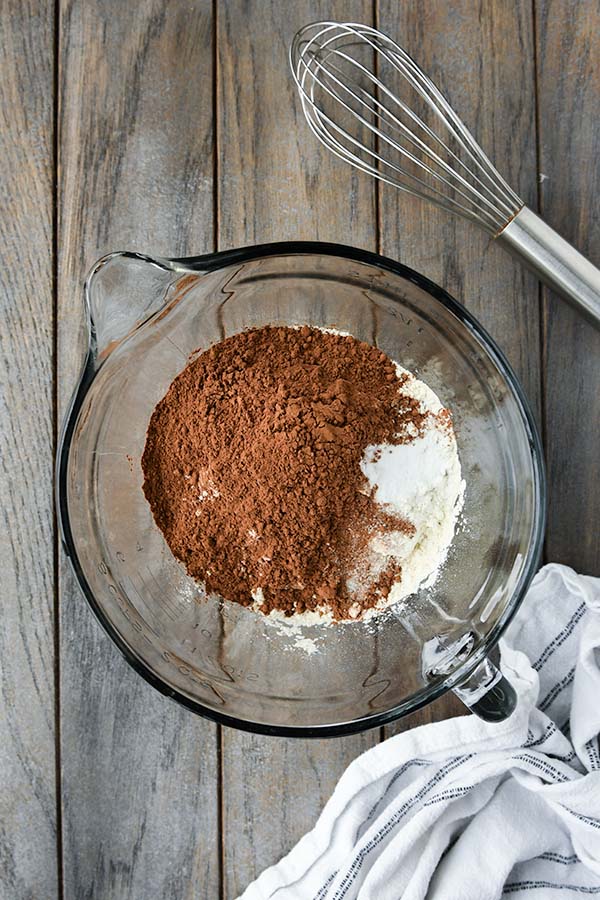
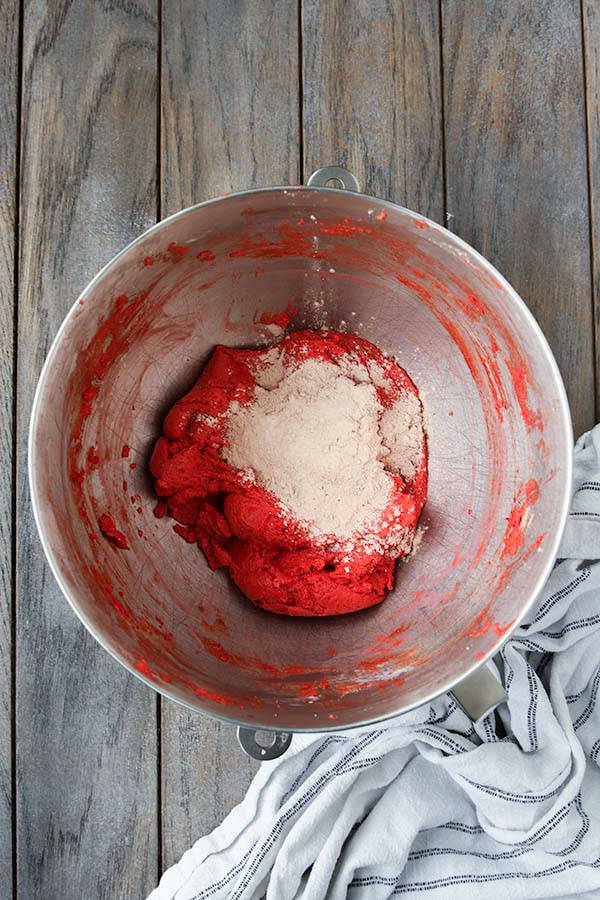
- In a medium mixing bowl whisk together the all purpose flour, cocoa powder, baking powder, baking soda and salt. Set aside.
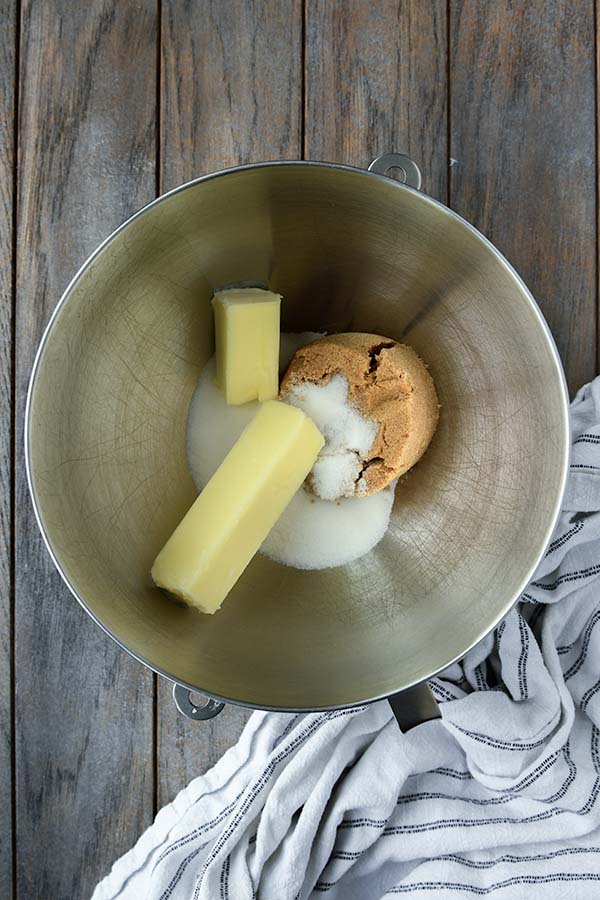
- In a stand mixer fitted with a paddle attachment, or with a hand mixer, over medium speed beat together the softened butter, granulated sugar, and brown sugar for about 5 minutes until well creamed scraping the bowl.
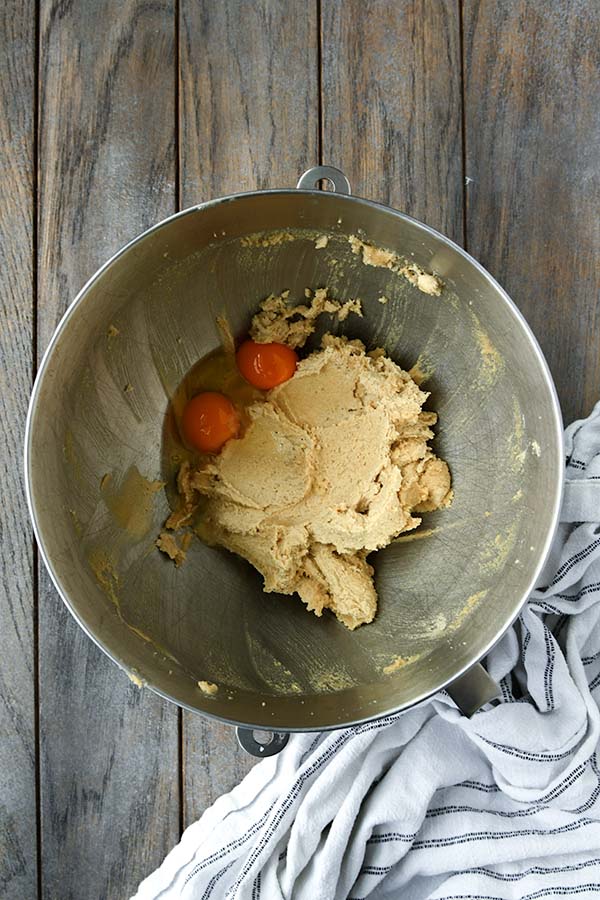
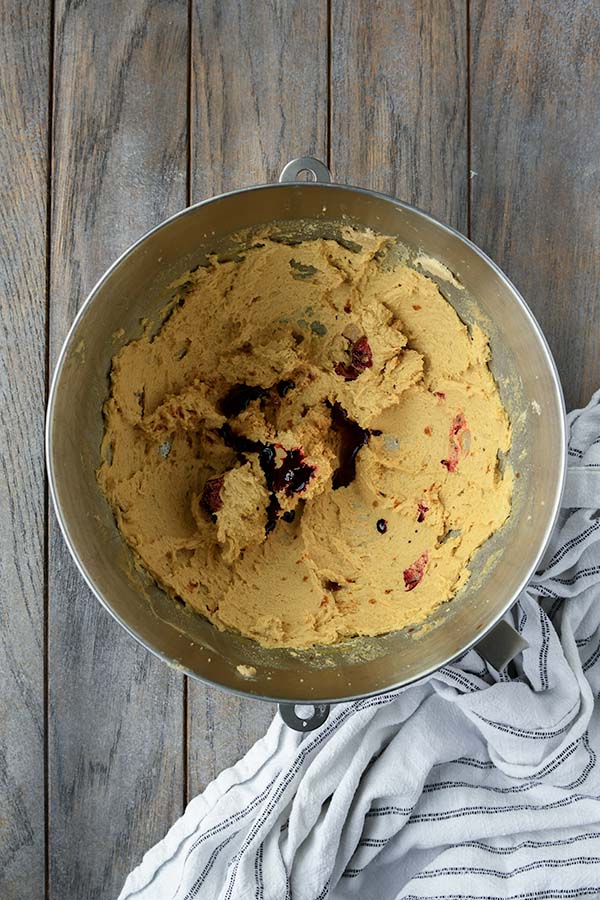
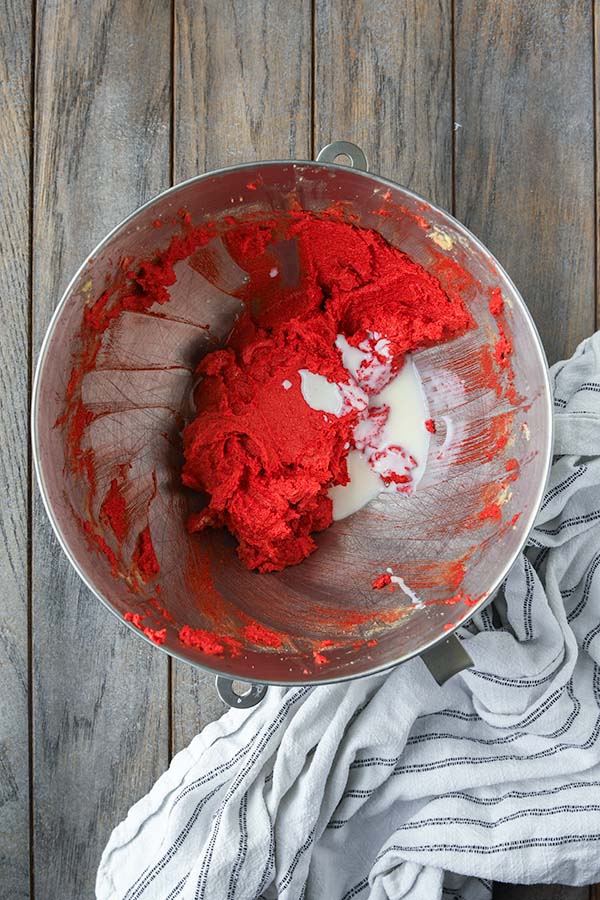
- Next, beat in the whole egg and egg yolk. Then add in the vanilla and food coloring. Mix until combined, scraping the sides. Once combined, mix in the buttermilk and vinegar.
- Slowly add the dry ingredients into the wet ingredients over low speed, just until combined.
- Cover the bowl of dough with plastic wrap and chill in the refrigerator for at least 1-2 hours. If you leave the dough in the fridge longer or overnight, let it warm up no longer than 30 minutes. It's going to be hard to scoop, but needs to be cold to get good cracks.
- Preheat the oven to 350°F. Line baking sheets with parchment paper. Fill one bowl with granulated sugar and one for powdered sugar for rolling.
- Scoop the stiff, chilled dough into 2 tablespoon sized portions and roll into balls. Once all balls are made, roll each one in the granulated sugar and then two coats of powdered sugar. Stir the powdered sugar if it becomes compact. Place 2 ½ inches apart on the baking sheets.
- Bake one sheet at a time for 11-13 minutes. Let them cool on baking sheet for 5 minutes before moving to a cooling rack.. Makes 32 cookies.
Notes
- A double dip in powdered sugar: You want to make sure the dough balls are really coated well in powdered sugar that is why we roll them twice. Otherwise, the powdered sugar may melt in the oven.
- Chill the dough: Chilling the dough is imperative! It ensures that the cookies don’t turn into puddles quickly when they are in the oven. You want them expanding slowly so you get that cool crackling effect.
- Work quickly: You want that dough cold. So, if at any point the dough starts to get warm or is coming up to room temperature, just pop it back in the fridge to cool it off again.
- The cookies will last 5 days in an airtight container.
Nutrition
Did you make this recipe?
Please let me know how it turned out
I love hearing from you! Share a picture of the recipe on Instagram and hashtag it #homecookedharvest.
Leave a Reply