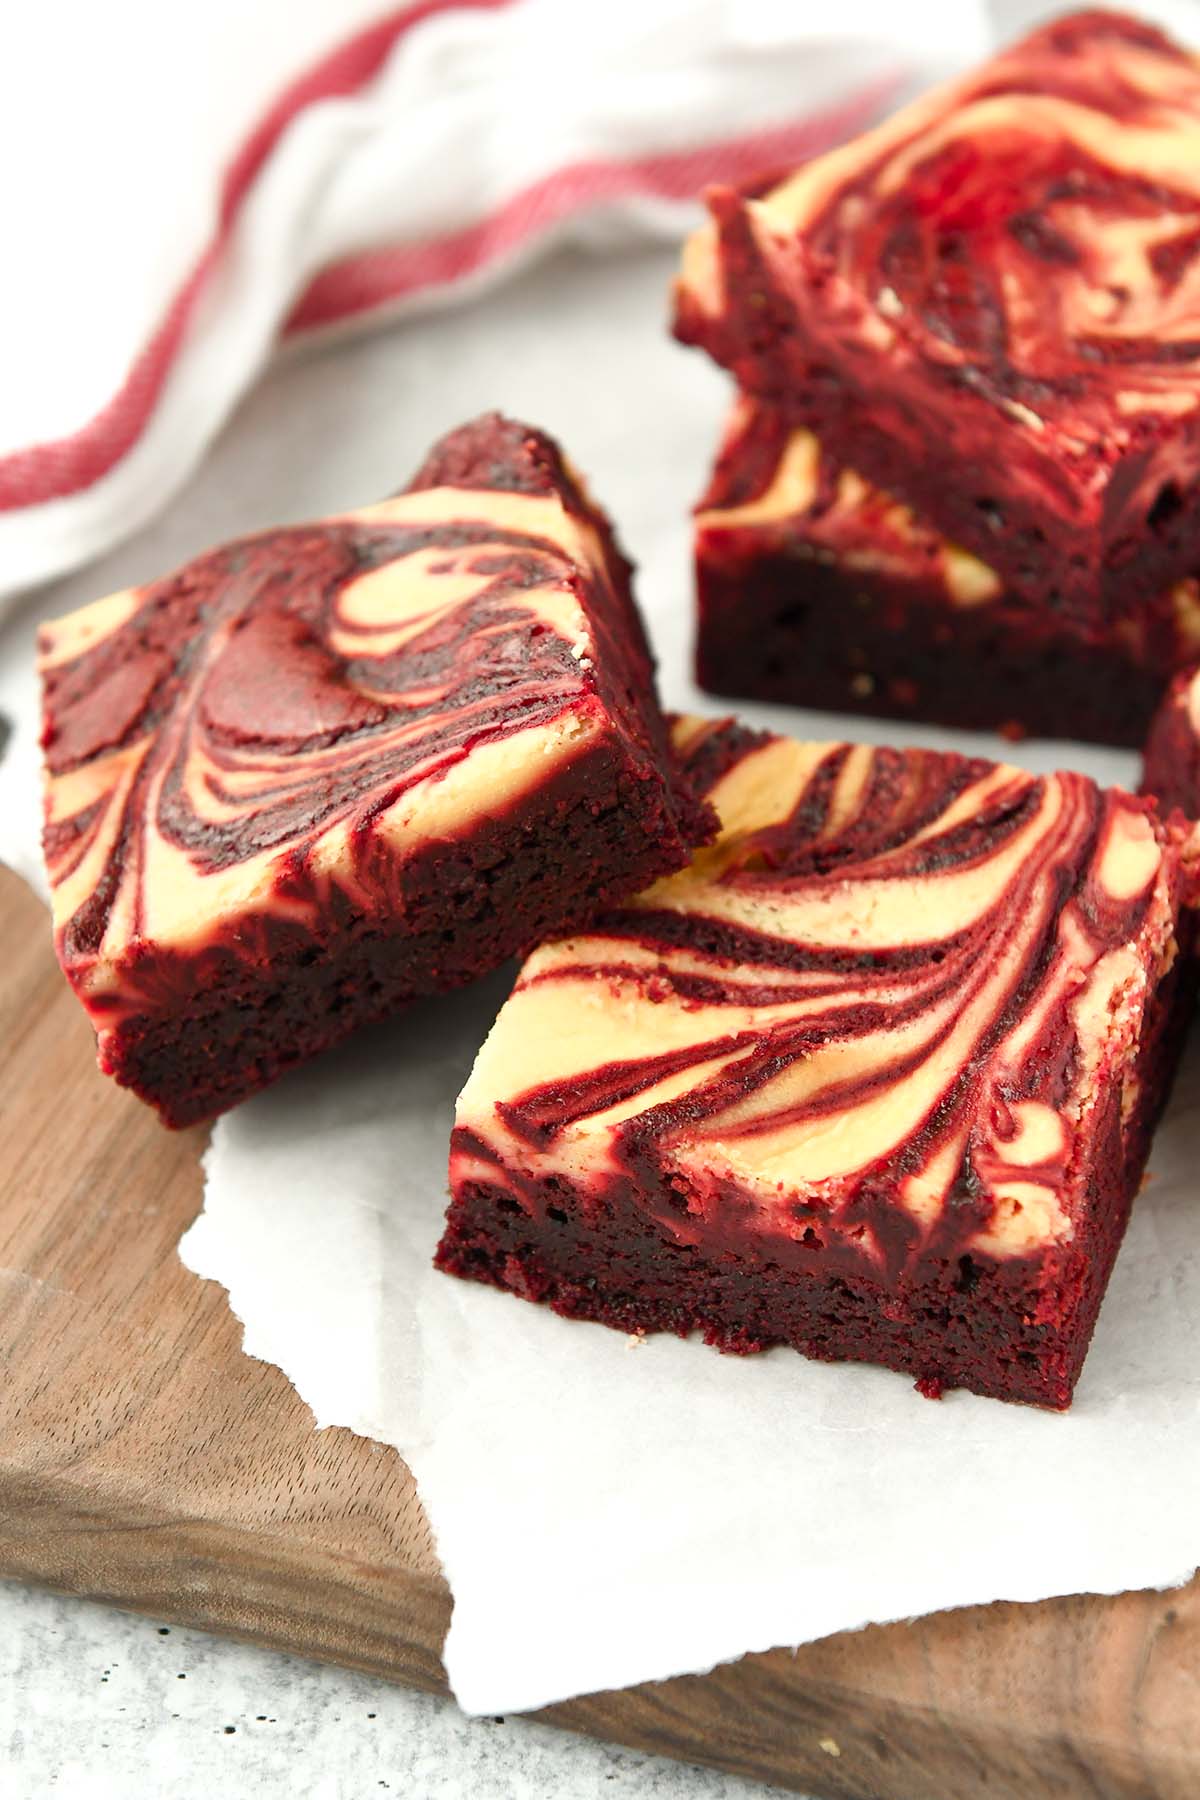
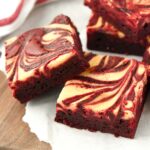
These decadent Red Velvet Brownies are fudgy and chewy with a brilliant red hue and creamy dollops of sweetened cream cheese swirled into every bite. If you love old-fashioned red velvet cake, put these fudgy brownies on your must-make list. They have that chocolaty flavor you know and love, but are a portable, picture-perfect dessert for Valentine’s Day or any special occasion!
If you love red velvet desserts, don’t miss this Red Velvet Trifle! Pieces of tender cake are layered with creamy cheesecake pudding and lots of fresh berries for a red, white, and blue treat. Baking for Valentine’s Day? These colorful Nutella Truffles and Cream Cheese Melts will look beautiful next to the brownies on your dessert table.
What are Red Velvet Brownies?
Traditional red velvet cake used to get its iconic red color from a chemical reaction between the cocoa powder, buttermilk, and flour. This gave the cake a mild chocolate flavor and a hint of red color. These days, we tend to lean a little heavier on the chocolate flavor and add red food dye for that classic red velvet color.
This fudgy red velvet brownies recipe has just enough chocolate flavor, a beautiful red color, and a sweet cheesecake swirl to add a nice color contrast and a little tanginess to balance out all the sweetness.
They’re easy to eat right out of your hand, and are the perfect dessert for red velvet fans!
Why you’ll love this red velvet brownies recipe
- Moist and full of flavor: Moisture equals flavor. Dry brownies don’t taste like much! This recipe is moist and fudgy with that classic red velvet flavor. The tangy cream cheese cuts through the richness to make them really snackable, too.
- Quick and easy dessert: This is one of those desserts that comes together faster than you’d think. In just under an hour, you’ll have a tray of brownies ready to serve. Easy!
- Great for entertaining: Brownies can easily be picked up and eaten, which makes them easy to serve at parties and gatherings. The colors make them the perfect treat for Valentine’s Day or Christmas!
Recipe Ingredients

Brownie Ingredients
- Melted butter: I use unsalted butter to keep the brownies from becoming too salty.
- Granulated sugar.
- Eggs
- Red food coloring: You can use either red gel food coloring or liquid food dye.
- Vanilla extract
- Salt
- Unsweetened cocoa powder: This adds just enough chocolate flavor while still allowing the red color to stand out.
- All purpose flour: To absorb extra moisture and bind the brownies together.
Cheesecake Swirl
- Cream cheese: Let the cream cheese come to room temperature before mixing it with the other ingredients. The dollops will be dropped onto the red velvet brownie batter and swirled before baking.
- Egg
- Granulated sugar
- Vanilla extract
How to Make the Best Red Velvet Brownies
Check out how easy it is to make this brownie recipe. Here are the basic step by step instructions. See the recipe card at the bottom for full instructions.


Tips for Success
- Use room temperature ingredients. When baking, ingredient temperature really matters. If you want the best texture and flavor, be sure to use room temperature ingredients when noted in the recipe.
- Don’t under bake. If the brownies aren’t cooked all the way, they’ll be overly soft and gooey on the inside. I always recommend using a toothpick to poke the center of the brownies. If it comes out clean, they’re done.
Recipe Variations
- Add texture. Fold in white chocolate chips or chopped walnuts for extra crunch.
- Dollop strategically. If you drop little circles of cream cheese in the batter, you can run a knife partway through the center to make little hearts. So cute for Valentine’s Day!
- Use dark chocolate. For an even richer flavor profile, use dark cocoa powder instead of regular unsweetened cocoa powder. It works really nicely with the cream cheese and the extra bitterness balances out the sweetness.
- Serving. Cut into 9 or 16 squares.

Frequently Asked Questions
Do you have to frost red velvet brownies?
Part of that classic red velvet cake flavor is the cream cheese frosting. This red velvet brownie recipe incorporates that by baking a sweetened cream cheese mixture on top of the brownie batter, so you don’t need to worry about frosting. However, if you would prefer to skip the cream cheese topping and frost them with your go-to cream cheese frosting instead, that works, too!
Do you have to dye red velvet brownies?
That’s entirely optional. You get more of that telltale bright red color with red coloring, but you don’t have to use it if you don’t want to.
Can you bake brownies in a glass pan?
It’s generally best to bake brownies in a metal pan, particularly dark metal, to help them bake consistently and get nice, chewy edges. You can use a glass pan in a pinch, but you might not get quite the same result.
How to Store & Reheat
How to refrigerate? Although you can keep the brownies at room temperature for a while, it’s best to store them in an airtight container in the fridge to keep the cream cheese fresh. Eat within 3-4 days for the best texture. Before eating, let the brownies come to room temperature.
Can I Freeze Red Velvet Brownies?
How to freeze? For longer storage, place sliced, fully baked brownies in a freezer-safe container and store for up to 3 months. Thaw in the fridge or on the counter before serving.

Try these other brownie recipes!
- Butterscotch Brownies
- Raspberry Brownies
- Rocky Road Brownies
- Pecan Pie Brownies
- Frosted Peppermint Brownie Cookies
If you’ve tried this red velvet brownie recipe, don’t forget to give me a star rating and leave me a comment below in the comment section. I love to hear from people who have made my recipes.
NEVER MISS A RECIPE
Follow me on social media for more recipe ideas & inspiration!
PINTEREST / FACEBOOK / INSTAGRAM
Red Velvet Cheesecake Brownies
Ingredients
- 1 full stick unsalted butter 1/2 cup
- 1 cup granulated sugar
- 2 large eggs room temperature
- 3/4 teaspoon red food coloring gel
- 2 teaspoons vanilla extract
- 1/4 teaspoon salt
- 1/4 cup unsweetened cocoa powder
- 3/4 cup all purpose flour
Cheesecake Swirl
- 8 ounce block cream cheese
- 1 large egg room temperature
- 1/4 cup granulated sugar
- 1/2 teaspoon vanilla extract
Instructions
- Preheat the oven to 350°F. Butter an 8×8-inch baking pan and line with parchment paper, set aside.
- In a medium-sized microwave bowl, melt butter. Whisk with granulated sugar until combined. Add in the egg and whisk until foamy about 2 more minutes.
- Next, whisk in the red food coloring and vanilla until well mixed.
- Add in the salt, cocoa powder, and flour. Stir just until the streaks of flour disappear (don’t over mix).
- Pull out ¼ cup of batter and set to the side to later swirl with the cream cheese batter. Pour the rest of the brownie batter into the prepared baking pan and even out.
- In a separate medium bowl, whisk together the softened cream cheese, egg, sugar, and vanilla.
- Drop dollops of the cream cheese batter onto the brownie batter. Add on spoonfuls of the brownie batter and drag a knife through the top layer to swirl the cream cheese with the brownie batter.
- Bake for 30-35 minutes until the center is cooked through. Lift brownies out of pan and set on cooling rack. Cut into 9 or 16 squares once brownies have completely cooled.
Notes
- Dollop strategically. If you drop little circles of cream cheese in the batter, you can run a knife partway through the center to make little hearts. So cute for Valentine’s Day!
- Use dark chocolate. For an even richer flavor profile, use dark cocoa powder instead of regular unsweetened cocoa powder. It works really nicely with the cream cheese and the extra bitterness balances out the sweetness.
Nutrition
Did you make this recipe?
Please let me know how it turned out
I love hearing from you! Share a picture of the recipe on Instagram and hashtag it #homecookedharvest.
Leave a Reply