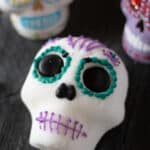
Learn how to make a beautiful Mexican Sugar Skull to celebrate the Day of the Dead with this easy to follow recipe. With just a few simple ingredients and some colorful decorations, you can create a sugar skull to honor your loved ones for this beloved Mexican tradition.
The spooky season is almost here, but it doesn’t have to be scary. Celebrate by making these cute Cookie Witch Hats or Candy Corn Sugar Cookies. Or enjoy a big glass of these Apple Cider Slushies. These recipes are great treats to make for your family and perfect for kids.
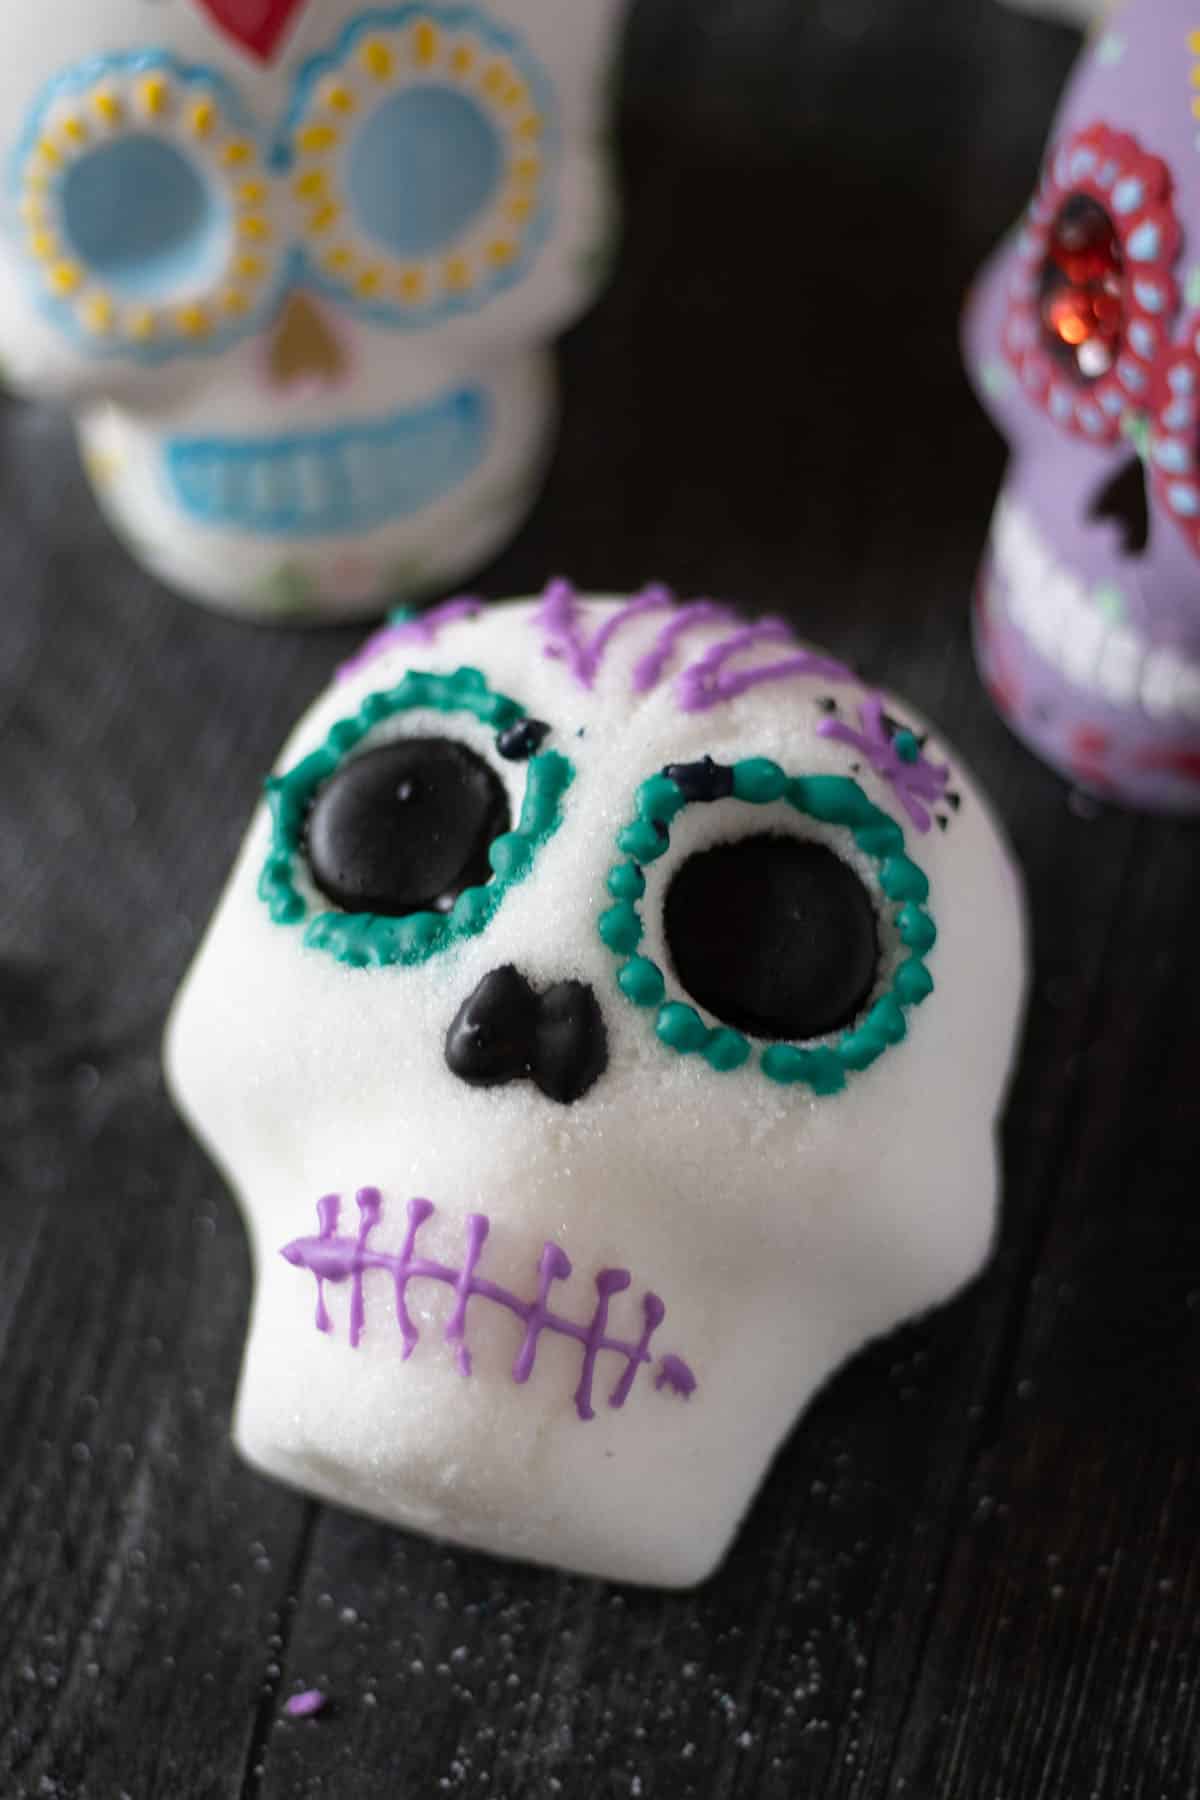
It’s almost that time of year again to celebrate the annual Mexican holiday Día de los Muertos, or Day of the Dead, in which the souls of the deceased return for just one night to spend with their families.
This vibrant holiday provides an interesting perspective on death and serves as a time to commemorate the dearly departed and celebrate their life rather than mourning their passing. It is an occasion of celebration, happiness, feasting, family, and remembrance.
Honor the lives of your loved ones and ancestors who have passed on by creating your own Day of the Dead skull with this step by step tutorial which is super easy to do with kids.
So grab some granulated sugar, meringue powder, and your art supplies and let’s learn how to make a Mexican sugar skull.
What are Sugar Skulls?
This folk art is deeply rooted in Central and Southern Mexican tradition. It is made by families for every Day of the Dead, or in Spanish, Dia de los Muertos. The skulls represent family members who have passed on and get put on altars as a sweet offering to the deceased.
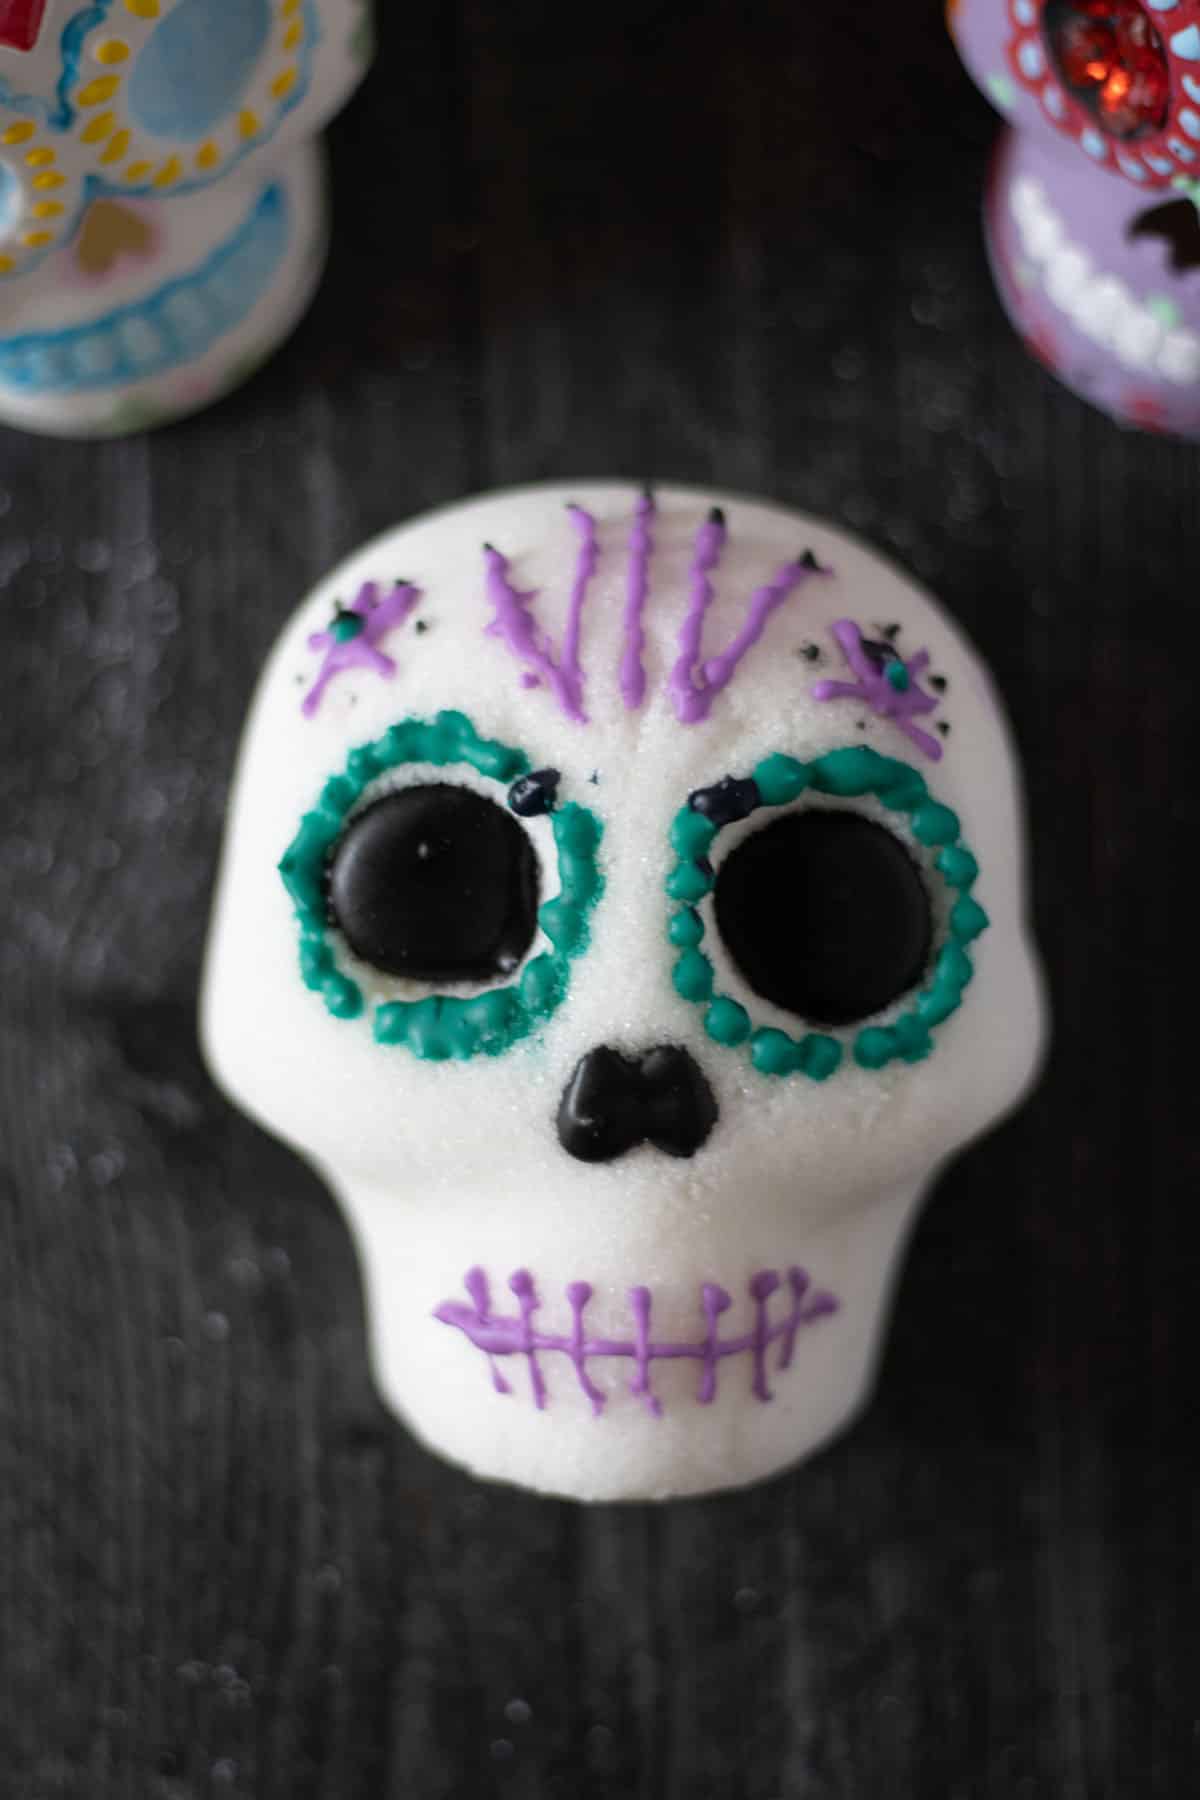
These colorful sugar skulls, also known as calavera de azúcar in Spanish, are skulls that are often formed in molds out of granulated sugar and meringue powder or egg whites. The skulls get elaborately decorated with icing and embellishments.
This recipe is for sugar skulls made of actual sugar, but decorated chocolate sugar skulls are also very popular, as are clay sugar skulls which last longer than the skulls made of sugar.
Why You Will Love this Mexican Skull Recipe
Here are some reason you might like to make these sugar skulls.
- Family project. This is a great art project to do with kids and loved ones.
- Honor ancestors. Dia de muertos is all about honoring your ancestors, it’s a great way to reconnect to those that have passed.
- New tradition. You could start a new tradition if you don’t already celebrate the day of the dead, these can be made by anyone.
- School project. If you are a teacher of elementary school age children this is a fun craft and great project to learn about different cultures and Mexican heritage.
Where did Sugar Skulls Originate?
These skull shaped confections are based off of a religious decoration called alfeñique made from a sugar paste that originated in Italy. This decor became popular in Spain and missionaries eventually brought the idea to Mexico.
Originally, the Aztec tradition was to put figures made of wood and covered in amaranth seed dough out on altars with offerings, or ofrendas in Spanish. But, they began to design them from sugar instead.
Day of the Dead History & Tradition
In Mexican culture, Día de los Muertos, is celebrated every year to honor ancestors and loved ones that have passed away. This Mexican holiday represents the belief that the gates of heaven open up to the land of the dead to allow all the deceased loved ones to come spend time with their families.
Altars (ofredas) are set up at the end of October to honor the dead. They are often very elaborate, decorated with Mexican marigolds (known as the flower of the dead), lighted candles, papel picado (hand-cut paper banners), photos of the deceased, pan de muerto (bread of the dead), and sugar skulls.
The day of the dead celebration begins on November 1st (All Saints’ Day) when the spirits of all deceased children and babies known as angelitos, come for 24 hours. Small sugar skulls (calaveritas) are put out for this. And later on November 2nd (All Souls’ Day), the small skulls are replaced with large sugar skulls for the represented adult souls.
Some of the Day of the Dead festivities include visiting gravesites and cleaning up and decorating gravestones, face painting and dressing up as calacas (skeleton figures) or La Catrina (an elegantly dressed skeleton), attending church services, listening to music and dancing, setting up ofrendas, lighting candles on altars and graves, and eating a special meal.
All in all, Dia de Muertos is a celebration of life instead of a time of mourning.
Are these Edible Sugar Skulls?
Even though these sugar skulls are completely made of edible ingredients, they are technically only supposed to be made for decoration purposes and not to be eaten. But, you could eat them if you wanted to.
Different ways to Decorate Sugar Skulls
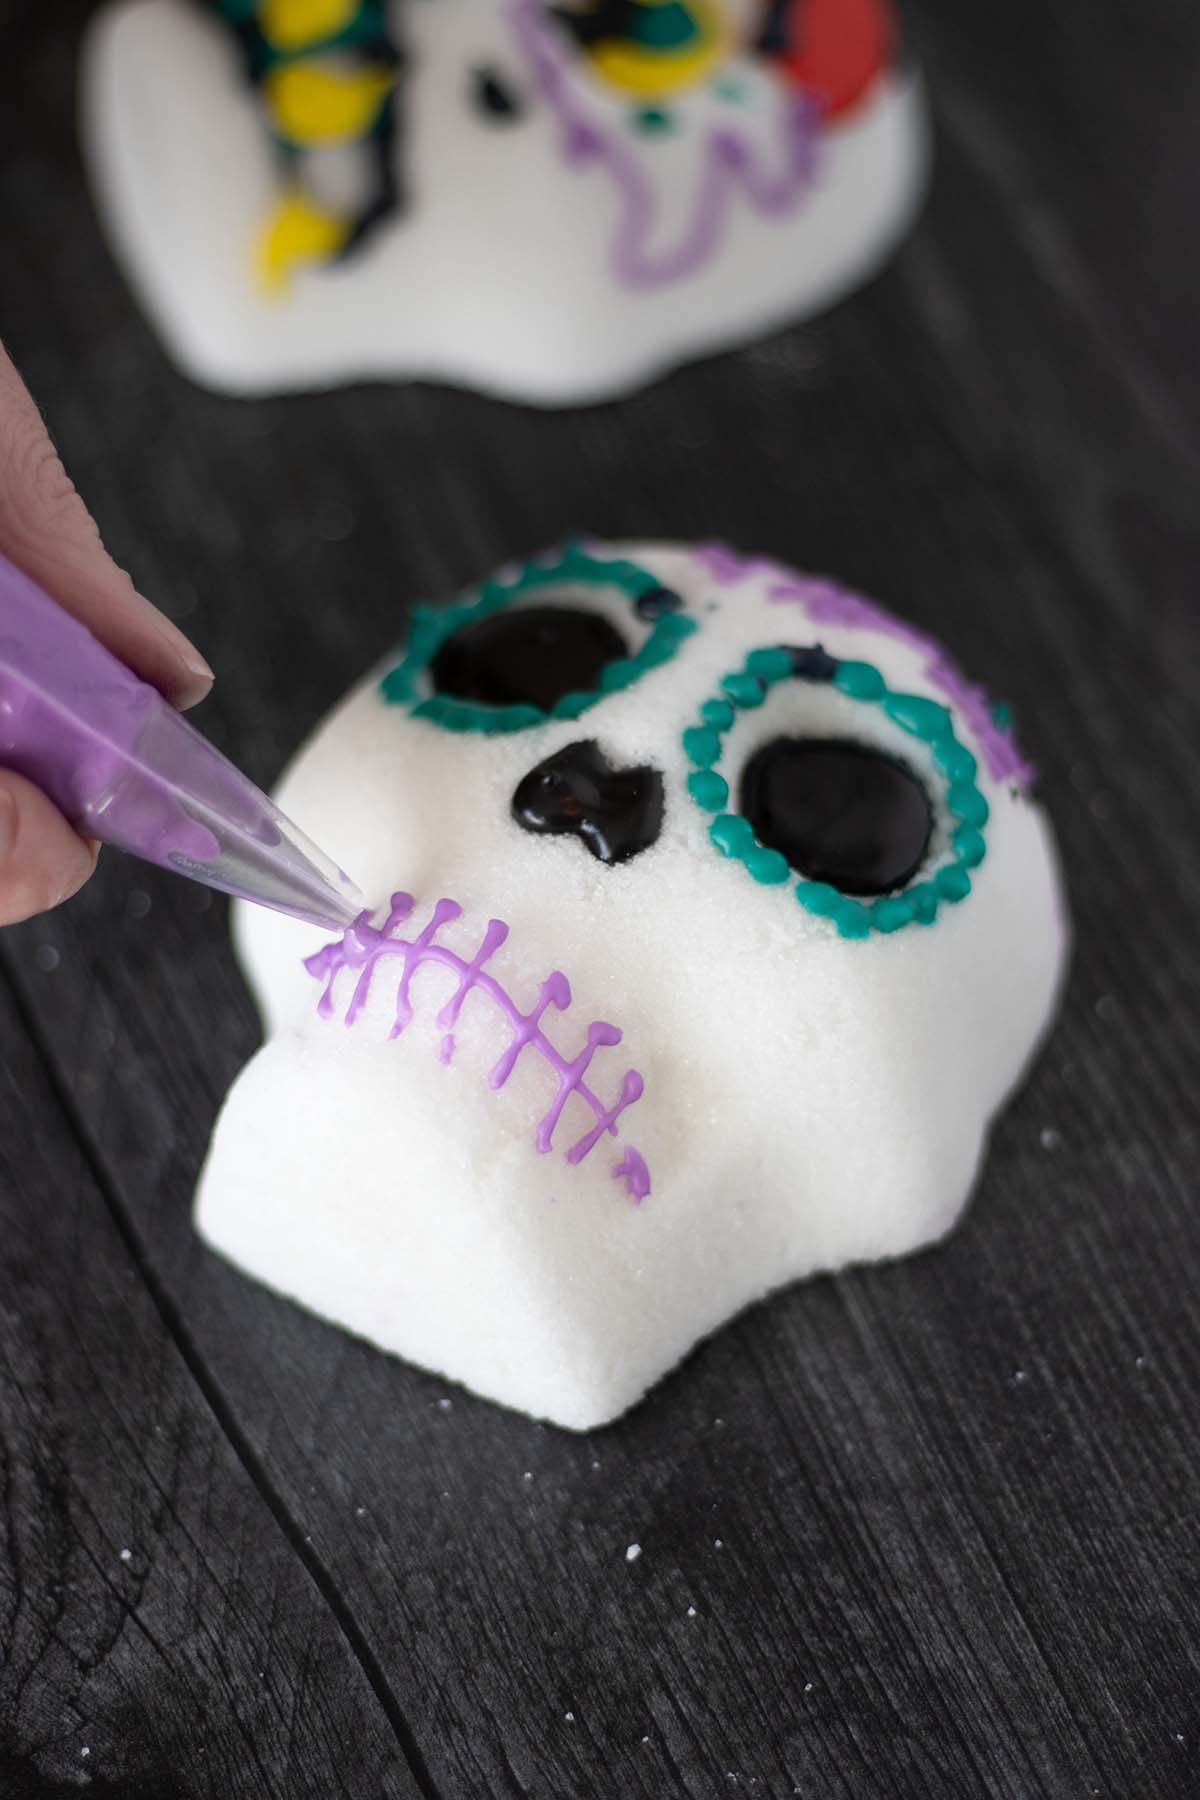
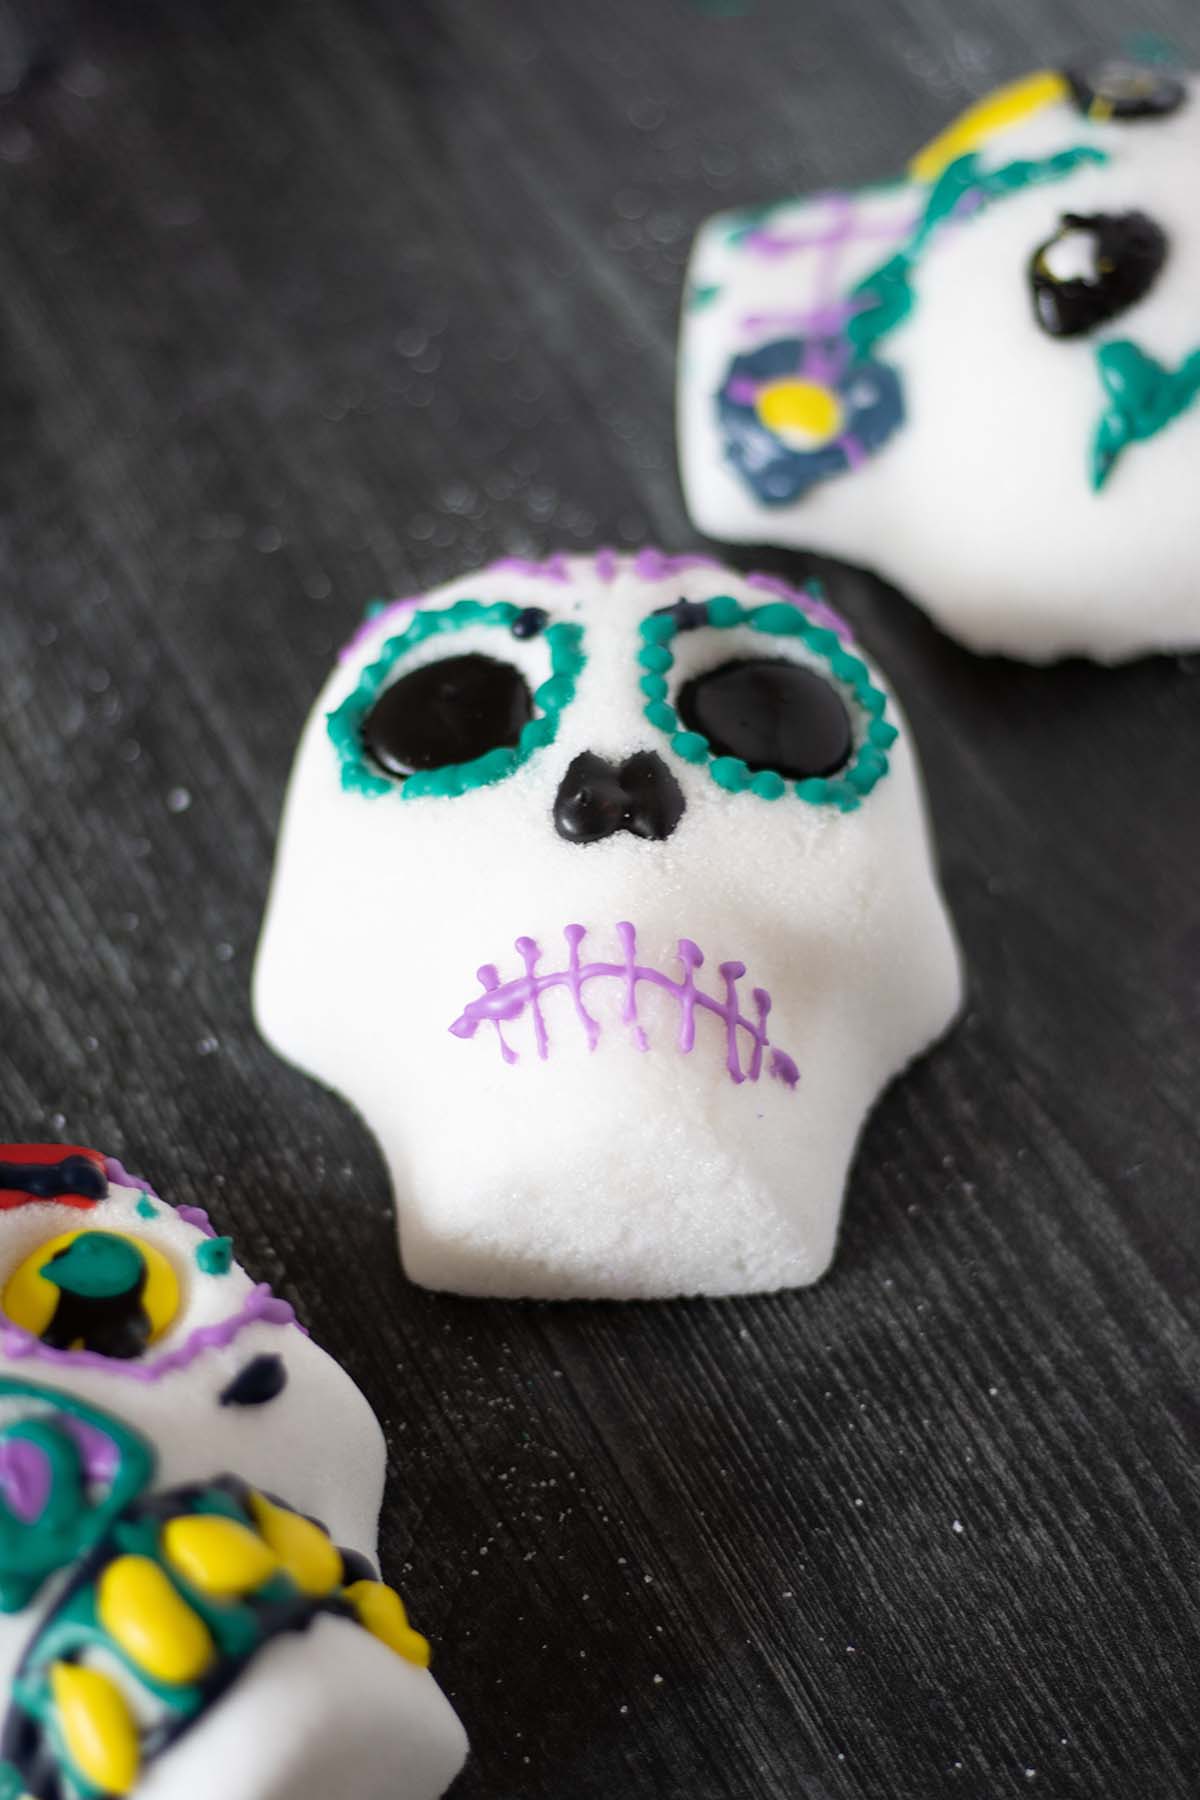
Once sugar skulls are completely dry, now comes the fun part, getting to decorate. You do not only have to decorate with frosting, there are many items you can use. Just keep in mind not to allow children to nibble on the sugar skulls made with non-edible decorations.
Some of the items you can use decorate with are acrylic paint, paper flowers, sequins, colored glue, glitter, feathers, foils, puff paint, markers, colored beads, ribbons, or gems. Get creative and make them bright and colorful as you like. Another popular thing to do is to write the deceased members name across the forehead.
Special Tools needed to make Mexican Skulls
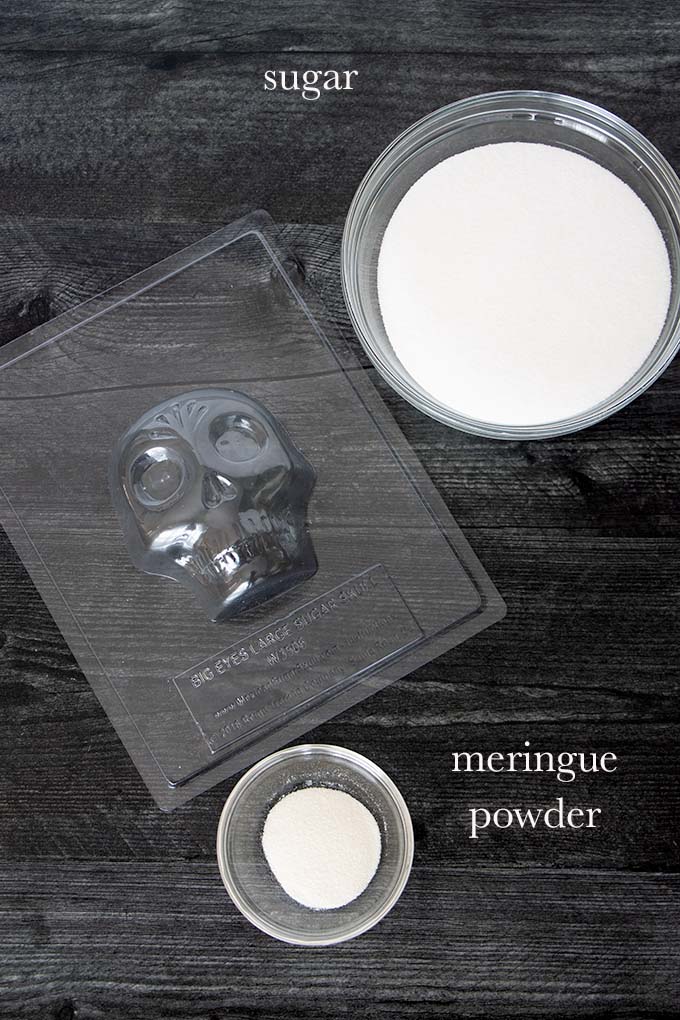
- 1 large plastic skull mold. I ordered mine off of Amazon. The dimensions are 12 x 10 x 4 inches for the whole mold but the skull itself is 4.5″long x 3″ wide x 3″ deep. And it has a front and back mold.
- Pastry bag. I like to use disposable pastry bags. The amount of bags you will need is dependent upon how many colors you are making.
Sugar Skull Recipe Ingredients
There are just a few simple ingredients to make homemade sugar skulls. Check out the printable recipe card at the bottom of this blog post for full ingredient amounts.
- Granulated sugar: This sugar is the base of the whole skull.
- Meringue powder: This helps to harden the sugar skull.
- Water: Adding water to the mix helps the sugar mixture get pressed into the plastic mold.
Royal Icing Recipe Ingredients
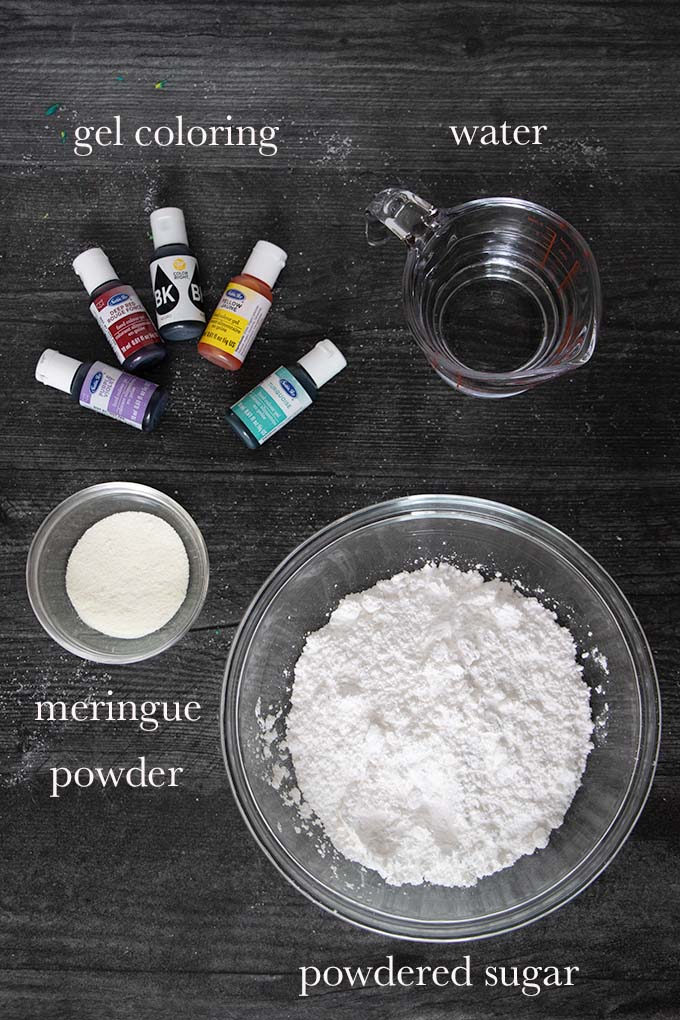
- Confectioners’ sugar: Powdered sugar along with meringue powder forms the royal icing.
- Food coloring: This adds the color to the royal frosting. I like to use gel coloring because it gives a vibrant color. Choose whatever colors are your favorite. You will need a bowl of frosting for each color.
- Meringue powder: This helps the icing become sturdy and stable.
- Water: Water helps the mixture become fluid and spreadable. I like to use filtered water.
How to Make Sugar Skulls Step by Step
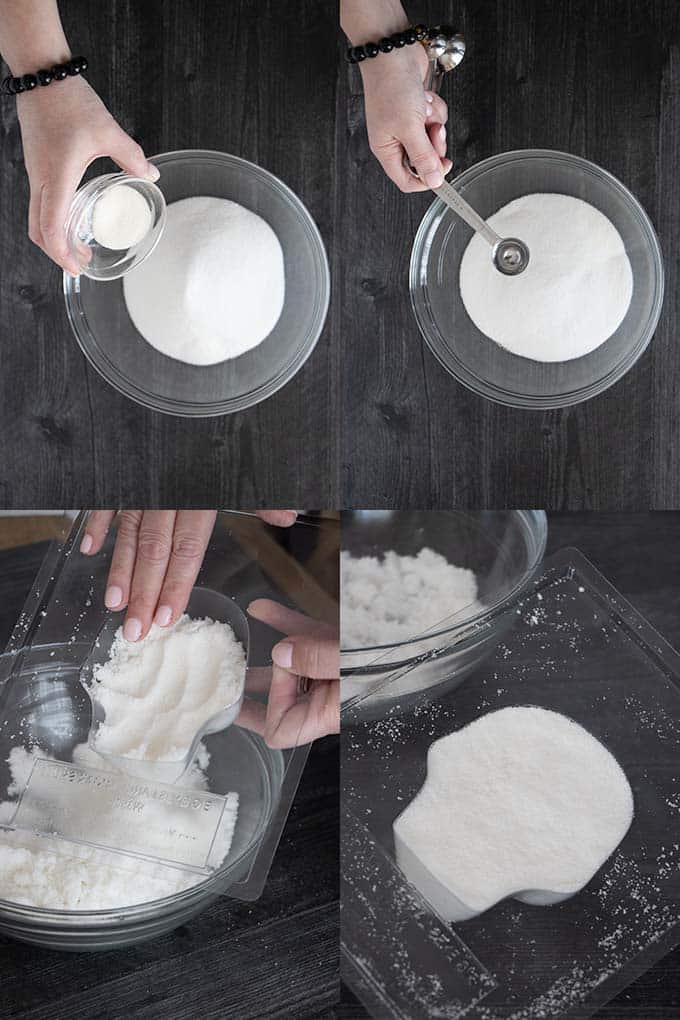
STEP 1: In a large bowl, mix together white sugar and meringue powder. Add in 2 teaspoons of water and mix well by hand. It should feel like moist sand. If you squeeze some of the sugar paste in your hand it should hold its shape well. If it doesn’t add a teaspoon of water at a time until it holds.
STEP 2: Press the sugar mixture into the front of your mold, packing it in tightly. Make the back flat by scraping it with a bench scraper. Repeat this with the back of the mold. You can either immediately un-mold by flipping the skull onto a square of cardboard or allow the mixture to dry in the mold. Leave to dry at least 8 hours or overnight.
How to Make Royal Icing?
STEP 3: Once skulls are completely dry, make the meringue icing. To a large mixing bowl or the bowl of a stand mixer, confectioners’ sugar, meringue powder and water. Mix slowly with an electric mixer or in stand mixer until nice and thick. Add a thin, even layer of the icing to one of the skull halves to have them stick together. Let dry for at least an hour.
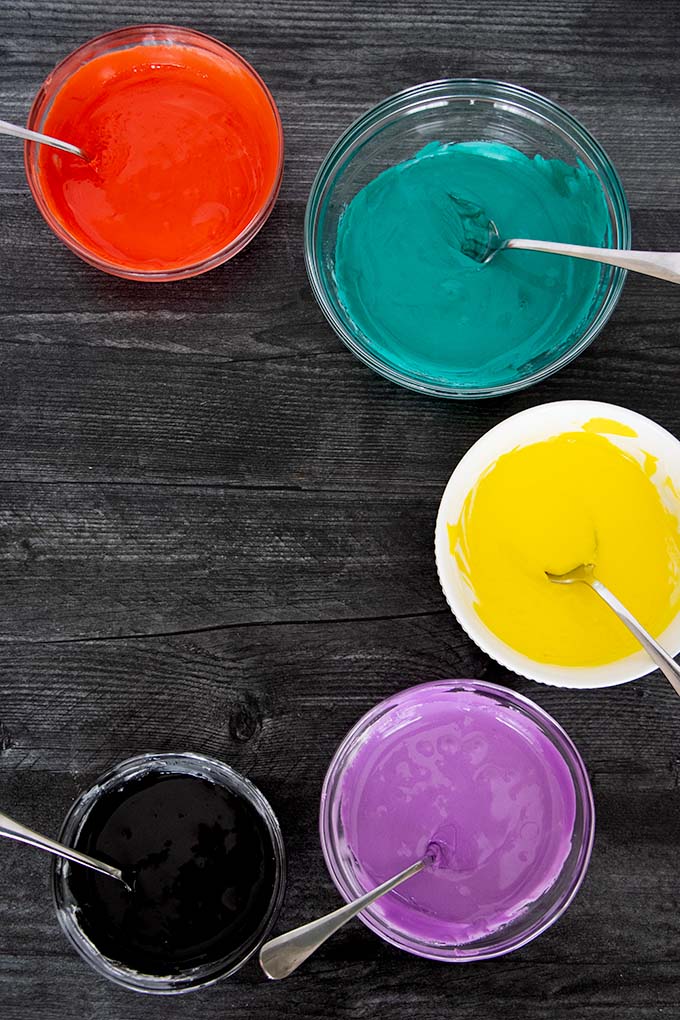
STEP 4: Separate the icing into small bowls depending on the number of colors you are wanting to use. Add food coloring and mix until the desired color is reached. Fill the piping bags that have been fitted with decorating tips with the icing. Decorate skull and let dry for 3-4 hours.
How to Make a Sugar Skull without a Mold
Yes, you can make candy skulls without a skull mold. Just scoop one or two tablespoons of the sugar mixture into the palm of your hand. Form it into a ball. Then with your pinky, press two dents for the eyes. Press two tiny dents for nose holes and a line for a mouth.
Tips for Success
- Water content. You want to add enough water to the mixture until it stays clumped together when you squeeze some in your hand.
- Humidity. If you live in a humid area and it is a very humid day, I don’t recommend making these skulls. Wait for a less humid day.
- Too much water. If you added too much water to the skull mixture, add a little sugar at a time until the texture is correct.
- Press well. Press the granulated white sugar mixture really well into the skull mold to ensure it will hold its shape.
- Completely dry. Make sure the skulls are completely dry and hardened before making it into sugar skull art.
- Keep someplace dry. Make sure to keep away from liquids, moisture or humidity, since it is made of sugar the day of the dead skull can melt.
Recipe Variations
- Decoration. Skip using royal icing and decorate with other decorative items.
- Make skulls different sizes. This recipe is for one large skull, you can make smaller sugar skulls, medium skulls or even miniature skulls. You just have to buy different sized molds.
- Vanilla. Add a little vanilla scent by adding vanilla extract to the sugar mix.
- Food coloring. Add some food coloring to the sugar mixture to add color to the skull.
- Hollow out skulls. You can hollow out the skulls by scooping out some of the sugar after it has dried to make it lighter. One fun thing to do is to add chocolates or other candies to the inside. Or luminate the skulls by adding small led lights to the inside.
Frequently Asked Questions
Where is Dia de los Muertos celebrated? Although this holiday is very popular in Central and Southern Mexico, it has spread throughout the entire world.
Are sugar skulls vegan? These sugar skulls are not vegan because they are made with meringue powder which contains egg whites.
Can I make these into vegan sugar skulls? There is a way to make them vegan by using organic sugar (it’s not run through bone char) and just water. The mixture gets pressed into the skull mold and turned out onto a baking sheet and baked. But the ingredient amounts and length of baking time are based on the size of skull you are using.
Do you have to stick the front and the back of the skull together with royal icing? If you are not going to eat the sugar skulls (sometimes kids will take a nibble), you can use hot glue or a strong glue to hold the two halves together.
Do I have to decorate the sugar skulls with royal icing? You do not only have to decorated with royal icing, you can skip it all together if you like. You can still make colorful skulls using a lot of other decorative items instead of frosting.
How to Store & Reheat
Since a sugar skull is made of real food ingredients, it does have a shelf life and will not last forever. It can be left out at room temperature for several weeks as long as it is in a cool, dry place and not in direct sunlight. Store it in an airtight container lined with parchment paper. The skull should last a few months.
Can I Freeze a Sugar Skull?
It is not recommended to freeze sugar skulls because it can destroy the skull and when left out to defrost, the sugar may become a sticky mess.
Try these other fall recipes!
- Cookie Witch Hats
- Air Fryer Pumpkin Seeds
- Candy Corn Sugar Cookies
- Purple Gecko Shot
- Air Fryer Acorn Squash
- Air Fryer Cubed Sweet Potatoes
If you’ve tried this Mexican sugar skull recipe, don’t forget to give me a star rating and leave me a comment below in the comment section. I love to hear from people who have made my recipes.
NEVER MISS A RECIPE
Follow me on social media for more recipe ideas & inspiration!
PINTEREST / FACEBOOK / INSTAGRAM
How to Make Day of the Dead Sugar Skulls
Ingredients
For the Skull
- 2 cups granulated sugar
- 2 teaspoons meringue powder
- small bowl of water
For the Royal Icing
- 2 pounds confectioners' sugar
- 1/2 cup plus 2 tablespoons meringue powder
- food coloring
Instructions
To make skull
- In a large bowl, mix together white sugar and meringue powder. Add in 2 teaspoons of water and mix well by hand. It should feel like moist sand. If you squeeze some of the sugar paste in your hand it should hold its shape well. If it doesn't add a teaspoon of water at a time until it holds.
- Press the sugar mixture into the front of your mold, packing it in tightly. Make the back flat by scraping it with a bench scraper. Repeat this with the back of the mold. You can either immediately un-mold by flipping the skull onto a square of cardboard or allow the mixture to dry in the mold. Leave to dry at least 8 hours or overnight.
To make royal Icing
- Once skulls are completely dry, make the royal icing. To a large mixing bowl or the bowl of a stand mixer, confectioners' sugar, meringue powder and water. Mix slowly with an electric mixer or in stand mixer until nice and thick. Add a thin, even layer of the icing to one of the skull halves to have them stick together. Let dry for at least an hour.
- Separate the icing into small bowls depending on the number of colors you are wanting to use. Add food coloring and mix until the desired color is reached. Fill the piping bags that have been fitted with decorating tips with the icing. Decorate skull and let dry for 3-4 hours.
Notes
-
- Humidity. If you live in a humid area and it is a very humid day, I don’t recommend making these skulls. Wait for a less humid day.
-
- Too much water. If you added too much water to the skull mixture, add a little sugar at a time until the texture is correct.
-
- Press well. Press the granulated white sugar mixture really well into the skull mold to ensure it will hold its shape.
-
- Completely dry. Make sure the skulls are completely dry and hardened before making it into sugar skull art.
-
- Keep someplace dry. Make sure to keep away from liquids, moisture or humidity, since it is made of sugar the day of the dead skull can melt.
Nutrition
Did you make this recipe?
Please let me know how it turned out
I love hearing from you! Share a picture of the recipe on Instagram and hashtag it #homecookedharvest.

Leave a Reply