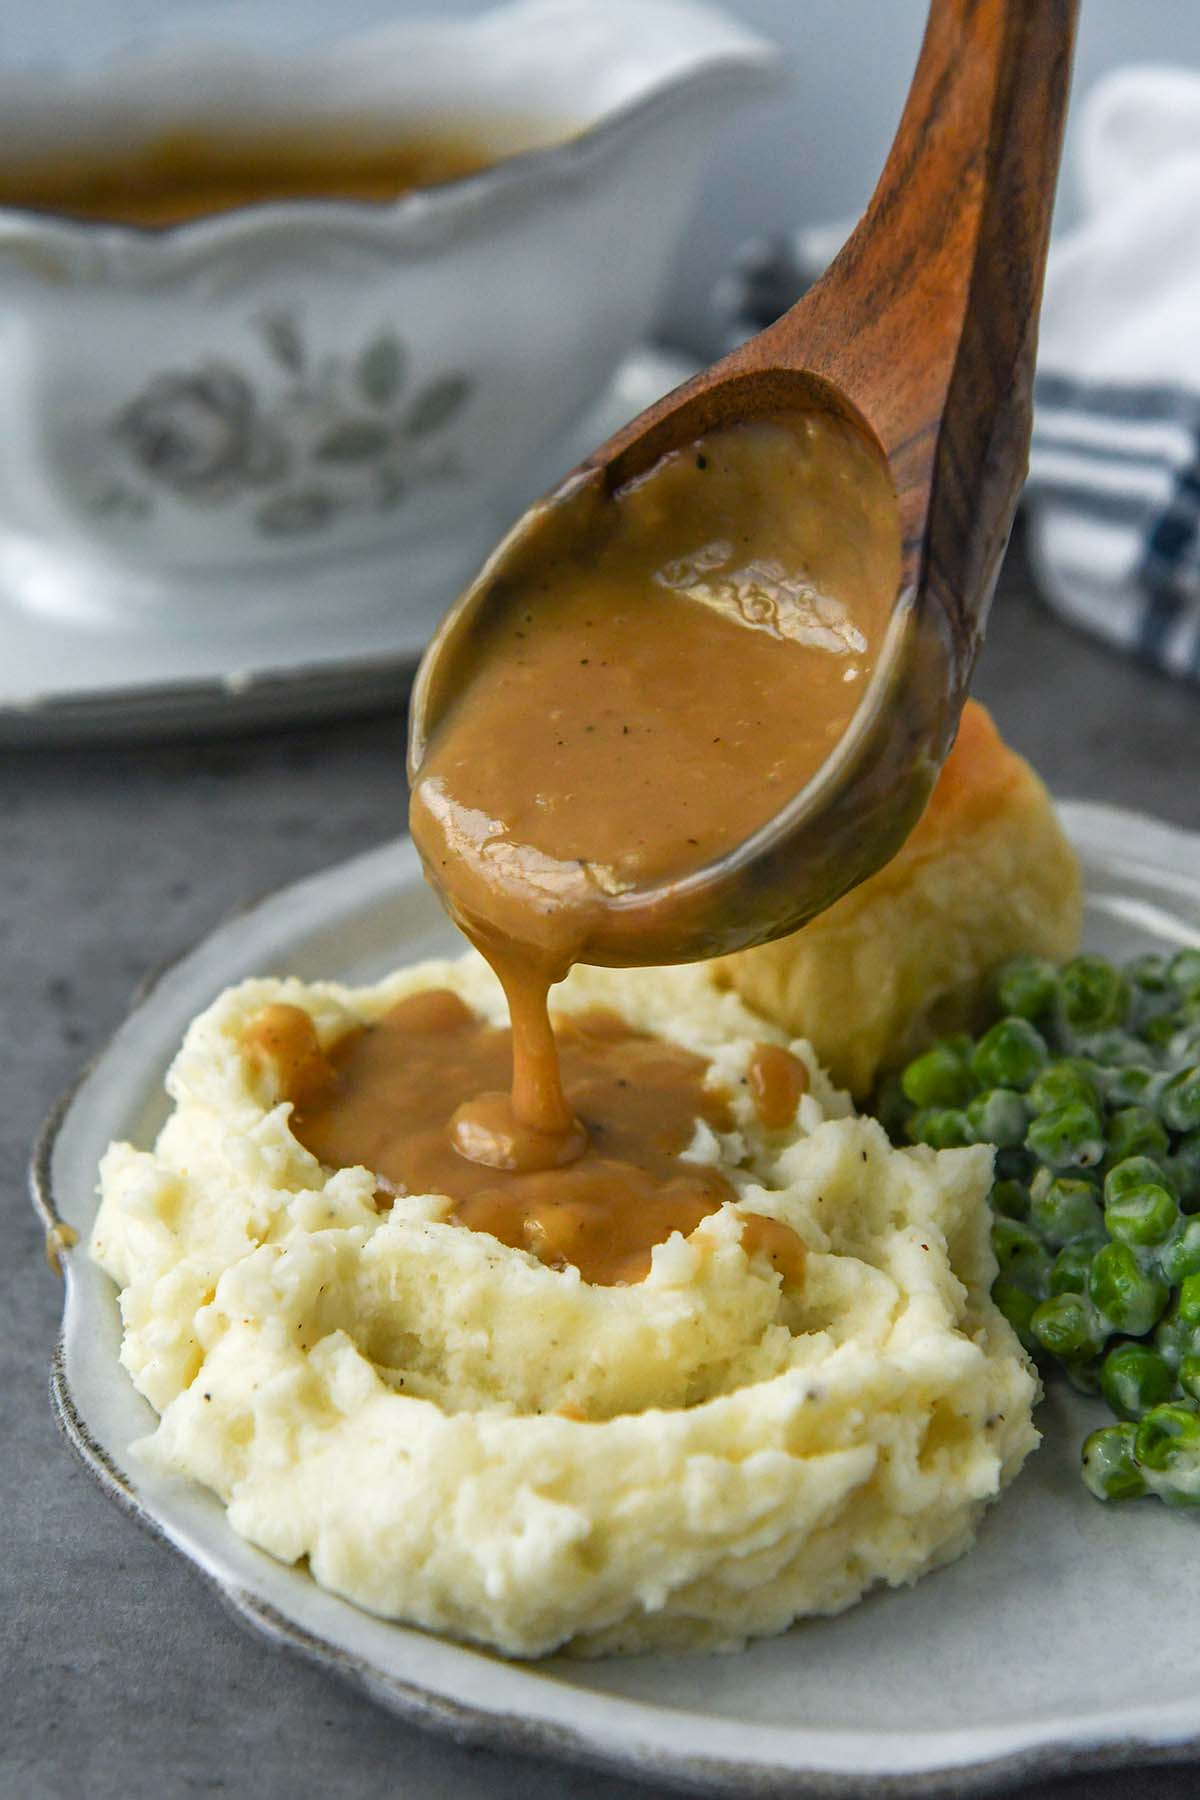
This homemade brown gravy is rich, savory, and absolutely packed with flavor. Just one spoonful transforms any meal into a cozy classic. Best of all, you can whip it up ahead of time, so a delicious, garlicky drizzle is always just moments away from your table. You won’t want to miss how easy (and tasty) this recipe really is!
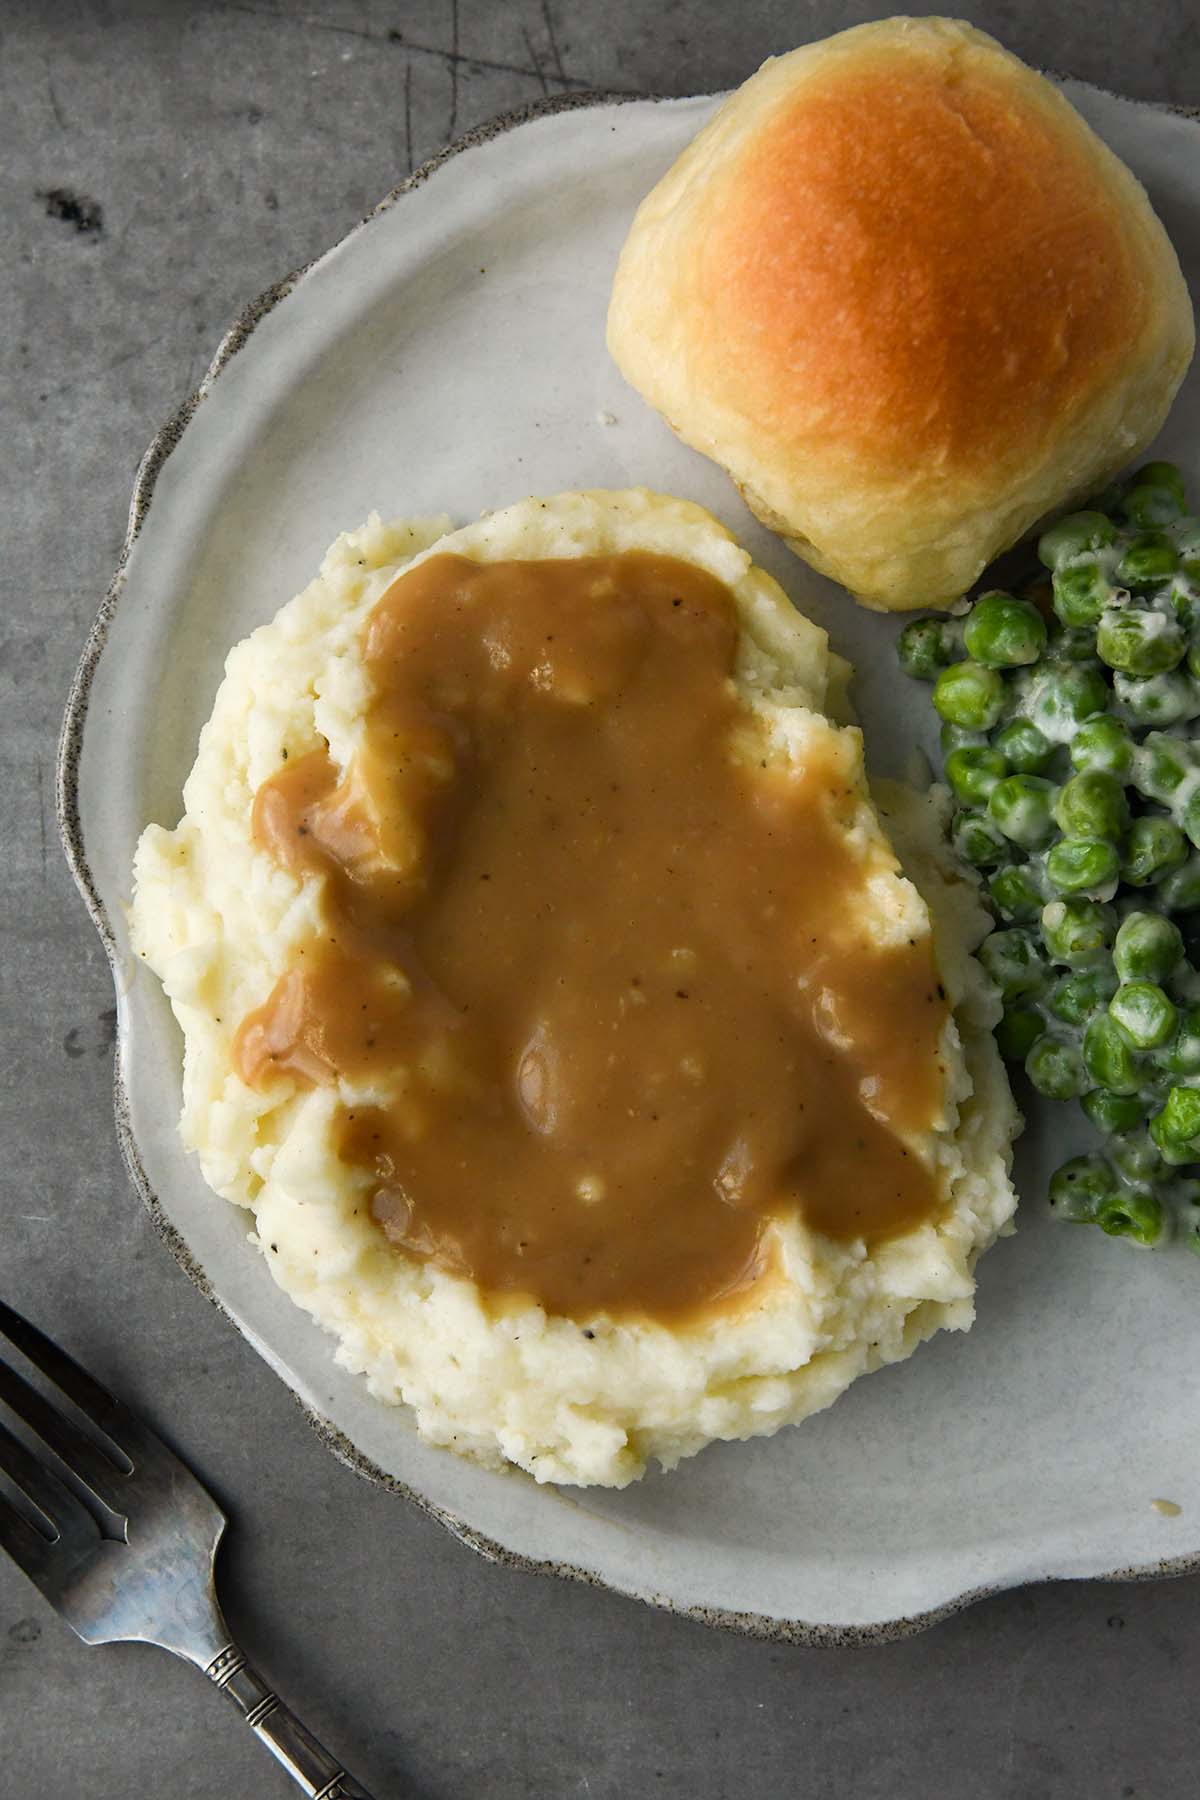
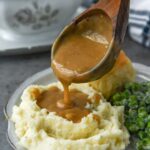
All recipes need sides – and we love cooking tasty, easy side dishes. If you’re looking for a few to make, try our Candied Yams With Marshmallows – it tastes like dessert! Or Creamy Mashed Potatoes – they’re perfect with my brown gravy.
Make-Ahead Brown Gravy
There’s something extra special about homemade gravy that tastes a thousand times better than anything from a packet. Homemade gravy is bold, with a bouquet of spices, and you can control exactly how it tastes.
Most brown gravy recipes are made with pan drippings. That’s where all that flavor comes from! But if you want to save time, make this recipe! You don’t need pan drippings, and you can make it up to three days ahead of time.
Instead of chicken or beef pan drippings, I used both chicken and beef broth as the base. For a kick of flavor, I spiced it with Worcestershire sauce, garlic and onion, and plenty of salt and pepper! Altogether, it’s rich and smooth, with just enough spices to make it stand out (and still taste delicious with your sides).
It will save you time during the holidays (or busy weeknights). And this recipe tastes perfect with any meal you prepare – from chicken to beef or even pork!
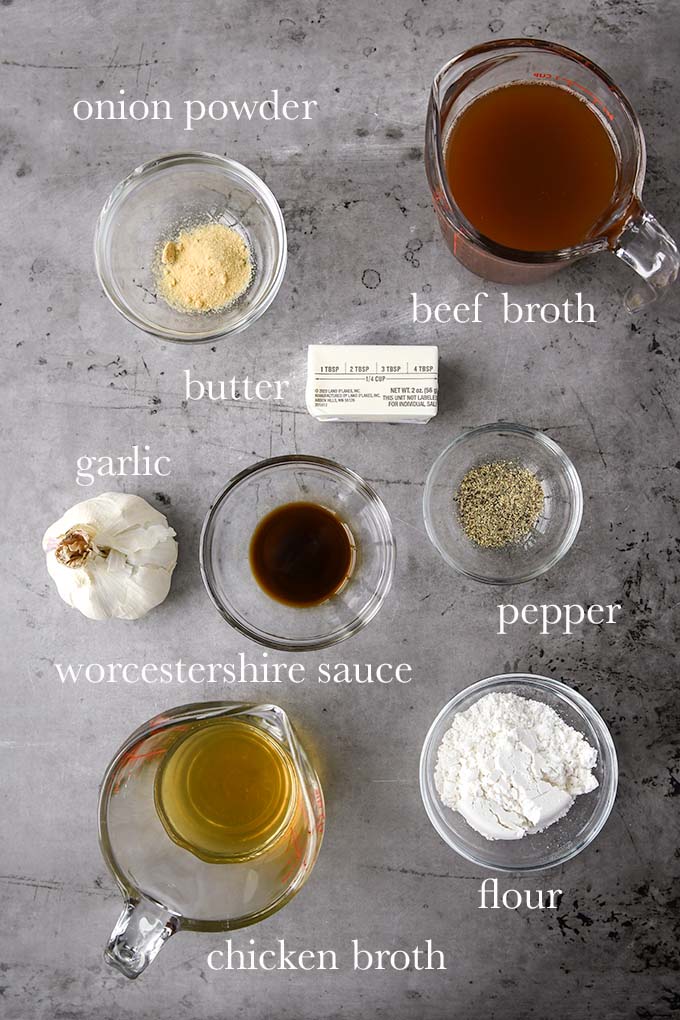
Brown Gravy Ingredients
- Butter: Control the flavor by using unsalted butter.
- Flour: Use all-purpose flour as the base of the gravy.
- Broth: You will need both chicken and beef broth. For a brown gravy, use more beef broth than chicken.
- Worcestershire Sauce: This rounds out the other flavors.
- Garlic Cloves: Use fresh garlic for a bolder flavor.
- Onion Powder: The powder dissolves better in the gravy than fresh onions.
- Salt and Pepper: Flavor the gravy with as much salt and pepper as you like.
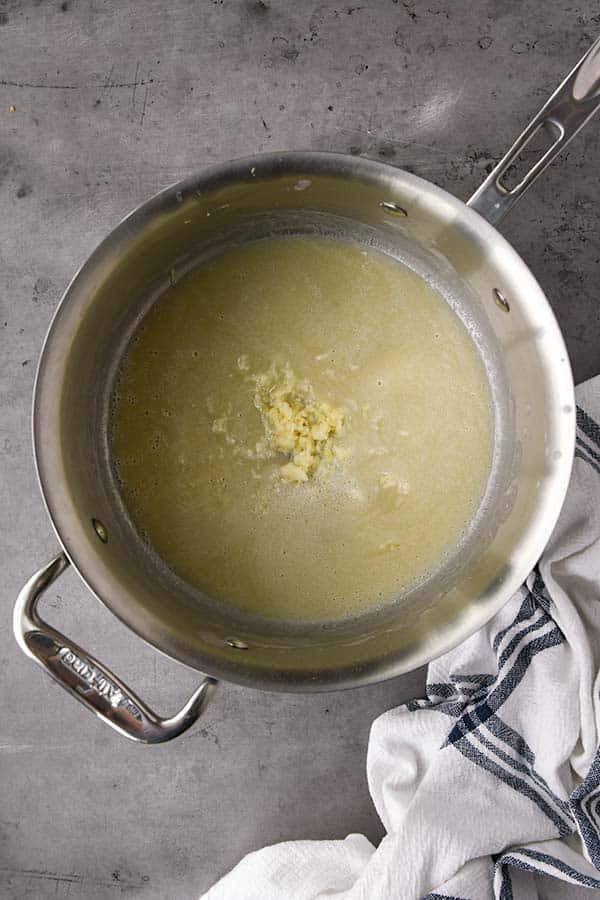
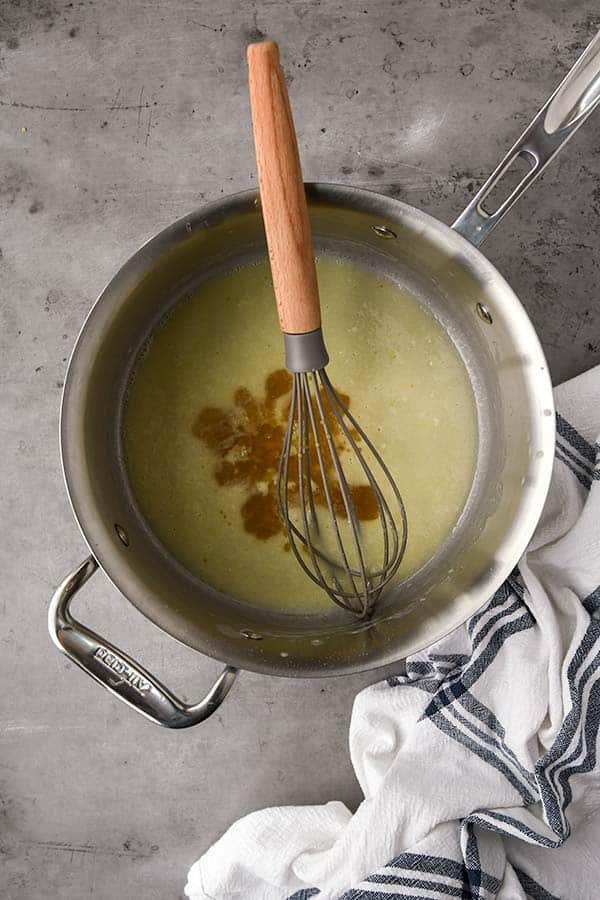
How to Make This Brown Gravy Recipe
Here are the basic instructions to make homemade brown gravy. Check out the recipe card at the bottom of this blog post with full ingredients and instructions to make it.
Cooking Tips and Tricks
- Taste the gravy. You have full control over the flavor. Add more Worcestershire sauce or even some soy sauce to give it something extra.
- Top with fresh herbs. This is optional, but adding a sprig of rosemary will make the gravy look extra festive.
- Use it in your cooking. Make a double batch of gravy and then cook some small pork or beef patties in them for even more flavor.
Recipe Variations
- Make gluten-free gravy. Use your favorite kind of gluten-free all-purpose flour.
- Add some heat. Sprinkle some red pepper flakes into the gravy.
- Deepen the flavor. Use both chicken and beef bone broth to make it more nutritious and have a deeper, more nuanced flavor.
Frequently Asked Questions
Why is my homemade gravy lumpy? There are two main reasons that your gravy might be lumpy. First, you probably didn’t whisk it long enough. Or, maybe you added too much liquid.
How do I make the gravy thicker? The best way to make gravy thicker is to make a roux out of cornstarch and water. Add your roux to the gravy, let tit simmer, and it should thicken up.
How to Store & Reheat
How to store it? Store cooked gravy in an airtight container and keep it in the refrigerator. Use it within one week.
How to reheat it? Either reheat it on the stove, stirring constantly, or use the microwave. To use the microwave, add a little broth and heat the gravy in 30-second increments stirring it really well in between each one.
How to freeze it? Gravy doesn’t freeze very well, so I don’t recommend this.
Try these other recipes!
- Air Fryer Baby Potatoes
- Air Fryer Corn on the Cob
- Pecan Pie Brownies
- Air Fryer Rosemary Butter Carrots
- Cream Cheese Bars
If you’ve tried this easy brown gravy recipe, don’t forget to give me a star rating and leave me a comment below in the comment section. I love to hear from people who have made my recipes.
NEVER MISS A RECIPE
Follow me on social media for more recipe ideas & inspiration!
PINTEREST / FACEBOOK / INSTAGRAM
Brown Gravy without Drippings
Ingredients
- 1/4 cup unsalted butter
- 1/4 cup all-purpose flour
- 2 cups low sodium beef broth
- 1/2 cup low sodium chicken broth
- 1 teaspoon worcestershire sauce
- 2 large garlic cloves minced
- 1 teaspoon onion powder
- 1/4 teaspoon black pepper
Instructions
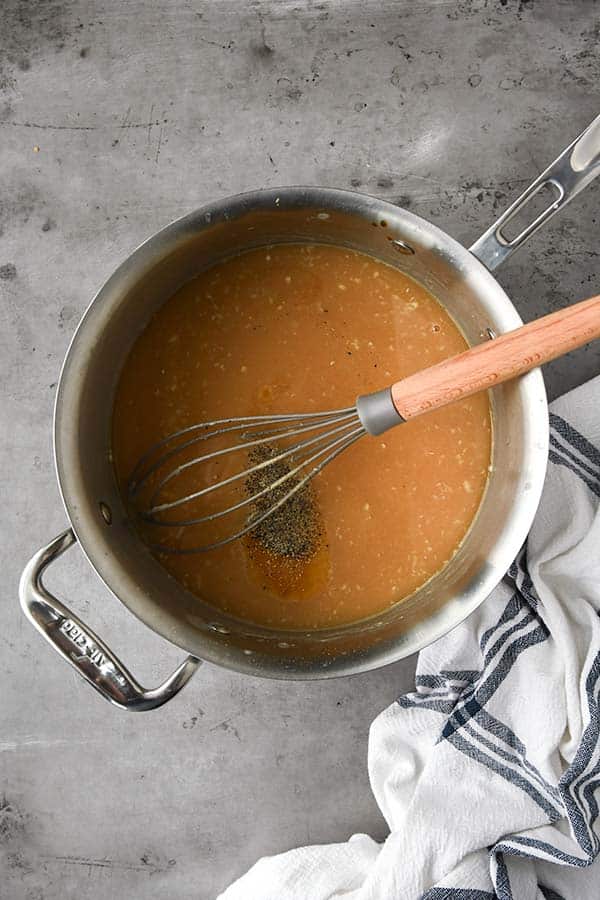
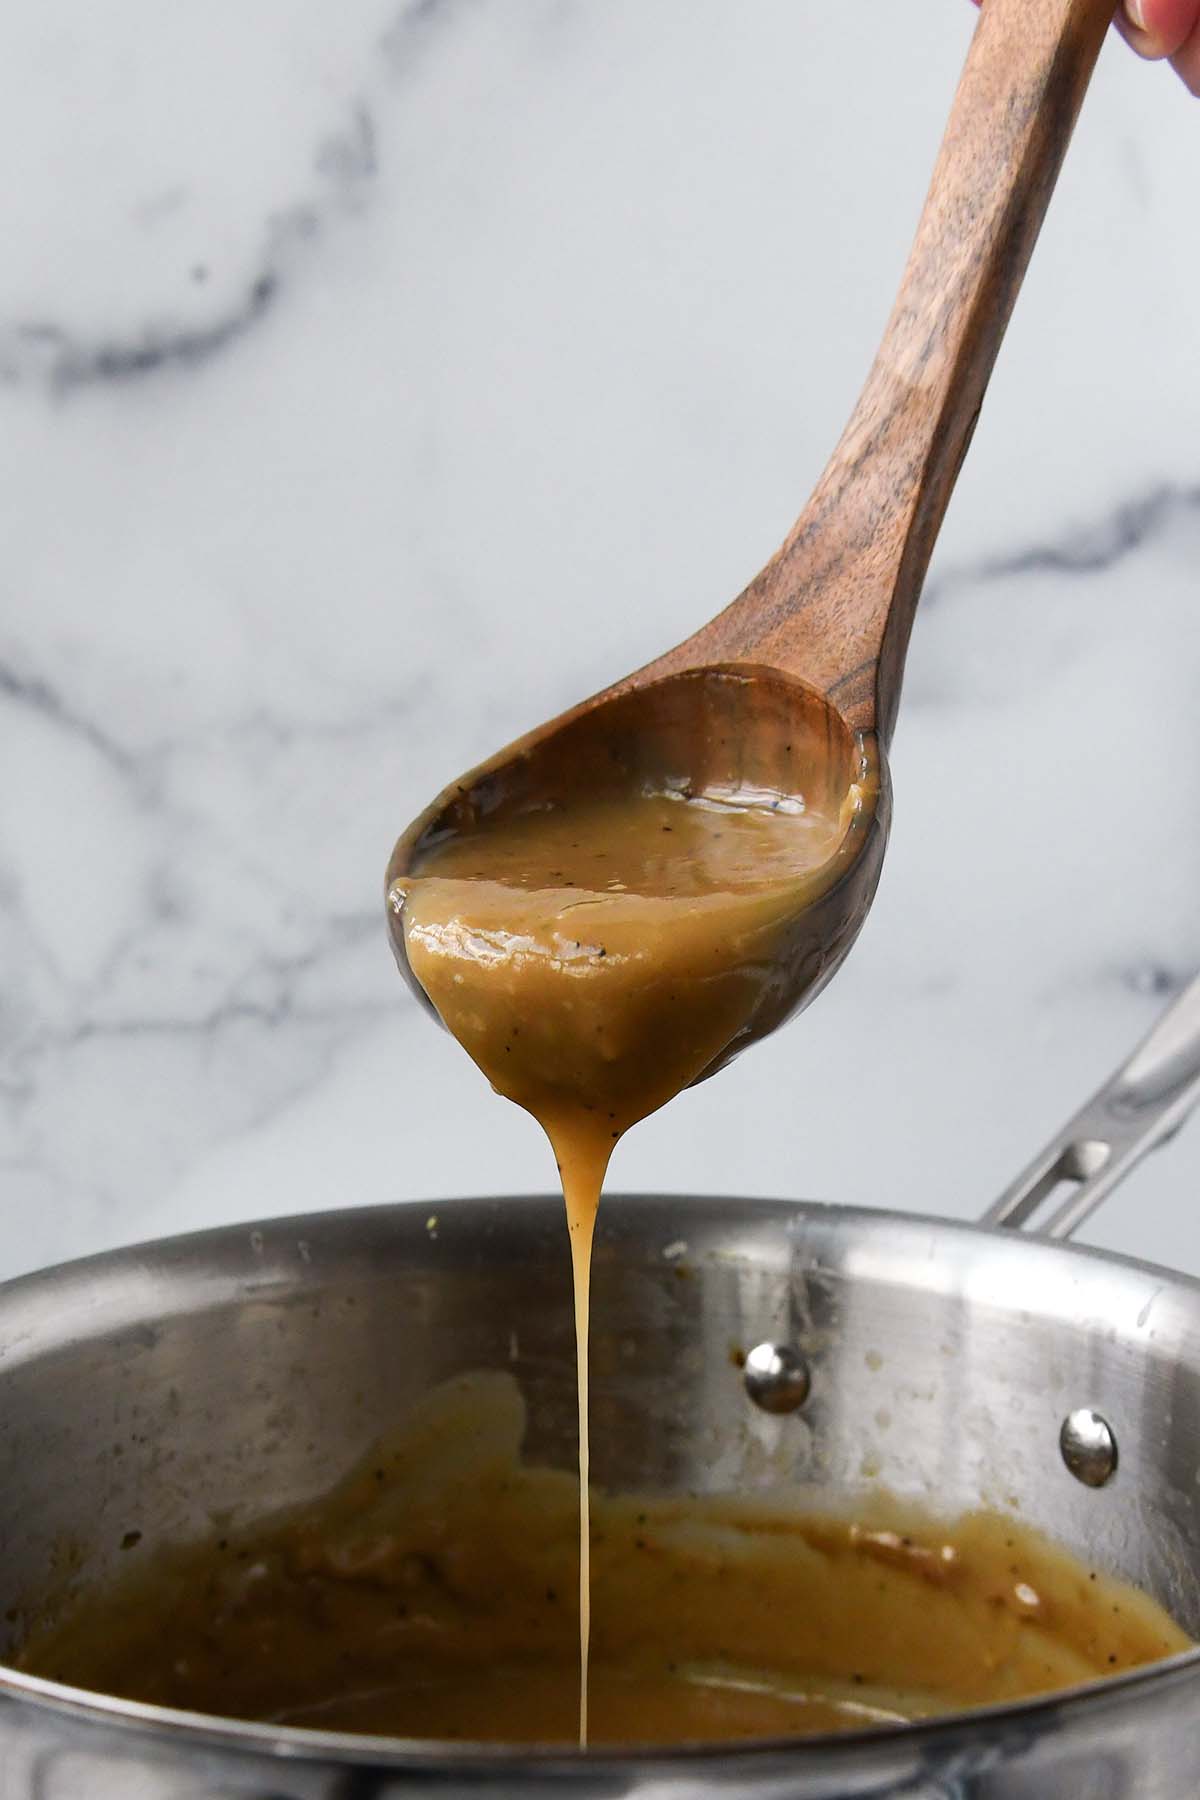
- In a large saucepan, melt the butter over medium heat. Add in the flour. Whisk constantly for about 5 minutes until it turns golden brown.
- Add in garlic and cook for 1 minute.
- Slowly pour in the beef and chicken broth, constantly whisking to avoid lumps. Whisk until smooth.
- Next, whisk in the worcestershire sauce, onion powder, and ground pepper.
- Increase the heat and bring up to a gentle boil. Once boiling, reduce the heat to low and simmer for 5-10 minutes until the gravy is thick and smooth.
- Add salt and more pepper to taste if needed. If the gravy gets too thick, whisk in a little warm water or broth to loosen it up.
Notes
- Taste the gravy. You have full control over the flavor. Add more Worcestershire sauce or even some soy sauce to give it something extra.
- Top with fresh herbs. This is optional, but adding a sprig of rosemary will make the gravy look extra festive.
- Use it in your cooking. Make a double batch of gravy and then cook some small pork or beef patties in them for even more flavor.
- Gravy will last in an airtight container for one week.
Nutrition
Did you make this recipe?
Please let me know how it turned out
This recipe is just the brilliant shortcut I needed! It’s always stressful getting the gravy made as one of the last steps of prepping a meal. I love that i can make this ahead. And the best part? It’s delicious. Thank you for making my life easier and my food better. Love all your recipes!
Hey Sharon, I’m so glad the shortcut made things a little easier for you. Gravy at the end of cooking can definitely be stressful. Thank you for the kind words and for trying my recipes.