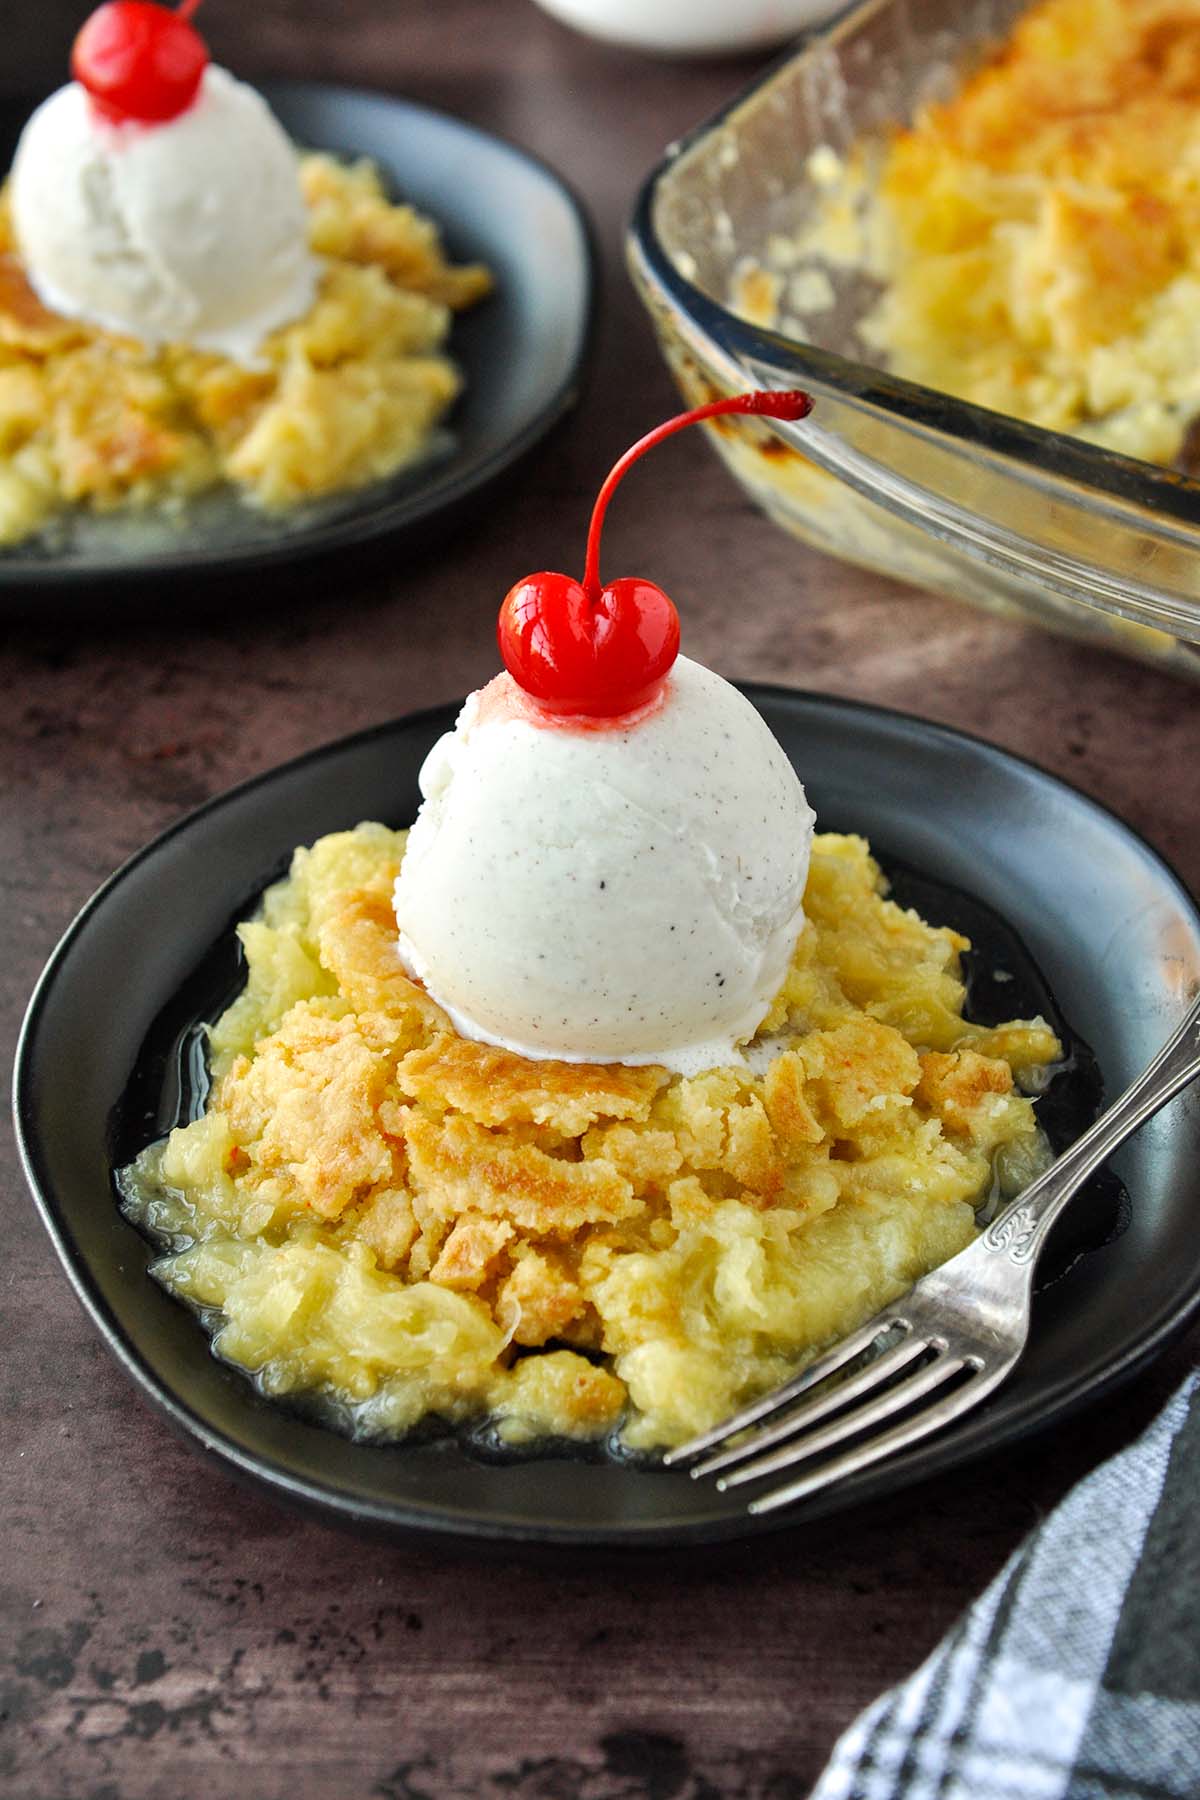
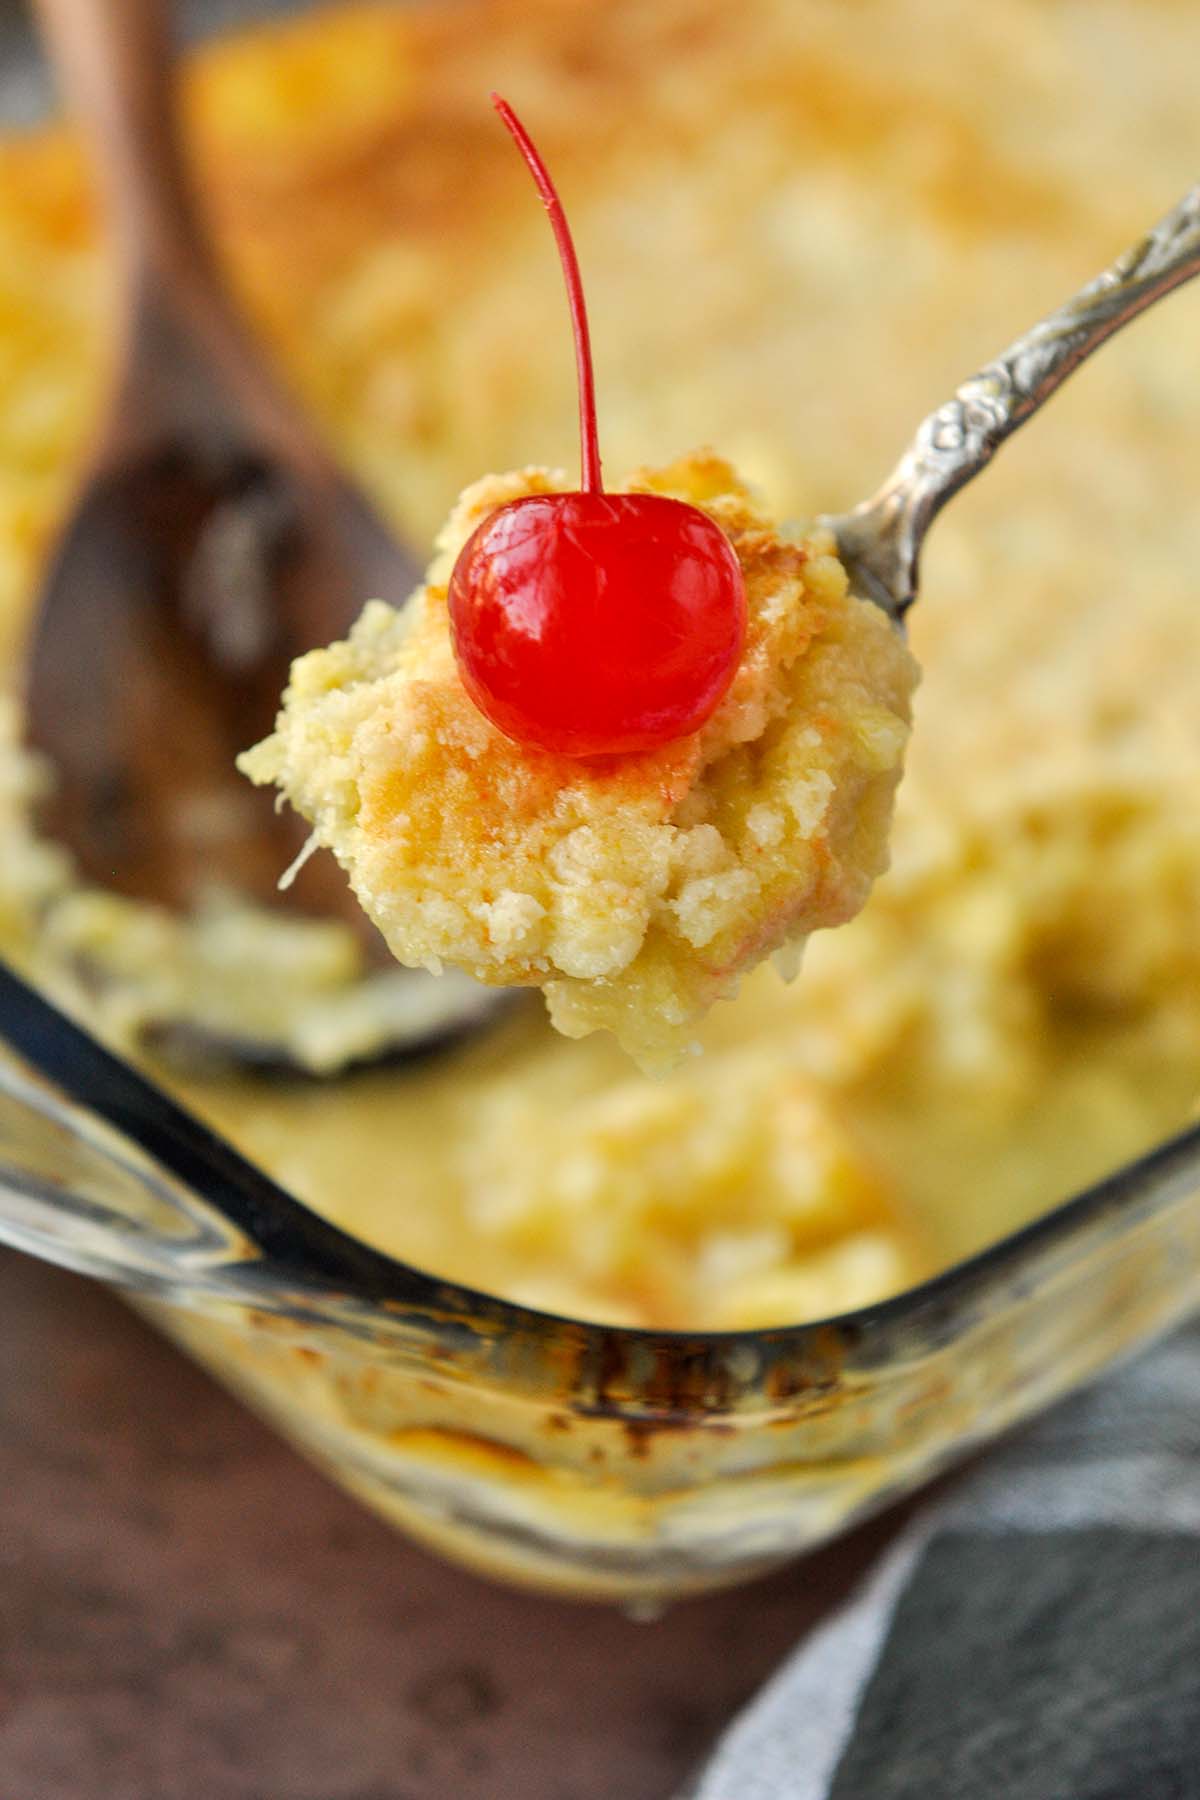
This easy pineapple dump cake recipe is decadently simple. With juicy pineapple tidbits baked into yellow cake mix, it’s a spoonable dessert that tastes heavenly with maraschino cherries or a little whipped cream!
Love the tropical flavor of pineapple or simple old-school desserts? You’ll fall head over heels for this Cherry Cheesecake Dump Cake or this light and fluffy Watergate Cake. Your friends and family will be begging for the recipes!
If you grew up in the 70s and 80s, you’re probably already familiar with dump cakes. They’re some of the easiest desserts you can make because you typically dump all ingredients directly into the baking dish and pop them in the oven! They’re one of my all-time favorite desserts; you’ll feel the same way too!
What is Pineapple Dump Cake?
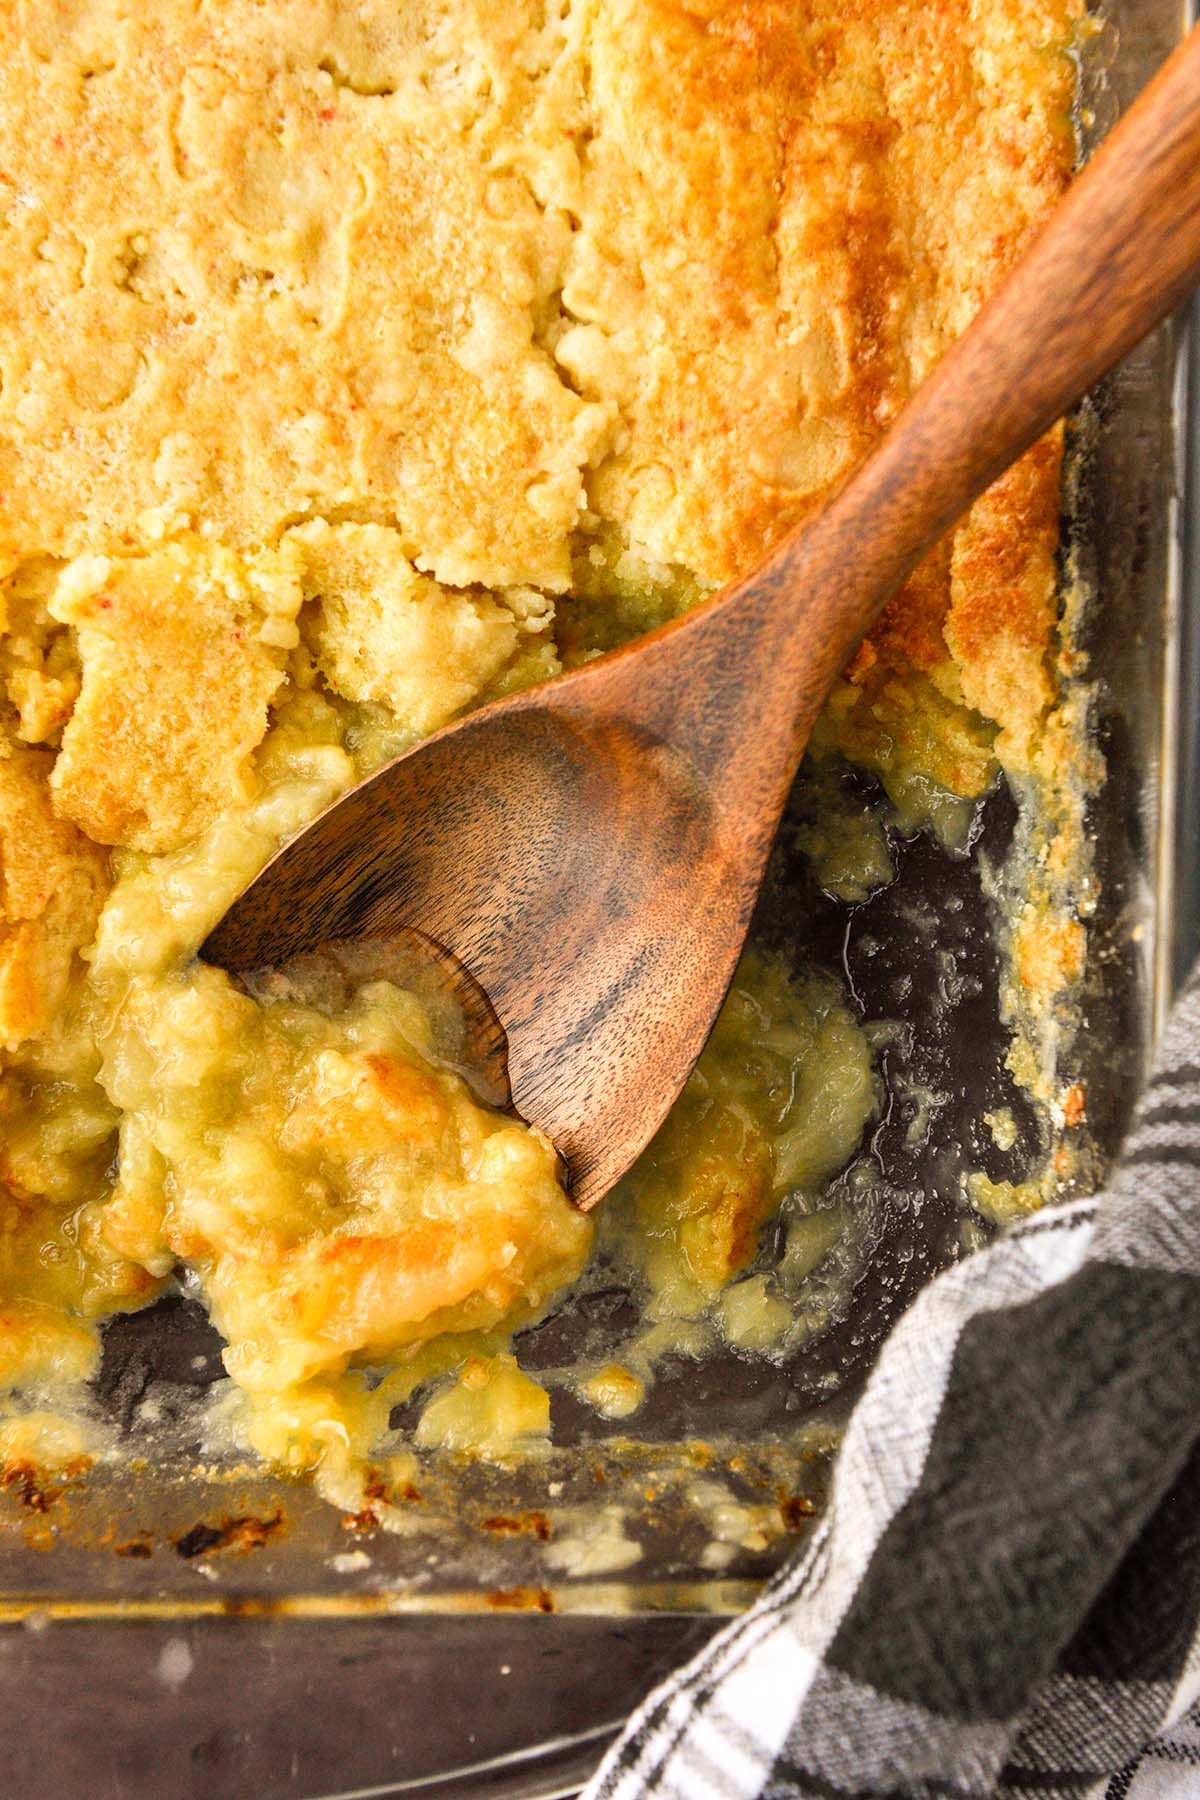
If you’re unfamiliar, a pineapple dump cake is really like a pineapple cobbler. Add canned crushed pineapple into a baking dish and top with brown sugar, cake mix, and grated butter. The butter melts directly into the cake mix and pineapple pieces as it bakes.
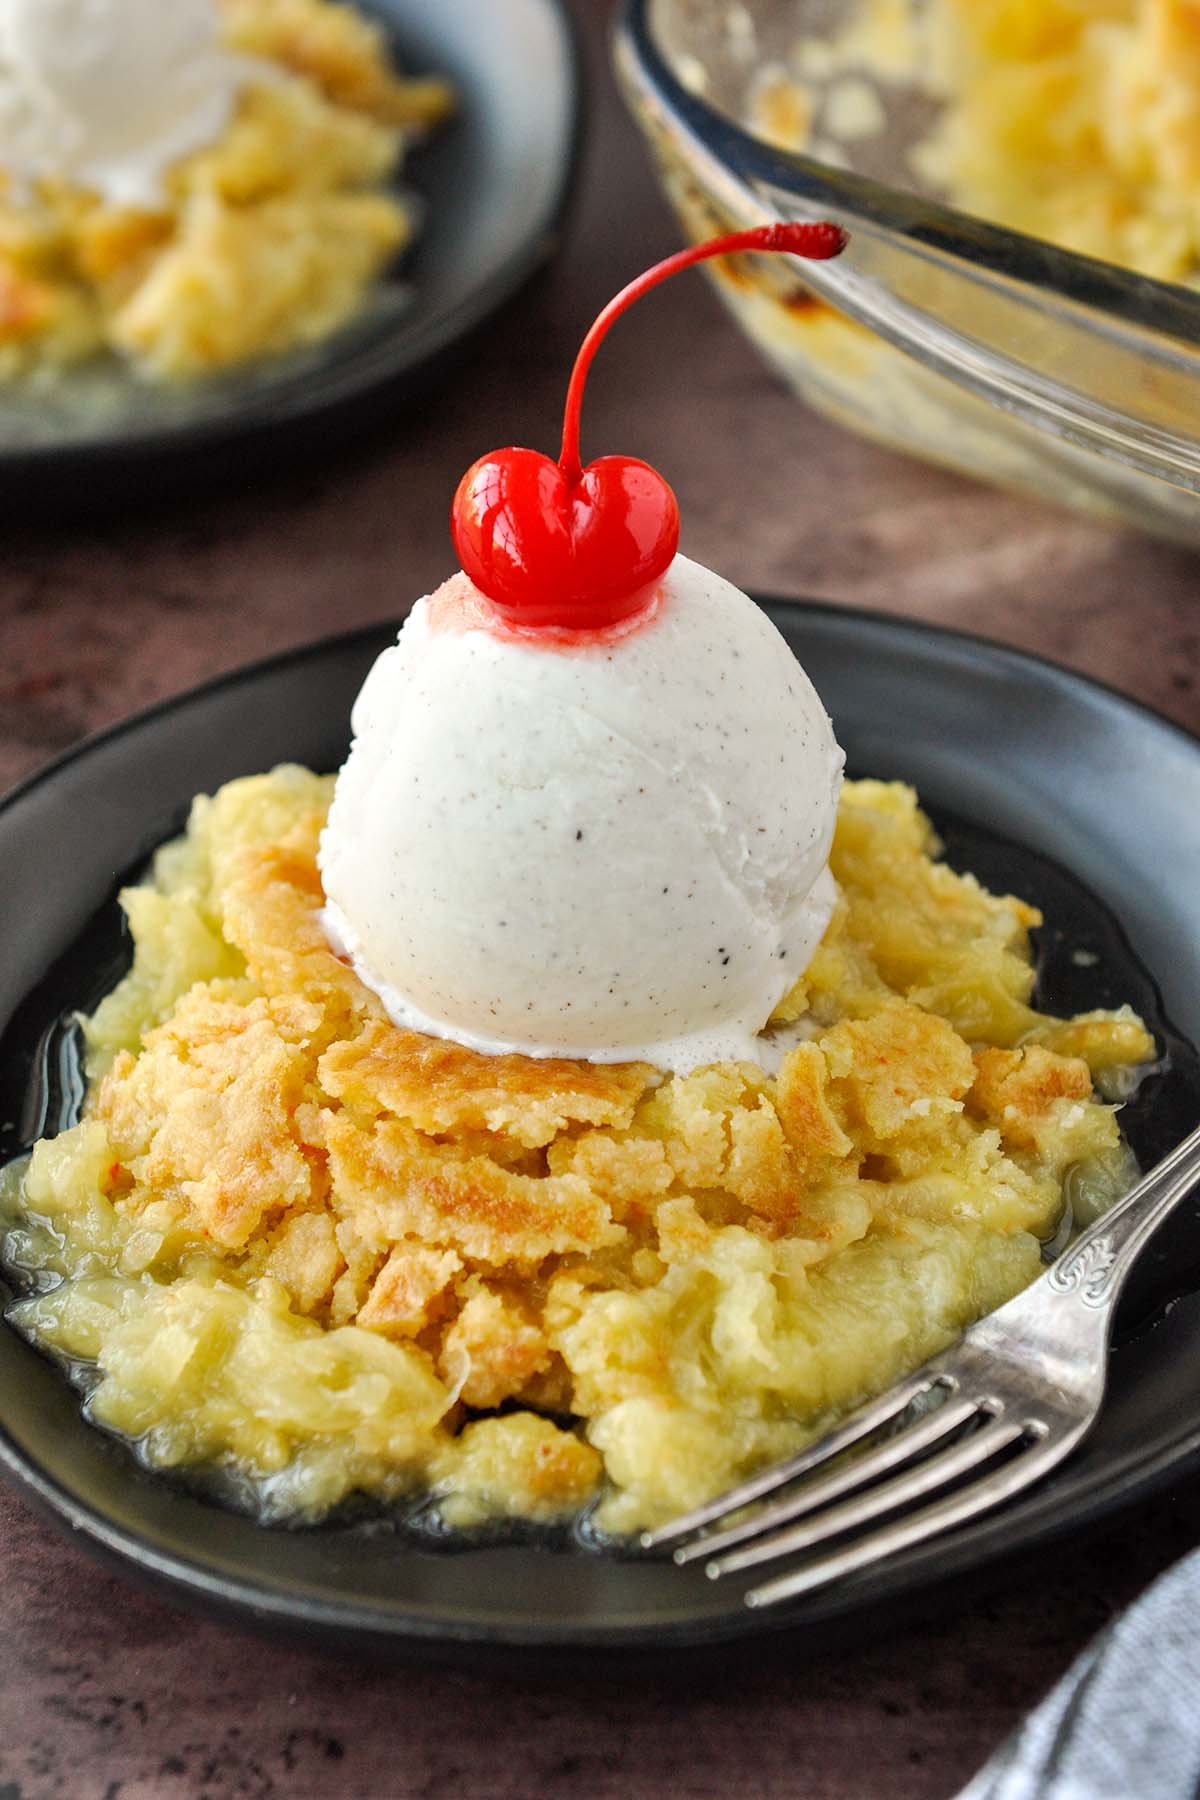
The end result is a sweet, buttery, cake with pieces of pineapple and crumbly, brown sugar bites. It’s absolute heaven after a nice dinner, and it’s always an impressive dessert, despite how simple it is to make.
I also like to use yellow cake mix and crushed pineapple in this pineapple coconut cake. If you love pineapple treats, you have to make pineapple dole whip and pineapple casserole.
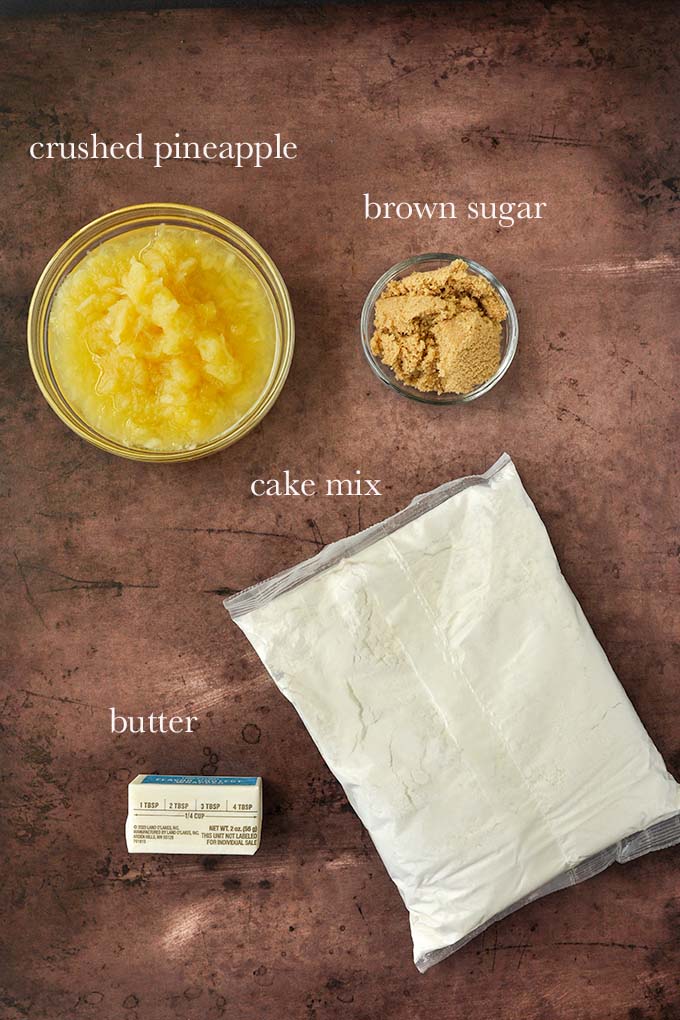
Pineapple Dump Cake Ingredients
- Crushed pineapple: Start with two cans of crushed pineapples, and don’t drain them. The pineapple juice will bake into the cake mix and add extra flavor.
- Light brown sugar: If you love the caramelized pineapple flavor in pineapple upside down cake, you’ll enjoy the little bits of brown sugar that get baked into this pineapple dessert.
- Yellow cake mix: Skip the ingredients on the back of the box. You won’t need them for this easy recipe!
- Unsalted butter: Grate cold, unsalted butter. As it melts on top of the cake mix in the oven, it will add a delicious buttery flavor to every bite.
- Optional toppings: This delicious dessert pairs really well with bright red maraschino cherries, chopped nuts, whipped cream, or a big scoop of vanilla ice cream.
How to Make Pineapple Dump Cake
Here are the basic instructions to make this dump cake. Check out the recipe card at the bottom of this blog post for full directions and ingredient amounts.
1. Prepare: Preheat the oven. Butter a 13×9-inch baking pan.
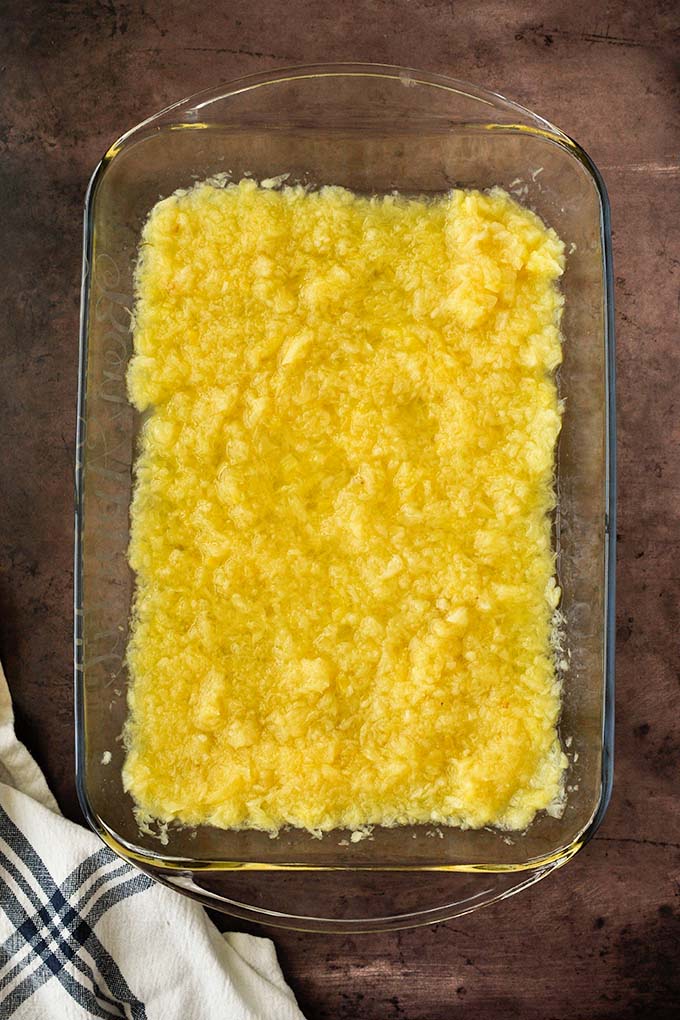
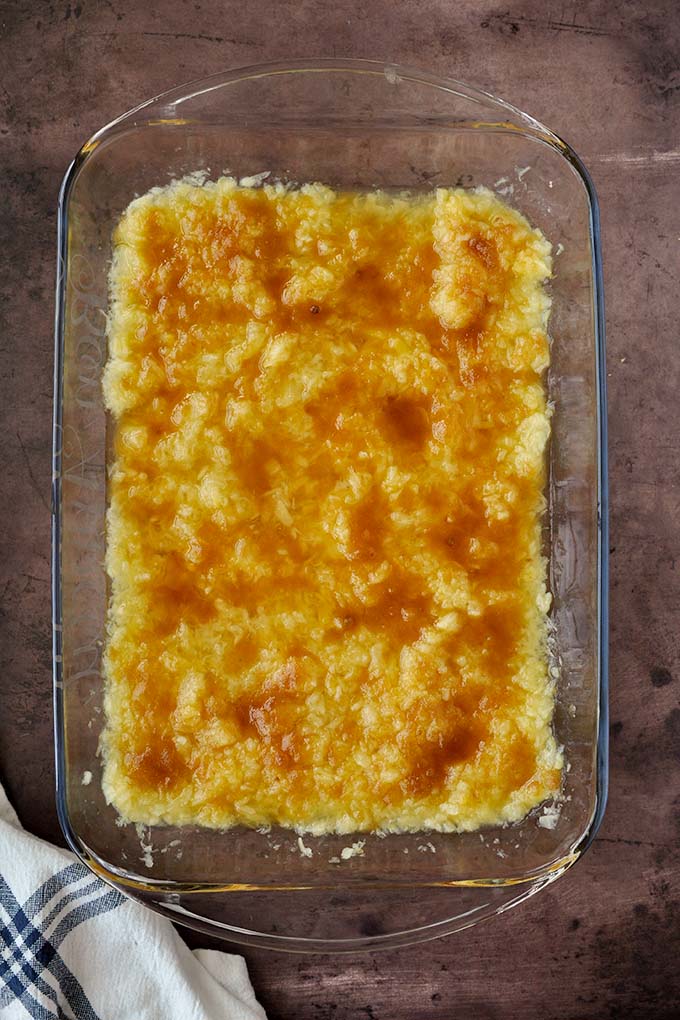
2. Add the pineapple: Pour the undrained pineapple into the baking dish.
3. Top with brown sugar: Evenly sprinkle brown sugar on top of the pineapple.
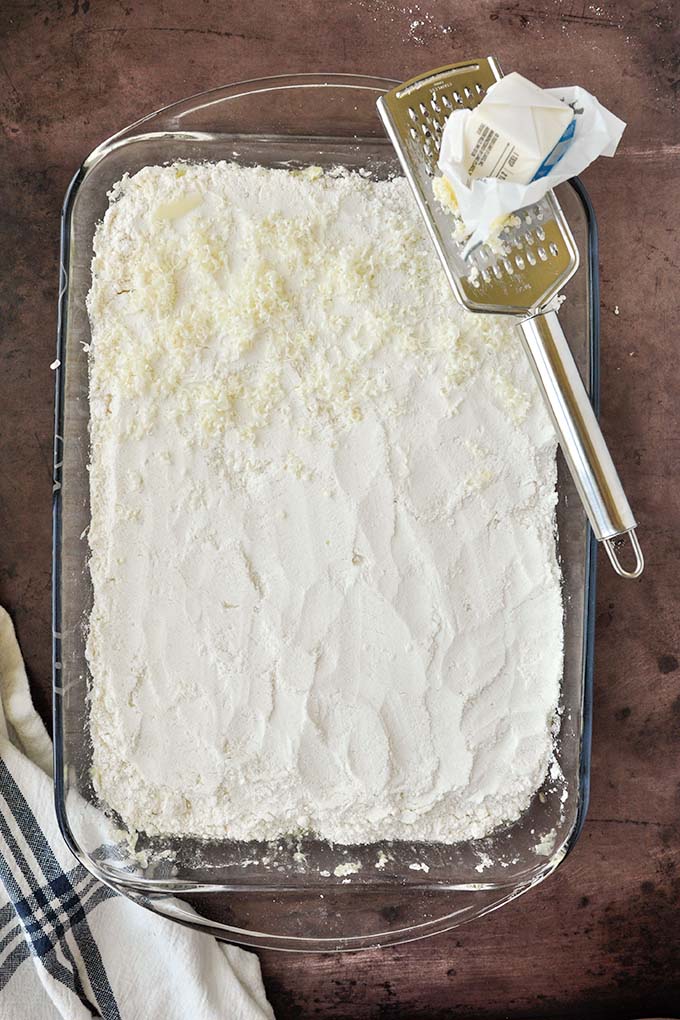
4. Add cake mix: Sprinkle dry cake mix all over the pineapple and brown sugar in an even layer.
5. Sprinkle with butter: Grate 3/4ths of the butter covering all of the dry cake mix.
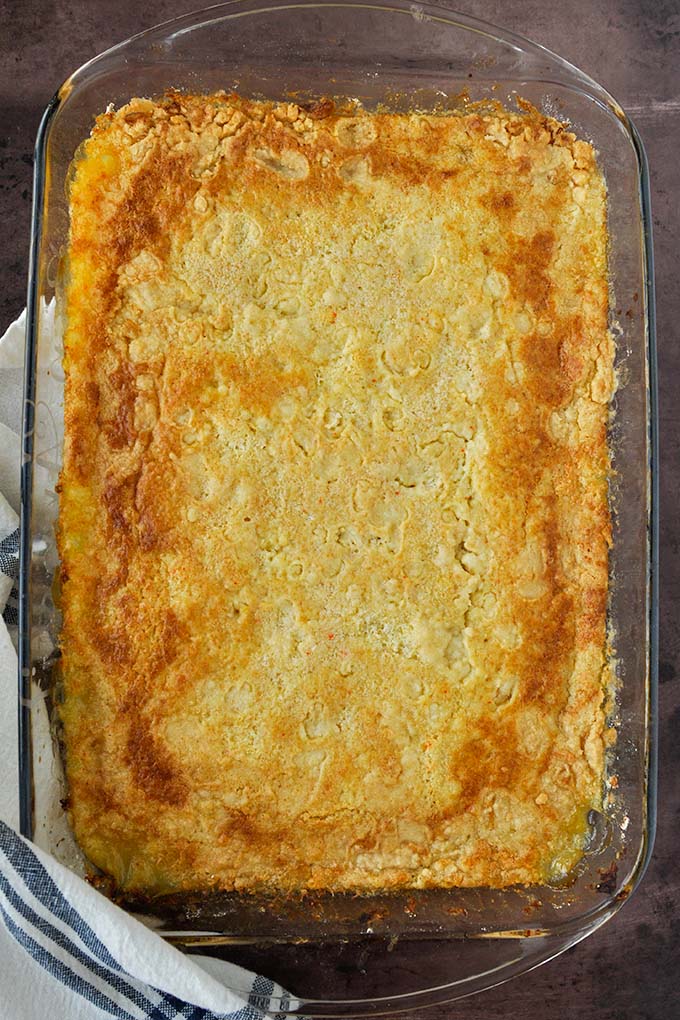
6. Bake: Bake in a preheated oven, halfway through the cooking time grate on the rest of the butter over any dry cake mix. Cool before serving.
Tips for Success
- Don’t drain the pineapple. You need that liquid for the cake mix. Otherwise, your cake will be way too dry.
- Use frozen or very butter. Although many recipes call for melted butter, the cold butter bakes into every level of the cake instead of dropping to the bottom.
- Add a little more butter if you notice any dry spots while the dump cake is baking.
Recipe Variations
- Change up the cake mix. Instead of yellow cake, feel free to use white cake mix or even coconut cake mix for a different flavor.
- Add more fruits. Add a handful of fresh blueberries or sliced strawberries for even more fruit flavor.
- Booze it up. Replace 1/4 cup of pineapple juice with bourbon or spiced rum for an adult twist that tastes heavenly.
- Add pie filling: Replace one can of pineapple with cherry pie filling for an easy cherry pineapple dump cake recipe.
- Make it rich: Use dark brown sugar for a rich, caramel flavor.
- Top it with fresh pineapple: For an extra special presentation, caramelize fresh pineapple slices with brown sugar and butter and layer them on top of this pineapple upside down dump cake.
Frequently Asked Questions
Does fruit dump cake need to be refrigerated?
Anytime you bake fruit, you should refrigerate the leftovers; this easy dump cake recipe is no exception. Cover your baking dish with plastic wrap and pop it in the fridge for up to 4 days.
How do you make gluten free dump cake?
Since the only source of gluten in this recipe comes from the cake mix, try using a boxed gluten-free cake mix instead.
Do you mix a dump cake?
Nope! If you mix the ingredients, they’ll all bake together instead of forming distinct layers. You can use a spoon to level things out, but don’t stir!
How to Store & Reheat
How to refrigerate Pineapple Dump Cake? Cover your baking dish with plastic wrap or move your leftover dump cake into an airtight container and store it in the fridge for 3-4 days.
How to keep at room temperature? If you’re serving this simple dessert recipe at a party, you can leave it at room temperature for a few hours. The flavors are best when the cake is warm, so you may want to place it back in the oven for a few minutes before serving.
How do you reheat Pineapple Dump Cake? Either microwave your slice of cake for 30 seconds to a minute or place the whole cake pan back in the oven for 5-7 minutes at 350 degrees.
Can I Freeze Pineapple Dump Cake?
How to freeze Pineapple Dump Cake? Let your pineapple dump cake cool to room temperature, then wrap it in plastic wrap and aluminum foil. Store it in the freezer for 1-3 months and let it thaw in the fridge before reheating and serving it with a scoop of ice cream.
Try these other recipes!
- Butterfinger Poke Cake
- Lemon Sour Cream Pound Cake
- Orange Poppy Seed Cake
- Lemon Cooler Cookies
- Lemon White Chocolate Cookies
If you’ve tried this pineapple dump cake recipe, don’t forget to give me a star rating and leave me a comment below in the comment section. I love to hear from people who have made my recipes!
NEVER MISS A RECIPE!
Follow me on social media for more recipe ideas & inspiration!
PINTEREST / FACEBOOK / INSTAGRAM

Pineapple Dump Cake
Ingredients
- 2 20-ounce cans crushed pineapple in juice undrained
- 1/2 cup light brown sugar
- 15.25 ounce yellow cake mix
- 1 stick unsalted butter frozen for easy grating
- optional toppings: maraschino cherries, whipped cream, vanilla ice cream
Instructions
- Preheat the oven to 350° F. Butter a 13×9-inch baking pan.
- Pour the undrained pineapple into the baking dish.
- Evenly sprinkle brown sugar on top of the pineapple.
- Sprinkle dry cake mix all over the pineapple and brown sugar in an even layer.
- Grate 3/4ths of the butter covering all of the dry cake mix.
- Bake in a preheated oven for 35-40 minutes. Halfway through baking time, grate on the rest of the butter (may need more) on any dry cake batter areas. Continue baking for the rest of the time. Cool before serving.
Notes
- Don’t drain the pineapple. You need that liquid for the cake mix. Otherwise, your cake will be way too dry.
- Use cold butter. Although many recipes call for melted butter, the cold butter bakes into every level of the cake instead of dropping to the bottom.
- Add a little more butter if you notice any dry spots while the dump cake is baking.
- Cake will last in an airtight container in the fridge for 3-4 days.
Nutrition
Did you make this recipe?
Please let me know how it turned out!
I love hearing from you! Share a picture of the recipe on Instagram and hashtag it #homecookedharvest.
Leave a Reply